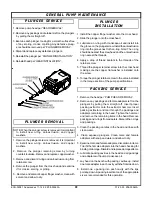
1.Remove pump head per “HEAD REMOVAL”.
2.Remove any packings and retainers left on the plungers
by pulling them straight off.
3.Examine each plunger, looking for a smooth surface free
of any scoring, cracks, or pitting. Any defective plung-
ers should be removed per “PLUNGER REMOVAL”.
4.Discard and replace any defective plungers.
5.Reinstall the plunger per “PLUNGER INSTALLATION”.
6.Reinstall head per “HEAD INSTALLATION”.
NOTE: When the plunger screw is removed, it is important
to install new o-ring, anti-extrusion, and copper
washers.
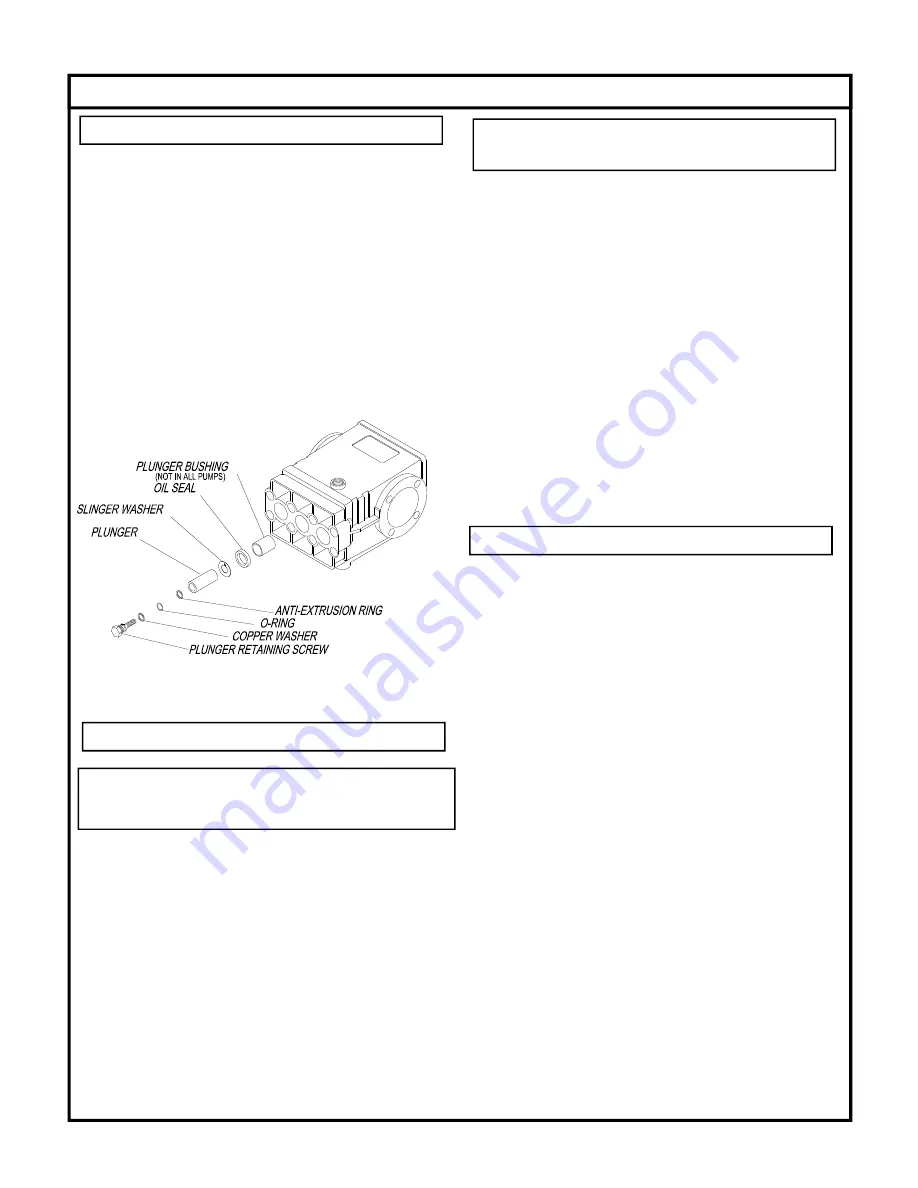
1. Remove the plunger screw is removed, it is important
to install new o-ring, anti-extrusion, and copper
washers.
2. Remove the plunger retaining screw by turning
counterclockwise. Remove and replace copper washer.
3. Remove and discard o-ring and anti-extrusion ring from
retainer screw.
4. Remove the plunger from the cross head and examine
it for cracks, scoring, or pitting.
5. Remove and discard copper flinger washer, clean with
solvent and allow to dry.
1. Install the copper flinger washer onto the cross head.
2. Slide the plunger onto the crosshead.
3. Lubricate an o-ring with crankcase oil and install into
the groove on the plunger screw. Install the anti-extrusion
ring into the groove next to the o-ring. Note: The o-ring
should be nearest the screw head and the anti-extrusion
ring nearest the threads.
4. Apply a drop of thread sealant to the threads of the
retainer screw.
5. Thread the plunger retainer screw into the cross head
making sure the copper flat washer is installed onto
the screw.
6. Torque the plunger retainer screw to the value indicated
in the torque section of the pump specifications.
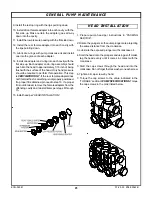
1. Remove the head per “PUMP HEAD REMOVAL”.
2. Remove any packings and female adapters left on the
plungers by pulling them straight off. Insert proper
packing extractor onto the extractor hammer. Insert
packing extractor and tool through the packings and
adapters remaining in the head. Tighten the hammer
and remove the remaining items in the head. Remove
packings and o-rings from adapters. Discard the o-rings
and packings.
3. Clean the packing canities in the head and rinse with
clean water.
4. Clean exposed plungers. Clean male and female
adapters with soap and water and allow to dry.
5. Examine male and female adapters, discard worn items.
Trial fit the female adapters into the head checking for
binding or damage. Discard and replace damaged items.
6. Lubricate packing cavities in the head and all packings
and adapters with pump crankcase oil.
7. Lay head on the bench with packing cavities up. Install
one male adapter in each cavity with the flat side down.
8. Install one v-packing into each cavity with the lips
pointing down. A packing insertion too of the appropriate
size is recommended for this operation.
GENERAL PUMP MAINTENANCE
07-23-03 Z08-00063A
ECN-02981 Supersedes 11-14-02 Z08-00063A
PLUNGER SERVICE
PLUNGER REMOVAL
PACKING SERVICE
PLUNGER
INSTALLATION
P2
Содержание 3102 Series
Страница 1: ...P O Box 288 105 Broad Street Alcester SD 57001 800 255 6823 www alkota com OLD VALUES NEW IDEAS 3102 ...
Страница 21: ...12 12 02 Z08 00064S ECN 02897 Supersedes 09 00 Z08 00064 7 ...
Страница 22: ...09 00 Z08 00064 ECN 02311 7 ...
Страница 25: ......
Страница 26: ......
Страница 37: ......
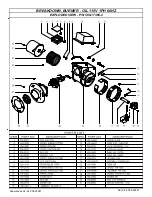
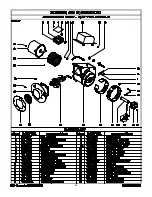
Страница 42: ...06 13 06 Z08 00061 BREAKDOWN BURNER OIL 115V 1PH 60HZ EXPLODED VIEW P N V00 17365 2 Supersedes 04 92 Z08 00061 ...
Страница 43: ...4 ...
Страница 44: ...14 ...
Страница 47: ......
Страница 48: ......
Страница 50: ......


