26
ENGLISH
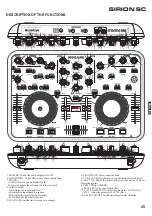
DESCRIPTION OF THE FUNCTIONS
11- SEAMLESS LOOP:
A. Press IN and then press Out to form a loop.
B. Hold SHIFT and then press IN to decrease the loop length or press
OUT to enlarge the loop length.
12- SCRATCH: Scratch: To switch on/off this function.
13- CUE: Press it to monitor a specific channel.
14- SYNC: Press it to immediately synchronize with the BPM of the
other channel.
15- KEY: Press it to switch KEY mode on or off. If it is ON, the unit
maintains at a constant tempo and doesn't change while the pitch slider is
moving.
16- LINE FADER: Adjust the channel output sound level.
17- CROSSFADER: Switch between or mix together with music of two
channels.
18- PITCH FADER: Use it to adjust the pitch up or down to match the
beat with the other channel.
19- JOG WHEEL:
a. Press Shift and move wheel to travel fast through the track
b. Use it to dial for slight adjusting pitch value
c. Use it to dial scratch.
20- SHIFT:
Search: Hold it and dial the wheel to search the certain point you would
like to play from.
Compound Function: Hold it to enable specific button to do the
compound function. These buttons have black boxes up or next their first
function description.
20.1- Audio/Video mode switch
20.2- Key Adjust- Adjust the key of the playing track without adjusting
its tempo.
20.3- Folder
1. Open or Close a subfolder.
2. Under the track selection mode, it allows you to go back to select the
track in the other folder.
20.4 Key /Hot Cue: When Smart cue is activated, songs are
automatically re-syncrhonized when jumped to a new position or cue.
20.5- Hot Cue:
- press Shift + Set Cue/Hot Cue 1 (8). This sets a Cue point without
interruption of the playback. This is Hot Cue 1 and will remain stored
ready for be reclaimed.
- press Shift + Set Cue/Hot Cue 2 (7). This sets a Cue point without
interruption of the playback. This is Hot Cue 2 and will remain stored
ready for be reclaimed.
- press Shift + Set Cue/Hot Cue 3 (6). This sets a Cue point without
interruption of the playback. This is Hot Cue 3 and will remain stored
ready for be reclaimed.
To claim back the stored Hot Cues repeat the same operation. You can
change the last stored Hot Cue using the control Set Cue.
20.6- Sample: press Shift + Effects/Sample (10). We
activate/deactivate Sample mode. Or what is the same we set Sample
ON/OFF.
- press Shift and use control Select/Sample (9). It allows for the
selection of one of the available Samples.
- press Shift and use control control FX 1/SAMP-VOL (9). It allows for
the setting of Sample Parameter 1 .
20.7- Clone A, B: Copy the track of one channel to the other channel.
20.8- Smart Loop: the Loop will be create as close as possible to
neighbouring beats.
20.9- Smart Cue
20.10- Seek: use the wheel to fast scroll through the track.
20.11- AUTOLOOP: Keep Shift button pressed and press buttons IN
and OUT to set the length of the Autoloop. Use OUT button to
activate/deactivate the Autoloop.
20.12- TAP: Press with the beat to get a manual BPM value.
21- Headphone Output
Use it to connect to a 3.5mm plug of a headphone.
22 - Mic Input: 6.8mm jack for plugging into a microphone. The knob on
the front panel is for controlling the volume.
23 - Master Ouput: One set of RCA socket for connecting with the
speaker.
24.- Touch Sensitive Curve: Adjust it for the touch sensitive response
you prefer.
25- USB Connector
Use it to connect with a laptop or a desktop via USB cable.
26 - Microhone Volume control
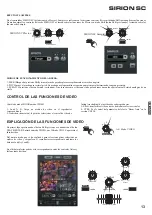
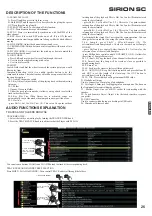
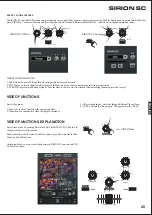
AUDIO FUNCTIONS EXPLANATION
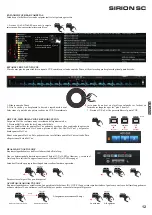
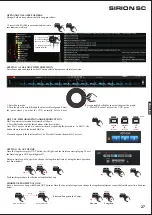
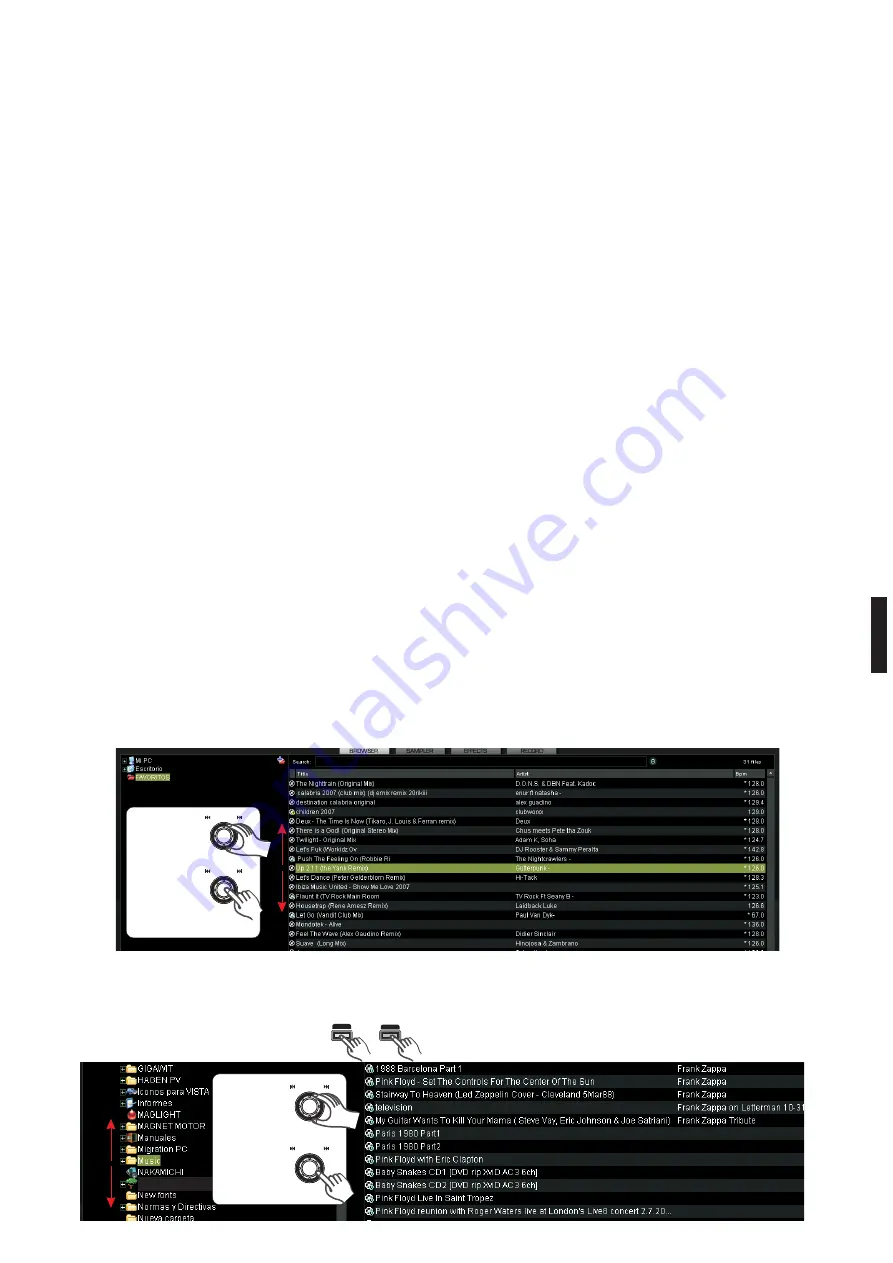
TRACKS AND FOLDERS BROWSE
TRACK BROWSE:
1- Select the track you want to play by turning the TRACK/ENTER knob.
2- Press the TRACK/ENTER knob to load the track at the Player with PFL ON.
You can also use buttons LOAD A and LOAD B to load the track at the corresponding deck.
TRACK TREE AND FOLDER TREE SELECTION
Press SHIFT + LOAD A/FOLDER > Turn control TRACK and scroll through the folders.
LOAD A
SHIFT
FOLDER
1- do as seen at draw>
TRACK
1- Turn the knob to
select tracks
TRACK
2- Press the knob to
load the selected
track at the deck with
PFLON
ENTER
ENTER
TRACK
ENTER
2- Turn the knob to
select folder
TRACK
ENTER
3- Press the knob to
select tracks tree
again
SIRION SC
Содержание SIRION SC MIDI DJ CONTROLLER
Страница 1: ...USER MANUAL MANUAL DE USUARIO MIDI DJ CONTROLLER W SOUND CARD SIRION SC ...
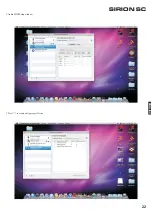
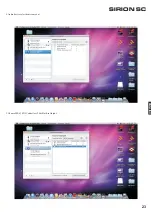
Страница 23: ...22 SIRION SC 2 AudioMIDI Setupwindow 3 Press tocreateanAggregateDevice ENGLISH ...
Страница 24: ...23 SIRION SC 4 Audiodeviceselectitemscomeout 5 ChooseME 120DJ Controllerv2 0 Built inOutput ENGLISH ...
Страница 34: ...C Praga nº11 Pol Ind Cova Solera 08191 Rubí Barcelona SPAIN www akiyamadj com info akiyamadj com SIRION SC ...

