33
Adjusting Level Accuracy (Calibration)
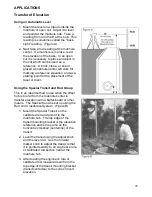
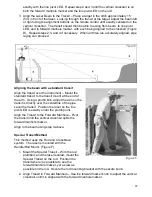
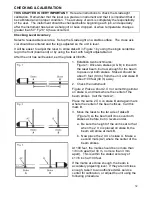
Without moving your checking setup, make a mark on the 2 X $ halfway between A1 and A2
(call it C). The laser must be calibrated to bring the beam to the center mark C.
IMPORTANT: Before calibrating, ensure that the instrument housing is level by placing a
small carpenter’s level on top of the unit, parallel with the beam. Do not move the unit: only
adjust the single centerline leg or trivet point until the housing is level.
Do not enter calibration mode or attempt adjustment unless it is planned to change accuracy.
Accuracy adjustment should be performed carefully, by personnel who understand basic
adjustment principles.
If you’ve made changes you do not wish to save, turn the laser off.
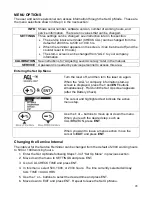
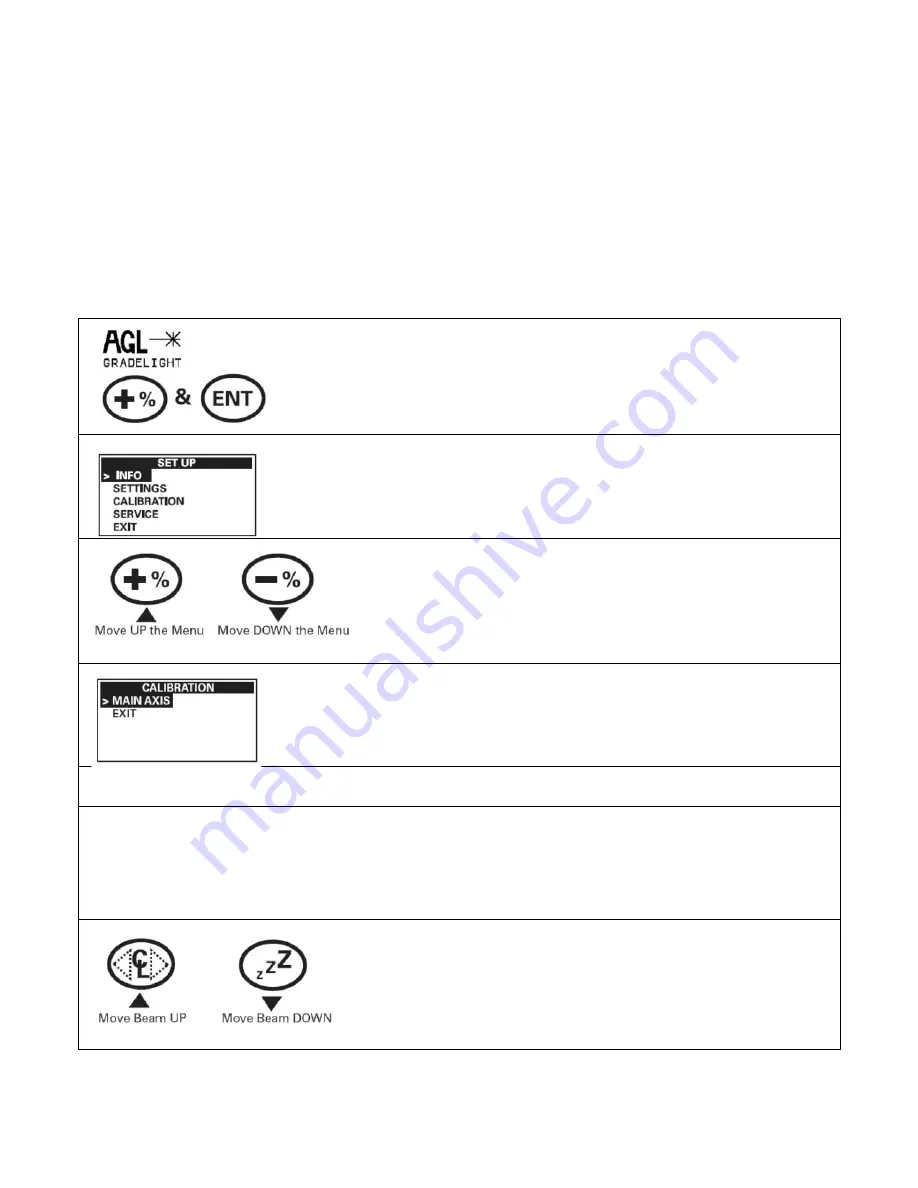
Accessing Calibration through the Set Up Menu
Turn the laser off, and the turn the laser on again.
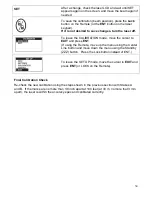
When the AGL start-up screen is displayed, press the
+
and
ENT
buttons simultaneously. Hold until the Set Up
screen appears (after the Battery Check).
The cursor and highlighted text indicate the active menu
step.
Use the
+
or
–
buttons to move up or down the menu.
Move down to
CALIBRATION
and press
ENT
.
Confirm the step
MAIN AXIS
by pressing
ENT
.
WAIT
The screen will show
WAIT
.
SET
When SET appears, the height of the laser beam can be
adjusted to the center point C.
Do this by using the Remote, so the laser is not disturbed
during adjustment. It will also allow you to stand at stake
A and move the beam until it is at C.
Use the
Center Line
button on the remote to move the
beam up; use the
Standby (ZZZ)
button on the Remote
to move the beam down.
Содержание GradeLight 3000
Страница 1: ...GradeLight 3000 Pipe Laser ...
Страница 4: ...3 Laser Overview ...
Страница 38: ...37 ...
Страница 39: ...38 ...
Страница 40: ...39 Printed in USA AM1145 3 10 Specifications subject to change without notice ...


