


Service, Support, and Safety Information
A
E5505A Installation Guide
95
Shipping the instrument
Use the following procedure to package and ship your instrument for
service. For instructions on removing an instrument from the system and
re- installing it, refer to the system user’s guide.
To package the instrument for shipping
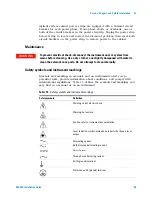
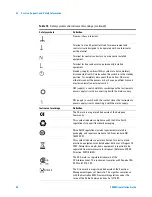
Step
Notes
1
Place the instrument in its original packaging
materials.
•
If the original packaging materials are
not available, use a professional
packaging service. Contact your Agilent
Service Center for more information.
2
Surround the instrument with at least 3 to 4
inches of its original packing material or
bubble-pack to prevent the instrument from
moving in its shipping container.
3
After wrapping it with packing material, place the
instrument in its original shipping container or a
strong shipping container that is made of
double-walled corrugated cardboard with 159 kg
(350 lb) bursting strength.
•
The shipping container must be large
and strong enough to accommodate
your instrument and allow at least 3 to 4
inches on all sides for packing material.
4
Seal the shipping container securely with strong
nylon adhesive tape.
5
Mark the shipping container “FRAGILE, HANDLE
WITH CARE” to help ensure careful handling.
6
Use the address obtained from your Agilent
customer engineer.
7
Retain copies of all shipping papers.
C A U T I O N
Damage can result if the original packaging materials are not used. Packaging
materials should be anti-static and cushion the downconverter on all sides. NEVER
USE STYRENE PELLETS IN ANY SHAPE AS PACKAGING MATERIALS. They do not
adequately cushion the instrument or prevent it from moving in the shipping
container. Styrene pellets can also cause equipment damage by generating static
electricity or by lodging in fan motors.
Содержание E5505A
Страница 18: ...18 E5505A Installation Guide 1 General Information ...
Страница 22: ...22 E5505A Installation Guide 2 Flat Panel Display ...
Страница 30: ...30 E5505A Installation Guide 3 System Interconnections ...
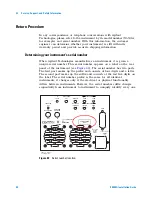
Страница 70: ...70 E5505A Installation Guide 5 Recovery Figure 39 Ejector Lever Pulled Up Figure 40 Ejector Lever Pushed Down ...
Страница 84: ...84 E5505A Installation Guide 6 Preventive Maintenance ...
Страница 96: ...96 E5505A Installation Guide A Service Support and Safety Information ...


