12
53210A/53220A/53230A
Option
Installation
53210A/53220A/53230A Option Installation
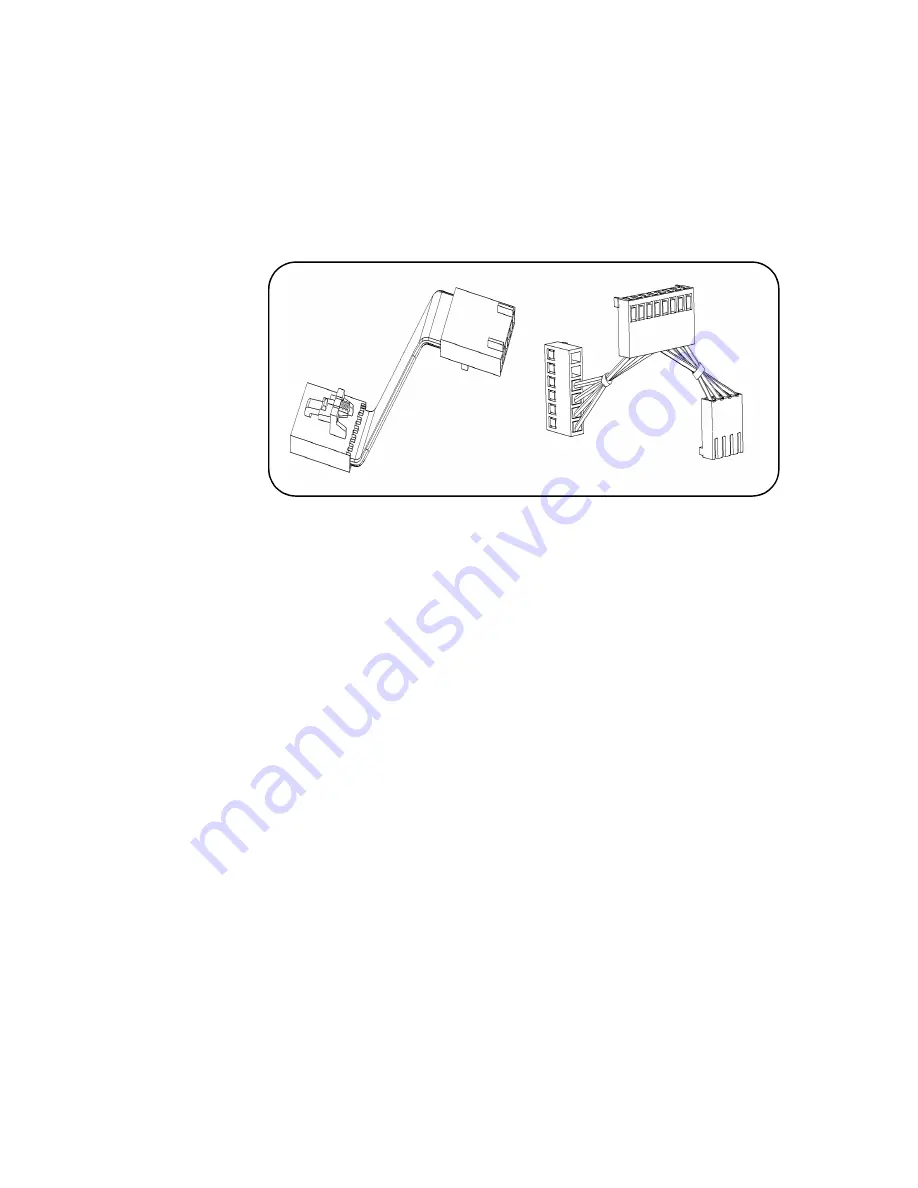
Figure 6. Digital and Y-Cables.
6. Connect one end of the supplied (digital) 6- pin ribbon cable (Figure 6)
to the 6- pin connector J1200 (next to 4- pin connector J1000 on the moth-
erboard).
7. On the Battery assembly, push and hold the white test button while
observing the charge- level indicator (Figure 7). The charge level should be
at least 25%. It should charge to 100% after installation when AC power is
applied.
DIGITAL
Y - CABLE


