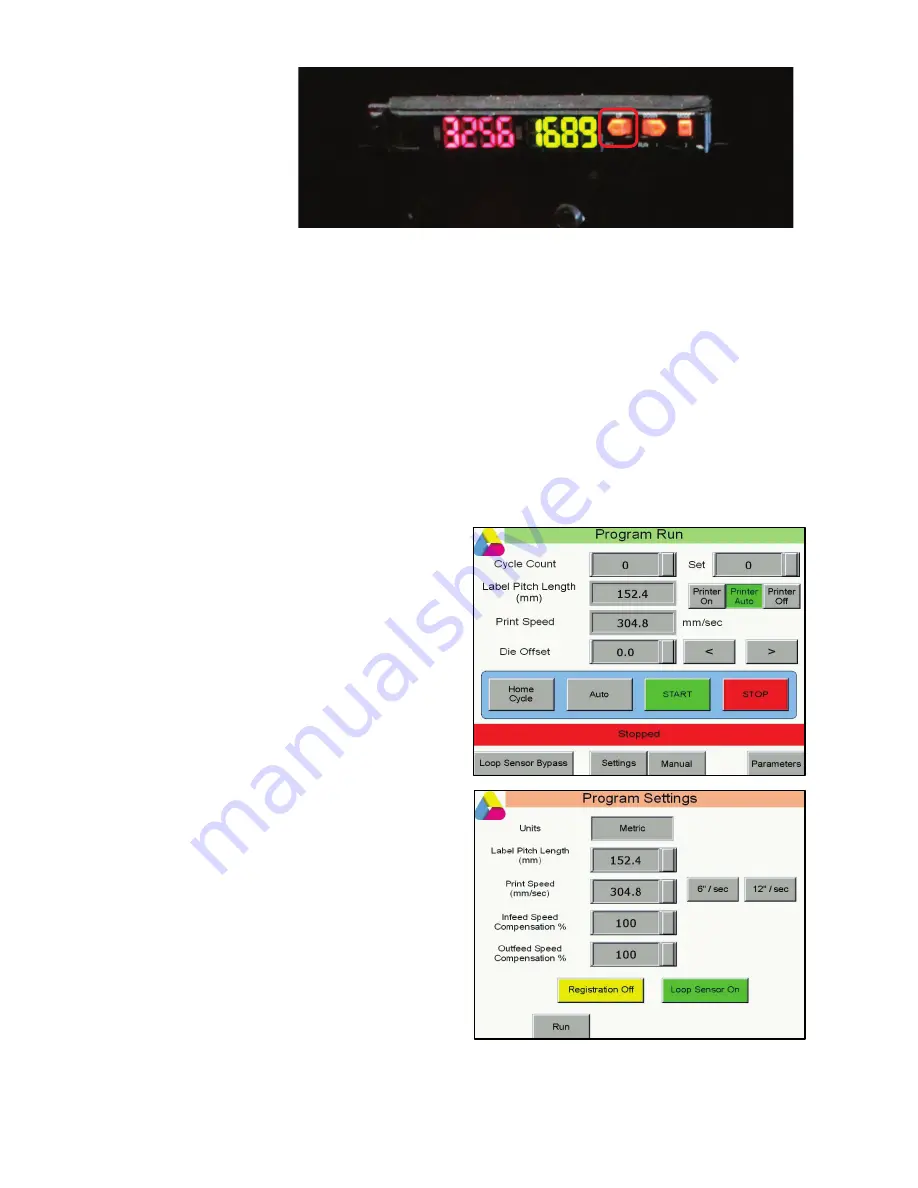
19
2.
Press the orange
button on the left
once
. The display
will flash and
change to
2PntTch or
something
similar.
3.
Manually move the media a little forward so the laser is pointing onto the media color only.
4.
Press the orange button on the left once more.
5.
Set the small switch from
SET
to
RUN
.
a.
Test that you have taught the sensor correctly by inching the machine slowly past the
next mark. The laser indicator should flash orange when it sees the black mark. This
indicates that you have taught the sensor correctly.
6.
Return to the Main screen and touch the
Home cycle
button.
Cutting blank labels
Cutting blank labels requires that Registration be turned
Off
. The Printer Bypass media path should be
used (see Loading media on page 15.
1.
Touch the
Settings
button on the main
screen.
2.
The
Registration
button will show the
current setting; touch the button to toggle
the setting to
Off
.
3.
Enter the
Label Pitch Length
.
a.
You should always have at least
0.125” (3mm) of gap between the
bottom cut on one plate pass and
the top of the next.
b.
If there’s more than one label
vertically on the cut plate, set the
length so the gap between die plate
cuts is consistent with the gaps on
the die plate.
4.
Touch the
Run
button to return to the main
screen when
Registration
is set as needed.
5.
Touch the
Settings
button on the main
screen.
6.
The
Registration
button will show the
current setting; touch the button to toggle
the setting to
Off
.
7.
Enter the
Label Pitch Length
.
a.
You should always have at least 0.125” (3mm) of gap between the bottom cut on one
plate pass and the top of the next.


