Aeroworks 60cc Freestyle Extra 260 Assembly Manual
9
1.
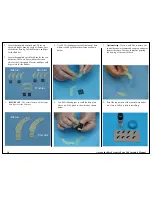
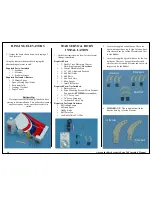
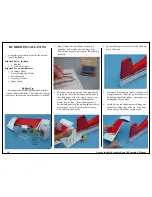
Gather the items shown below for the installa-
tion of the aileron servo and control horns
Required Parts - Included
2 - Double Truss Fiberglass Control
Horns- Single Output -
Long Base
1 - Control Horn Base Plate
1 - 3” 4-40 Adjustable Pushrod
2 - 4-40 Ball Links
2 - 4-40 Bolts
2 - 4-40 Lock Nuts
1 - Brass Spacer
1 - 3mm Flat Washer
Required Parts-Not Included
1 - Aileron Servo
4 - Servo Mounting Screws (Micro Fastener
Part number
STW0209
recommended)
1 - 1 1/4” to 1 1/2” Servo Arm
1 - 6” Servo Extension
1 - Aeroworks Safety Clip
Required Tools and Adhesives
80 Grit Sandpaper
5 Minute Epoxy
Hobby Knife
Ball Point Pen
AILERON SERVO & HORN
INSTALLATION
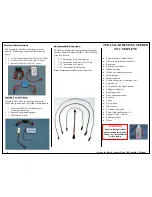
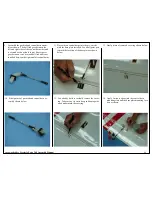
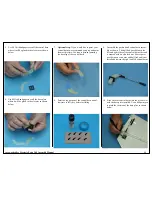
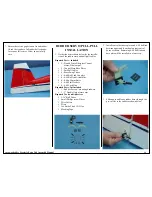
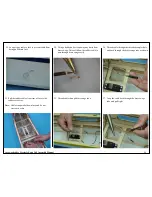
2. Prep all hinges for installation by applying
petroleum jelly or light oil to the hinge joint.
This ensures no epoxy gets into the hinge during
assembly.
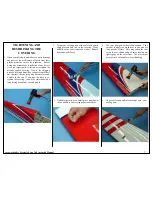
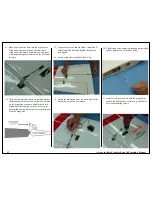
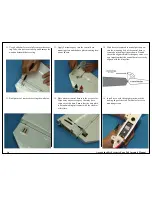
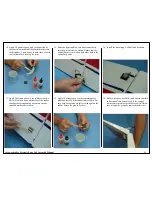
3. Mix epoxy in mixing cup and use a tapered stick
to apply the epoxy inside the pre-drilled holes in
the trailing edge of the wing. Apply epoxy to
one side of each hinge and insert the hinge com-
pletely into the hole. Ensure the hinge axis is
vertical and parallel to the trailing edge of the
wing before epoxy cures. Wipe away excess
epoxy with alcohol wetted wipes.
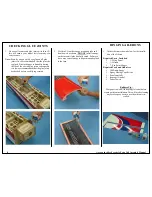
4. Mix epoxy in mixing cup and use a tapered stick
to apply the epoxy inside the pre-drilled holes in
the leading edge of the aileron. Apply epoxy to
trailing edge of each hinge.
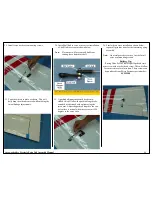
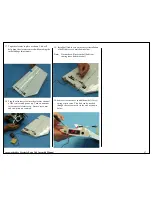
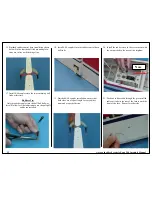
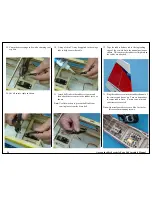
5. Carefully slide the aileron onto each hinge and
against the trailing edge of the wing. Wipe away
excess epoxy with alcohol wetted wipes.
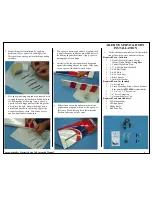
6. Slide aileron onto wing and ensure there is no
gap between wing and aileron. Allow epoxy to
fully cure. Check that you have full aileron de-
flection before epoxy fully cures.


