


g
4
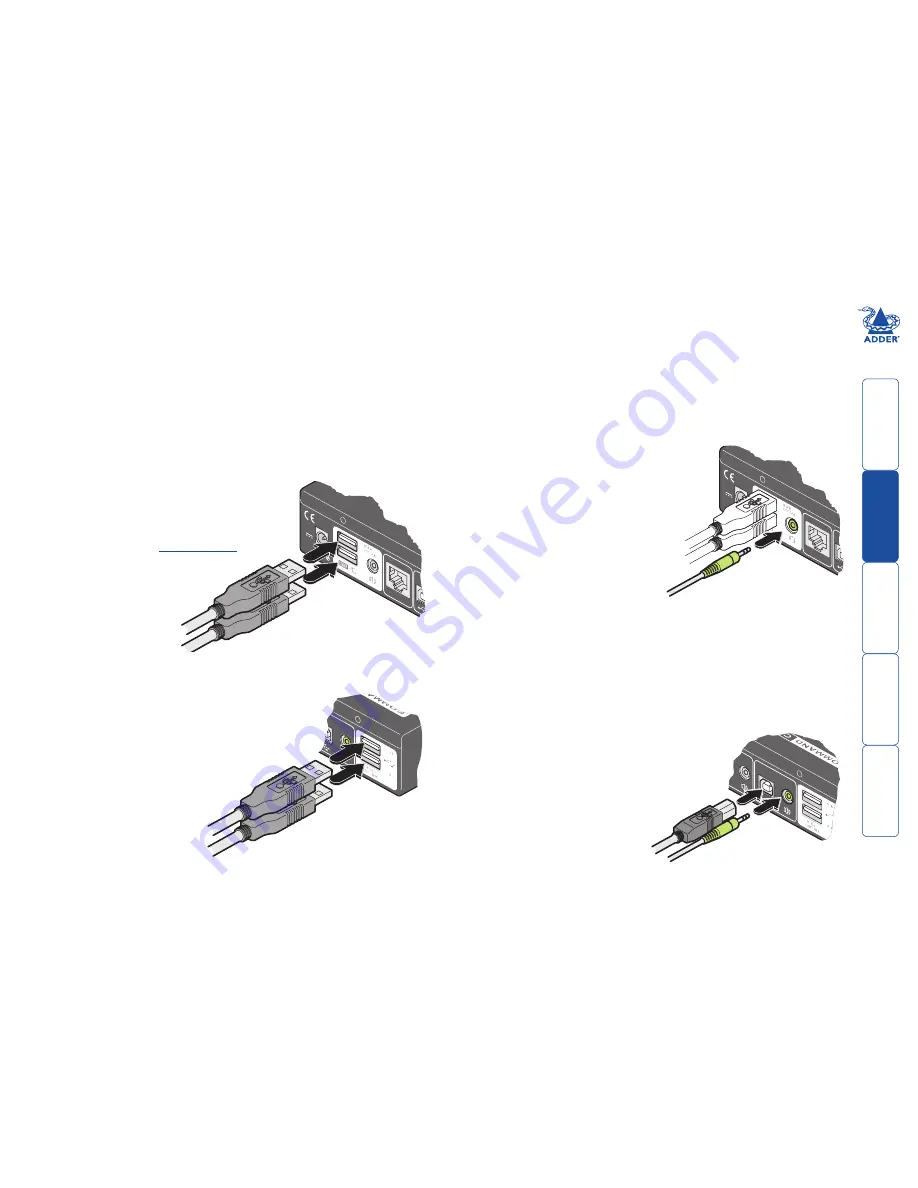
Audio
: Where required, connect the lead from
your speakers to the audio socket.
3
USB devices
: Where required, attach the leads from
your USB peripherals to the USB sockets labelled
USB1 and USB2.
Connections
Connections do not need to be carried out in the order given within this guide,
however, where possible connect the
power in
as a final step
User console
The ports that make up the user console are where you attach the peripherals
which will be shared between the computer systems. Ensure that power is
disconnected from the unit.
To connect peripherals to the user console
1 Position your peripheral devices in the vicinity of the unit such that their
cables will easily reach.
2
Keyboard and mouse
: Attach the leads
from your USB keyboard and mouse to
the USB sockets specifically labelled with
keyboard and mouse symbols. The keyboard
and mouse will operate in any of the USB
sockets, however,
True.Emulation
is not
available on sockets labelled USB1
or USB2.
5V
2.5A
I ND
O OR
U SE
O NL
Y
OPTIO
NS
1
5V
2.5A
I ND
O OR
U SE
O NL
Y
OPTIO
NS
From speakers
From USB keyboard and mouse
From USB peripherals
Computer systems
Each computer system is connected to the CCS4-USB unit using (up to) two cables.
To connect a computer system
1 Ensure that power is disconnected from the CCS4-USB unit and the system
to be connected.
2 Use a USB cable (type-A to type-B) to link a USB port
on the computer system to the USB port of the
required channel on the rear of the unit.
3 If required, use a stereo audio link cable (3.5mm
jacks at either end) to link the speaker port on
the computer system to the audio port of
the required channel on the rear of
the unit.
2
1
USB and audio
links to a system


