57
-
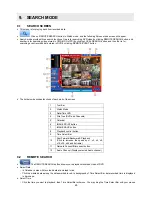
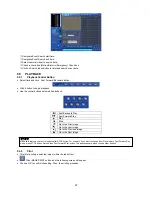
Manager/User: allow user to authority.
y
Save Option:
allow user to select Drive(C, D) and folder to save data.
y
Choose ‘OK’ to confirm the setting.
8.2.2 Remote
Site
y
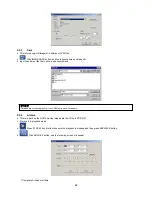
This menu is for Network setup.
y
Make CMS IP address and Port coincide with DVR.
y
Remote Site Connection Setup:
-
Site Name: input DVR site name to be displayed on the right-hand side of DVR icon. Please note that this name has
nothing to do with the ID registered in DVR. User may create a name that is fairly easy to distinguish.
-
IP Address/Domain Name: input IP address or Domain Name of DVR (check with SETUP>DEVICES>Network in your
DVR).
-
Command Port: input Administrator’s number among port numbers set in DVR (check with SETUP>DEVICES>Network
in your DVR).
-
Stream Port: INPUT Video/Audio number among port numbers set in DVR (check with SETUP>DEVICES>Network in
your DVR).
y
Remote Site Login Setup:
input ID and Password.
-
Please do not input ID and Password if you want a popup window for logon ID and password to appear at the time of
connection to CMS.
-
Please input ID and Password if you want to connect directly to CMS without ID and password verification.
-
ID and Password should be coincident with those of DVR. If Password for DVR has not been set up, enter ID only (check
with DVR: SETUP>SYSTEM>Account>User in your DVR).
-
Transfer Camera Select enables you to set the kind of channel(s) that show during the initial connection.
-
Add Site:
Click this button to add DVR site. You are allowed to register up to 256 DVR sites.
y
Delete Site:
use this button to delete the already registered DVR site(s).
y
E-map Setup:
Use this to upload saved E-map image file (see
10.2
E-map).
y
Popup Display:
Setup for beep and popup displays when event input.
Содержание Advanced MPEG-4 DVR
Страница 10: ...9 B Type 4 8 16 Channel Series DVR...

