35
y
Click (
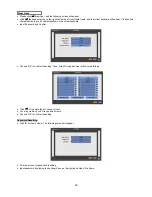
) the keyboard icon on the right-hand side of each frame on Title column, and the virtual keyboard will appear.
Then, please register the title of Alarm output.
y
When you check
5
a check box on No column, a corresponding Alarm output starts operating. However, if you do not
check the check box, the operation stops.
y
Click (
) each frame on Type column to select type of a corresponding Alarm output.
–
NO:
contact is normally open (Normally open)
–
NC:
contact is normally closed (Normally closed)
y
Click (
) each frame on Duration column to select duration (i.e.,
1 second ~3 hours
) of a corresponding Alarm output.
y
Choose ‘OK’ to confirm the setting.
4.5 RECORD
y
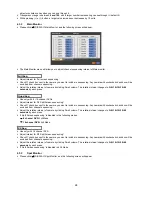
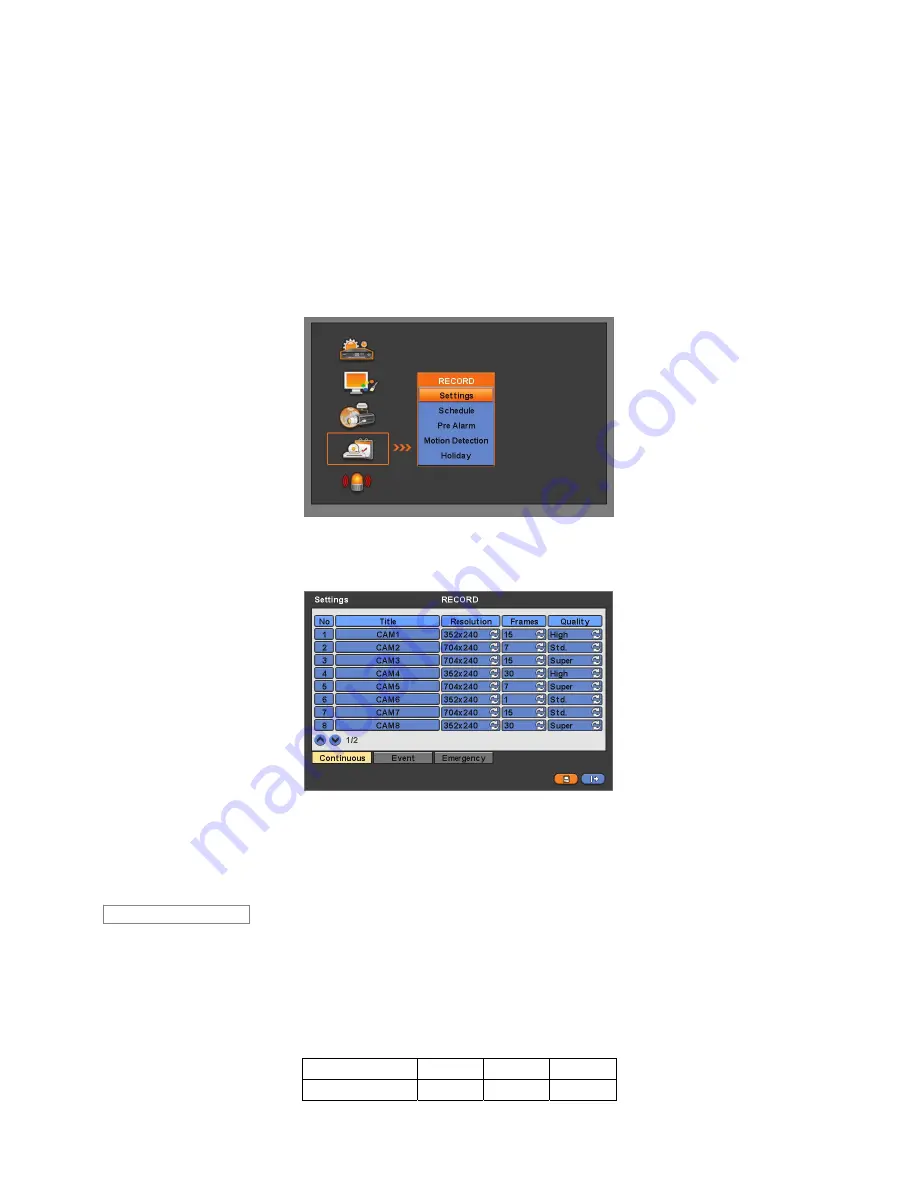
Please click (
) RECORD, and the following screen will appear.
4.5.1 Settings
y
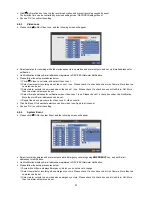
Please click (
) RECORD>Settings, and the following screen will appear.
y
There are three kinds of recording mode.
–
Continuous:
record continuously.
–
Event:
record only when Sensor or Motion calls.
–
Emergency:
record when you press
EMERGENCY
key.
y
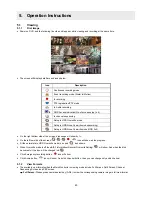
The Continuous menu will allow you to set recording mode.
y
Each frame on Title column shows camera title registered in DEVICES>Camera/PTZ. You cannot change camera titles
here.
y
Click (
) each frame on Resolution column to select recording resolution of a corresponding camera. You may select one of
704x480, 704x240, and 352x240
.
y
Click (
) each frame on Frames column to select recording rate of a corresponding camera. Recording rate varies by
camera. Below lists the maximum recording rate of each camera.
NTSC(PAL) 352x240
704x240
704x480
4 Channel DVR
120(100)
60(50)
30(25)
Continuous
Содержание Advanced MPEG-4 DVR
Страница 10: ...9 B Type 4 8 16 Channel Series DVR...


