Acer V551 (new) CRT Monitor Service Guide
Chapter 3 Alignment Procedure
2
Confidence and Property
0. Preparation for Alignment
a. Pre-set all VRs to the center position except R/G/B bias VR101, 102, 103 counterclockwise to
maximum.
b. Set up unit and keep it warm up at least 15 minutes.
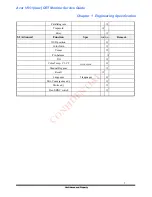
c. Preset mode
IBM VGA
640X480
31.5KHz/60Hz
IBM VGA
640X400
31.5KHz/70Hz
6448A
640X480
37.5KHz/75Hz
SVGA4
800X600
46.88KHz/75Hz
SVGA3
800X600
48.09KHz/72Hz
SVGA5
800X600
53.6KHz/85Hz
1. B+ Adjustment : (For function test station only)
a. Input mode 53.6KHz (SVGA5) with cross hatch pattern.
b. Press "" and "ADJUST -" keys at a same time.
c. Adjust switching power supply VR601 to make the horizontal B+ to be 50.0 +/- 0.2VDC.
2. Geometry Adjustment
a. Enter factory area -- Press "" and "ADJUST-" at the same time then turn power
switch on.
b. Press "" and "ADJUST -" at the same time to clear user area.
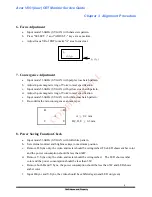
c. Input mode 31.5KHz (VGA 640x480) with tilt adjustment pattern.
d. Adjust CRT screw to meet tilt and orthogonal spec. ( Tilt <
±
1 mm , Orthogonal <
±
1.5mm )
e. Input the presetting modes and supporting modes with full white pattern.
f.
Set external contrast to maximum and brightness to raster just cut-off position.
g. Press "" or "SELECT -" to select the adjustment for H-size, H-phase, V-size,
V-center, Pincushion or Trapezoid.
h. Press "" or "ADJUST -" to make the geometry can meet item 9 table 2 spec.
i.
Press "" and "ADJUST -" at the same time to save the adjustment data.
j.
Change timing to next mode and repeat step f, g and h.
k. After all modes are adjusted OK, turn power switch off.


