Chapter 5
40
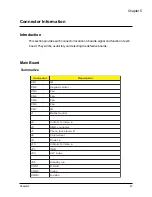
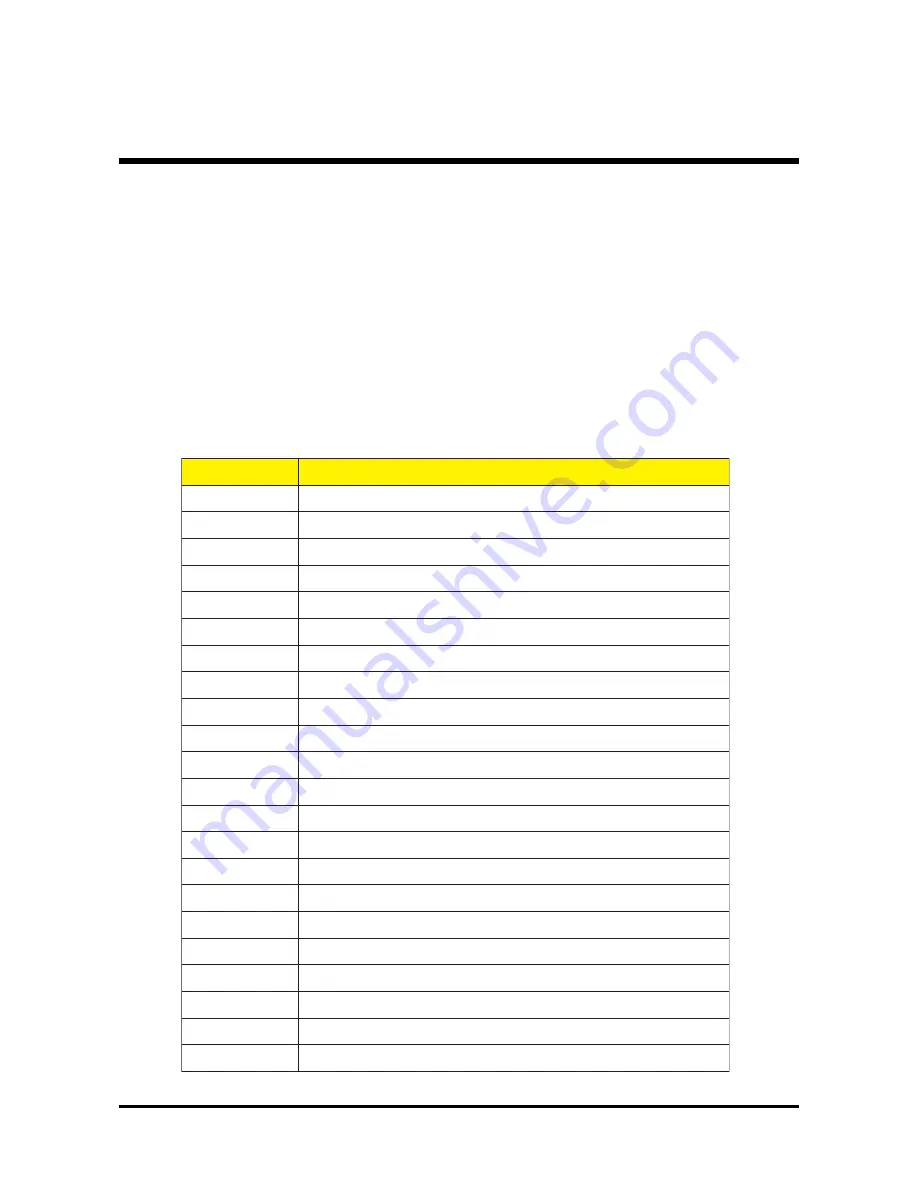
Main Board
Summarize
r
o
t
c
e
n
n
o
C
n
o
i
t
p
i
r
c
s
e
D
1
N
C
R
I
2
N
C
l
o
r
t
n
o
c
d
a
p
y
e
K
3
N
C
n
a
F
4
N
C
n
a
F
5
N
C
n
a
F
6
N
C
n
a
F
7
N
C
R
I
1
J
l
o
r
t
n
o
c
t
s
a
l
l
a
B
3
J
n
i
o
e
d
i
V
-
S
&
o
i
d
i
V
5
J
r
o
t
c
e
n
n
o
c
D
M
D
7
J
R
-
o
e
r
e
t
s
k
c
a
j
e
n
o
h
P
8
J
l
e
e
h
w
r
o
l
o
C
9
J
n
i
r
e
w
o
P
5
1
J
n
i
o
e
d
i
V
-
S
&
o
i
d
i
V
1
P
J
B
S
U
3
P
J
x
e
d
n
i
W
C
5
P
J
n
u
r
y
b
d
n
a
t
S
1
N
O
C
B
U
S
-
D
2
N
O
C
o
e
d
i
V
3
N
O
C
o
e
d
i
v
-
S
Connector Information
Introduction
This section provides each connector location on boards, signal and function of each
board. They will be useful for your detecting the defective boards.
Chapter 5
Содержание PD-115
Страница 12: ...Chapter 1 6 System Block Diagram ...
Страница 13: ...7 Chapter 1 Optics Conceptual Drawing ...
Страница 21: ...15 Chapter 3 Disassemble Front Fan 1 Lift up the Front f Fan Set from front cover directly ...
Страница 27: ...21 Chapter 3 Disassemble Back Cover 1 Loosen the screw of AC Inlet remove the ring 2 Remove the Back Cover ...
Страница 28: ...Chapter 3 22 Disassemble Back IR Cover AC Outlet 1 Take out theAC Inlet 2 Take out the Back IR Cover ...
Страница 30: ...Chapter 3 24 Disassemble Mylar Ground Plate 1 Lift up the Mylar 2 Then lift up the Groung Plate ...
Страница 32: ...Chapter 3 26 Disassemble DMD Assembly DMD 1 Lift up the DMDAssembly 2 Lift up the DMD ...
Страница 33: ...27 Chapter 3 Disassemble Thermal Board 1 Loosen the screw of SENSOR BRACKET TPD 2 Remove the Thermal Borad ...
Страница 34: ...Chapter 3 28 Disassemble Optical Engine Fan 1 Loosen the three screws of Fan 2 Remove the Optical Engine Fan ...
Страница 41: ...Chapter 4 36 Function Test and Alignment Equipment Needed Test Condition ...
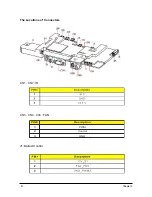
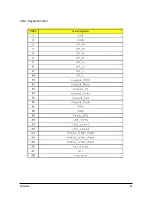
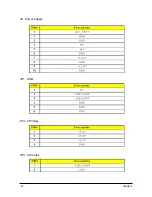
Страница 47: ...Chapter 5 42 CN2 Keypad Control ...
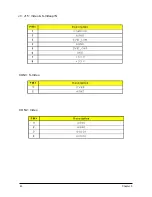
Страница 48: ...43 Chapter 5 CON2 Video CON3 S Video J3 J15 Video S Videop IN ...
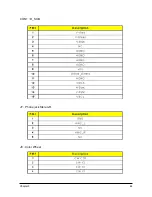
Страница 49: ...Chapter 5 44 J7 Phone jack Stereo R CON1 D_SUB J8 Color Wheel ...
Страница 50: ...45 Chapter 5 JP1 USB J9 Power Supply JP3 CW Index JP3 CW Index ...
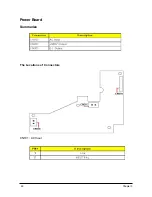
Страница 51: ...46 Chapter 5 Power Board Summarize The Locations of Connectors CN101 AC Inout ...
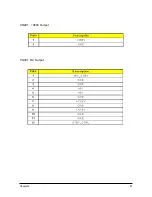
Страница 52: ...Chapter 5 47 CN201 380V Output CN301 DC Output ...
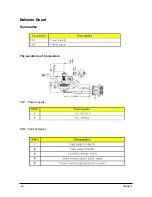
Страница 53: ...48 Chapter 5 Ballaster Board Summarize CN2 Control signal CN1 Power supply The Locations of Connectors ...
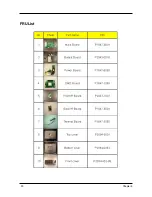
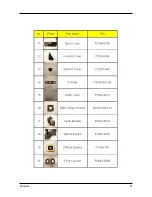
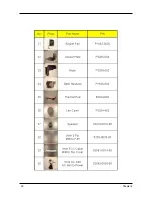
Страница 55: ...50 Chapter 6 FRU List ...
Страница 56: ...Chapter 6 51 ...
Страница 57: ...52 Chapter 6 ...
Страница 58: ...Chapter 6 53 ...


