76
English
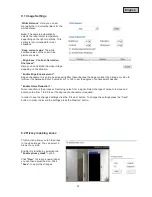
Local recording
A recording on the local hard disk can be started or stopped here. You can configure the recording path under
“Client Settings”.
Adjust the volume
Press to manually set the audio output level.
Audio On / Off
Talk
As long as this button is pressed, the audio signals from the PC are transmitted to the audio output of the
network camera.
Microphone volume
Press to manually adjust the level for the audio input of the network camera.
Mute
Press to switch the audio input of the network camera on and off.
Full-screen
Activates the full-screen view. The live image on the network camera is shown on the entire screen.
5.2 Client settings
The user settings are saved on the local computer. The following settings are available:
Media Options
Allow the user to disable the audio or video function.
Protocol Options
Allows a connection protocol to be selected between the client and the server.
The following protocol options are available for optimising the application: UDP, TCP, HTTP.
The UDP protocol gives you a larger number of audio and video streams in real time. However, some data
packets can be lost due to the large data volume in the network. Pictures may be unclear in this case.
The UDP protocol is recommended if you have no special requirements.
With the TCP protocol, fewer data packets are lost and the video display is more accurate. The disadvantage
of this protocol is that the realtime stream is worse than with the UDP protocol.
Select the HTTP protocol if the network is protected by a firewall and only the HTTP port (80) is to be opened.
The selection of the protocol is recommended in the following order: UDP – TCP – HTTP.
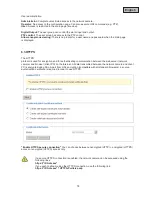
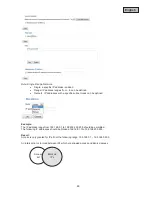
MP4 Saving Options:
Here, you can modify the data path to save the data immediately. Activating the
“Add date and time suffix to filename” option generates files under the following name:
CLIP_20091115-164403.MP4
FileExtensionName_YearMonthDay-HourMinuteSecond.MP4

