19
Mounting the terminal
&KDSWHU
,QVWDOOLQJWKHWHUPLQDO
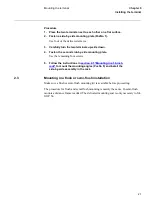
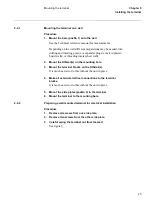
3URFHGXUH
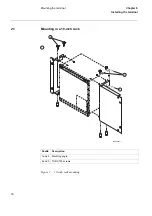
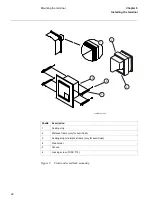
&DUHIXOO\IDVWHQWKHPRXQWLQJDQJOHVWRWKHVLGHVRIWKHWHUPL
QDO
Use the TORX T20 screws available in the mounting kit.
3ODFHWKHWHUPLQDODVVHPEO\LQWKHUDFN
)DVWHQWKHPRXQWLQJDQJOHVZLWKDSSURSULDWHVFUHZV
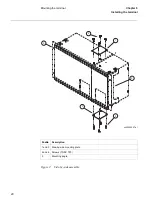
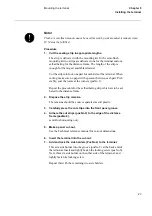
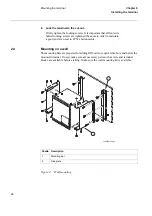
0RXQWLQJLQDLQFKUDFNZLWKDQDGGLWLRQDOER[W\SH5+*6
Make sure a side-by-side mounting kit and a suitable 19-inch rack mounting kit are
available before proceeding.
Assemble the two terminals by using a side-by-side mounting kit. Then mount the
brackets and install the assembled terminals in the rack as described in
section 2.1
Содержание REL 531
Страница 16: ...10 Note signs KDSWHU 6DIHW LQIRUPDWLRQ ...
Страница 44: ...38 Checking the binary I O circuits KDSWHU KHFNLQJ WKH H WHUQDO FLUFXLWU ...
Страница 52: ...46 Checking the self supervision signals KDSWHU QHUJLVLQJ WKH WHUPLQDO ...
Страница 132: ...126 Two step time delayed phase overcurrent protection TOC2 KDSWHU 9HULI LQJ VHWWLQJV E VHFRQGDU LQMHFWLRQ ...
Страница 136: ...130 Testing the interaction of the distance protection KDSWHU 9HULI LQJ WKH LQWHUQDO FRQILJXUDWLRQ ...
Страница 140: ...134 Testing the interaction of the distance protection KDSWHU 7HVWLQJ WKH SURWHFWLRQ V VWHP ...

