54 | 3DGence INDUSTRY F340
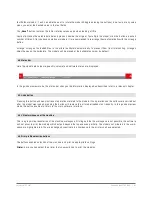
The printer automatically pauses printing and moves the module beyond the printing area. Then the touch screen displays
the filament change wizard. Observe the following recommendations:
4. Cut the material right in front of the material cleaner and remove the material spool, Press the Continue button.
5. The printer will eject the remaining material. Remove it from the PTFE tubing. Press the Continue button.
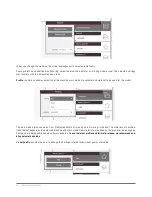
Caution: if it is not performed in automatic mode (e.g. remaining filaments are left in the tubing) disconnect it from the
fitting at the module and clear it by using a piece of other filament.
6. Touch a spool with new filament to the SMM module or select a material from the list and press Continue.
7. Place the spool with a new filament on the holder and press Continue. Do not pass the filament through the cleaner
yet – the machine will weigh the spool in the next step.
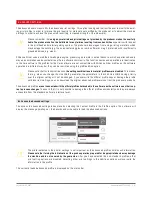
8. Unlock the extruder and press Continue.
9. Pass the filament though the extruder and insert a few centimeters into the PTFE tubing by using a knob on the encoder.
Lock the extruder and press Continue.
10. Close the material chamber. The filament will be locked automatically. The machine will ask if the operation has been
performed correctly – if yes, the device will resume its operation. If not, the operation should be repeated, after removing
the filament by hand.
5. CLEANING
Each time, once the print is completed, it is recommended to clean the printing head by removing the deposit
of melted/burned material that could be located on the external part of the nozzle.
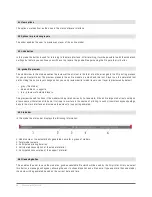
5.1. Cleaning the hotends
To do this:
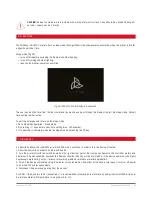
1. Start the Preheat option from the printer menu, It will provide a good access to the head by using the Manual Controls
option – Middle or Down.
2. Provide a good access to the head by using the Manual Controls – Middle or Down.
3. By using a non-flammable material or tweezers gently remove the deposit of melted/burned material.
4. Once the heads cleaning is completed, turn the heating off (using the Cooldown function from the printer menu).
5.2. Cleaning the heatbed
Contaminated or greased printer working table may considerably obstruct or make it impossible to continue
printing. It is recommended to clean the working table before each new print.
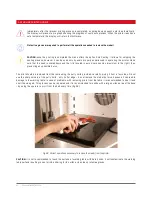
The printer working table should be cleaned by following the instructions below.
1. Set the working table in position that allows for cleaning it in a comfortable way. (Manual Controls – Middle or Down)
2. Turn off all the machine heating elements and wait until their cooling down process is completed. It can be useful to select
the „Cooldown” option available in the menu.
3. Turn the device off by using the master switch and then disconnect the printer from the mains.
4. Put protective gloves on.
5. Clean the surface of the working table by removing all plastic residues with a putty knife. Then soak a cotton (not a synthetic
one) cloth with solvent:
• 10% spirit vinegar,
• acetone,
• nitrocellulose-based solvent,
• petroleum ether.
While degreasing pay special attention so as not to expose the printer components made of plastics and painted to the sol-
vent, because it may lead to their damage.
6. Wait until the solvent evaporates.
Содержание INDUSTRY F340
Страница 1: ...USER MANUAL 3DGence INDUSTRY F340 ...
Страница 2: ...2 3DGence INDUSTRY F340 ...
Страница 16: ...16 3DGence INDUSTRY F340 Fig 12 3DGence INDUSTRY F340 right view 15 USB A port 16 USB B port 15 16 ...
Страница 39: ...3DGence INDUSTRY F340 39 version 1 0 07 2017 ...
Страница 43: ...3DGence INDUSTRY F340 43 version 1 0 07 2017 ...
Страница 86: ...86 3DGence INDUSTRY F340 ...
Страница 87: ......


