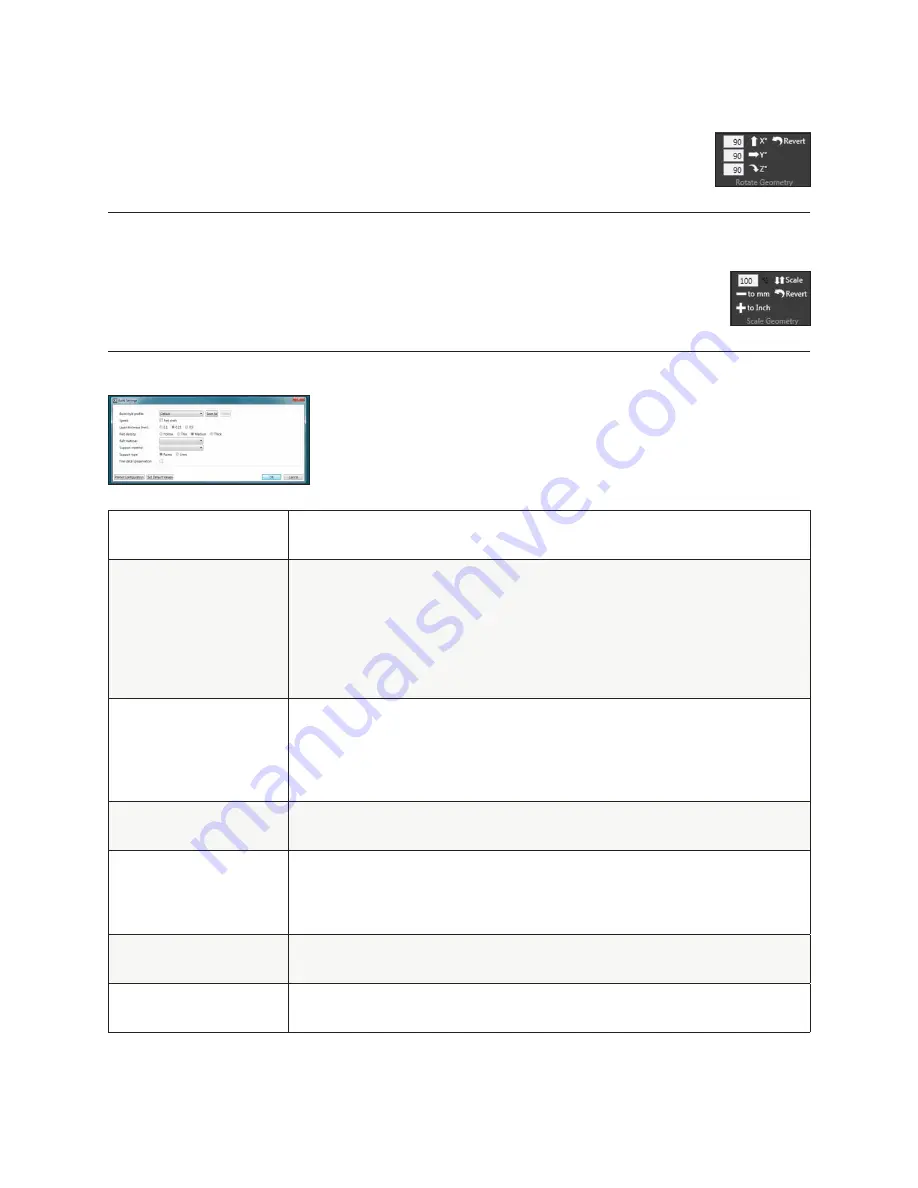
SCALING A PART
You can scale a part by pressing the scale button . The amount your part will be scaled by is defaulted
to 50% . This can be changed to suit your needs . You can also use the – to mm and + to inch to scale by
unit conversion . (Fig . 83)
USING THE CUBEX SOFTWARE TO BUILD A .CUBEX FILE
(Fig . 84)
Fig . 84
BUILD STYLE PROFILE
Use this to select previously saved print settings . To save print settings you are using for
future quick selection, press the save as button and give the profile a name.
LAYER THICKNESS
This is the resolution your part will be printed at .
• 0.1mm:
The CubeX 3D Printers finest resolution. This layer height takes the longest
to print but gives the best quality parts .
• 0.25mm:
A middle ground between 0 .1mm and
• 0.5mm:
This layer height is faster than 0 .1mm but is slightly lower quality .
• 0.5mm:
The CubeX 3D Printers fastest resolution . This layer height has a lower
quality than 0 .1mm and 0 .25mm but has a much faster print time .
PART DENSITY
This is how much solid fill your part will contain.
• Hollow:
The part will have no internal structure .
• Thin:
The part will have a small amount of internal structure to give it support .
• Medium:
The part will have a good internal structure supporting it .
• Heavy:
A heavy part with a strong internal structure .
RAFT MATERIAL
Use this to select which material will print your raft or the raftless option . We recommend
printing raftless but some larger parts may require a raft .
SUPPORT MATERIAL
Use this to select your support material or the no support option . Support material
may be required when printing parts with overhangs greater than 50° . Before printing
with supports try rotating your model in the software to see if this can eliminate the
overhangs . If this is not possible then supports may be required .
SUPPORT TYPE
Choose between points and lines for your support material . Does not affect the print if no
support is selected .
FINE DETAIL
PRESERVATION
Enabling this will preserve finer details of your part, but may affect accuracy.
24
ROTATING A PART
Use the rotate buttons to rotate the part in the desired axis . The amount the part will be turned is
defaulted to 90° . This can be changed to suit your needs . (Fig . 82)
Fig . 82
Fig . 83


