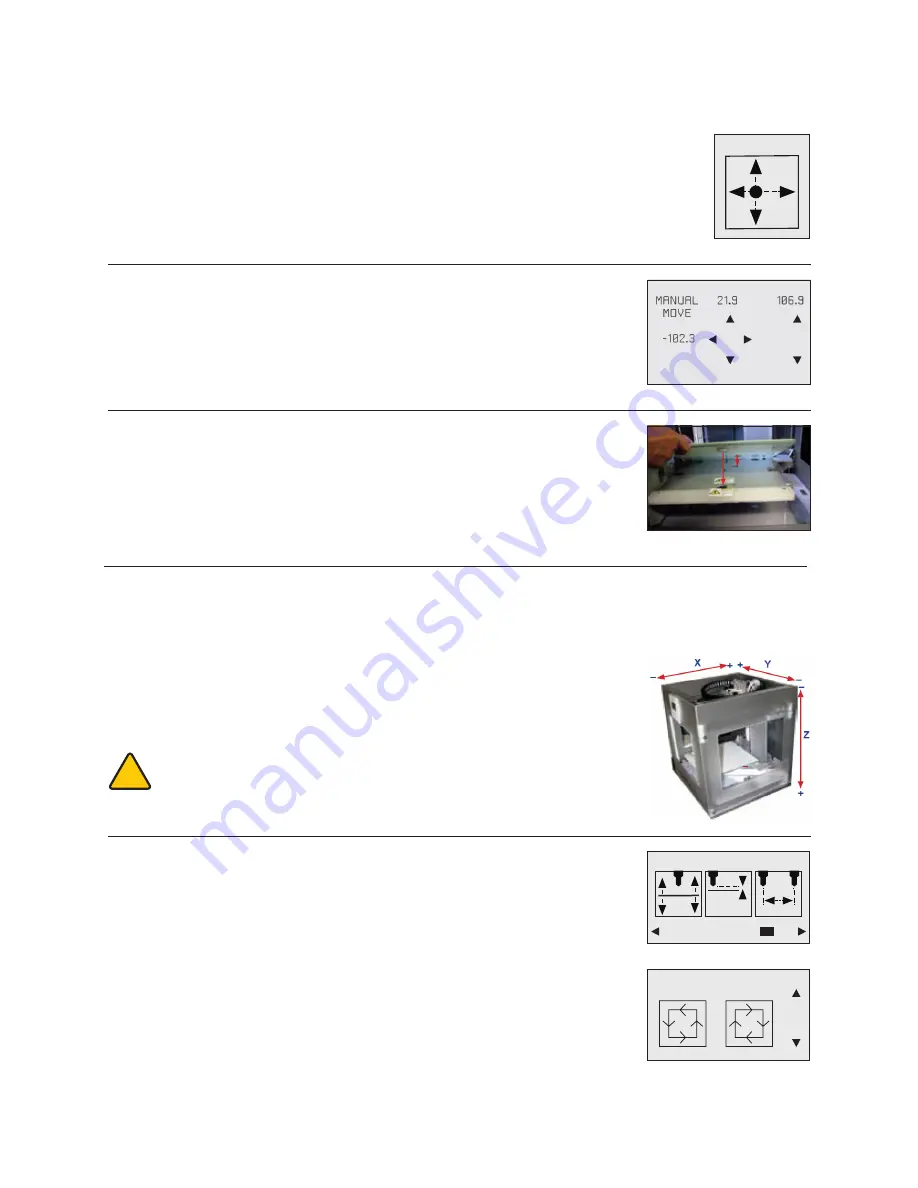
1 . Scroll to the LEVEL menu and select . (Fig . 26) Tap on the clockwise and
counterclockwise position and observe the print jet’s print jet tip moves around the
print pad from the side of pad . (Fig . 27)
2 . After checking that all axes are functioning properly, use the control button to go
back to the main menu . If adjustments are required to the print plate or the print jet
tips, refer to “CubeX Maintenance: Leveling Print Plate .”
13
INSTALLING THE PRINT PAD
1 . Scroll to the “MOVE” function screen located on the CubeX control panel . (Fig . 23)
Fig . 23
Fig . 24
Fig . 26
Fig . 27
Fig . 25
CHECKING THE X,Y,Z AXIS
During shipping your CubeX, the X, Y and Z axes may have come out of alignment. Before starting your first creation, please
verify that the X, Y and Z axes are aligned .
X, Y, Z Axis Movements:
• X Axis: Print Jet moves front to back and back to front .
• Y Axis: Print Jet moves left to right and right to left .
CAUTION: Always move the print plate (Z Axis) down first to avoid collision
with the print jet tips. When moving the print jet (X and Y axis), make sure
you do not stray too far from the home switches (left rear of the printer)
as this can cause collision with the printer frame. Excessive collisions will
damage the printer.
!
2 . Using the Up and Down arrows on the right side of the screen, move the Aluminum
Print Plate to its lowest position .(Fig . 24)
3 . To install the Print Pad, align the aluminum foot with front slot on the Print Plate base .
(Fig . 25)
4 . Place the Print Pad into position, when properly installed the magnet will lock it in
place . Ensure that print pad is fully seated . (Fig . 25)
MOVE
LEVEL
Z GAP
Z
OFFSET
LEVEL BED


