61
NOTE!
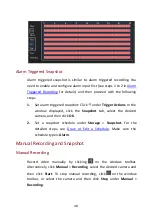
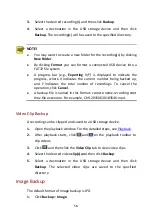
The default schedule is 24×7. You may change it as needed and set
up to eight different periods for each day. Time periods cannot
overlap.
To apply the same arming schedule to other days, select the
intended days right to
Copy To
.
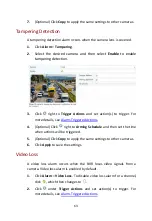
To apply the same settings to other cameras, click
Copy
, select
cameras, and then click
OK
.
Alarm Output
1.
Click
Alarm
>
Input/Output
>
Alarm Output
.
2.
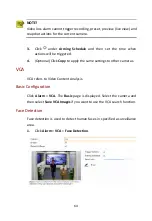
Click
under
Edit
for the desired camera, and then set
the default
status and duration. After you have completed the settings, click
OK
.
3.
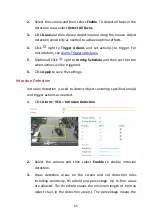
Click under
Arming Schedule
and then set the time when actions
will be triggered.
NOTE!
To apply the same settings to other cameras, click
Copy
, select cameras,
and then click
OK
.
Motion Detection
When enabled, a motion detection alarm occurs if an object inside the
detection area moves to certain extent, and an alarm icon appears in the
upper right corner.
Motion detection is enabled on the NVR by default. Unless modified, the
detection area covers the full screen, and recording is triggered only for
the current camera. The settings remain if you disable motion detection
and then enable it.


