Chapter 3 Easy Mode
WAP5705 User’s Guide
26
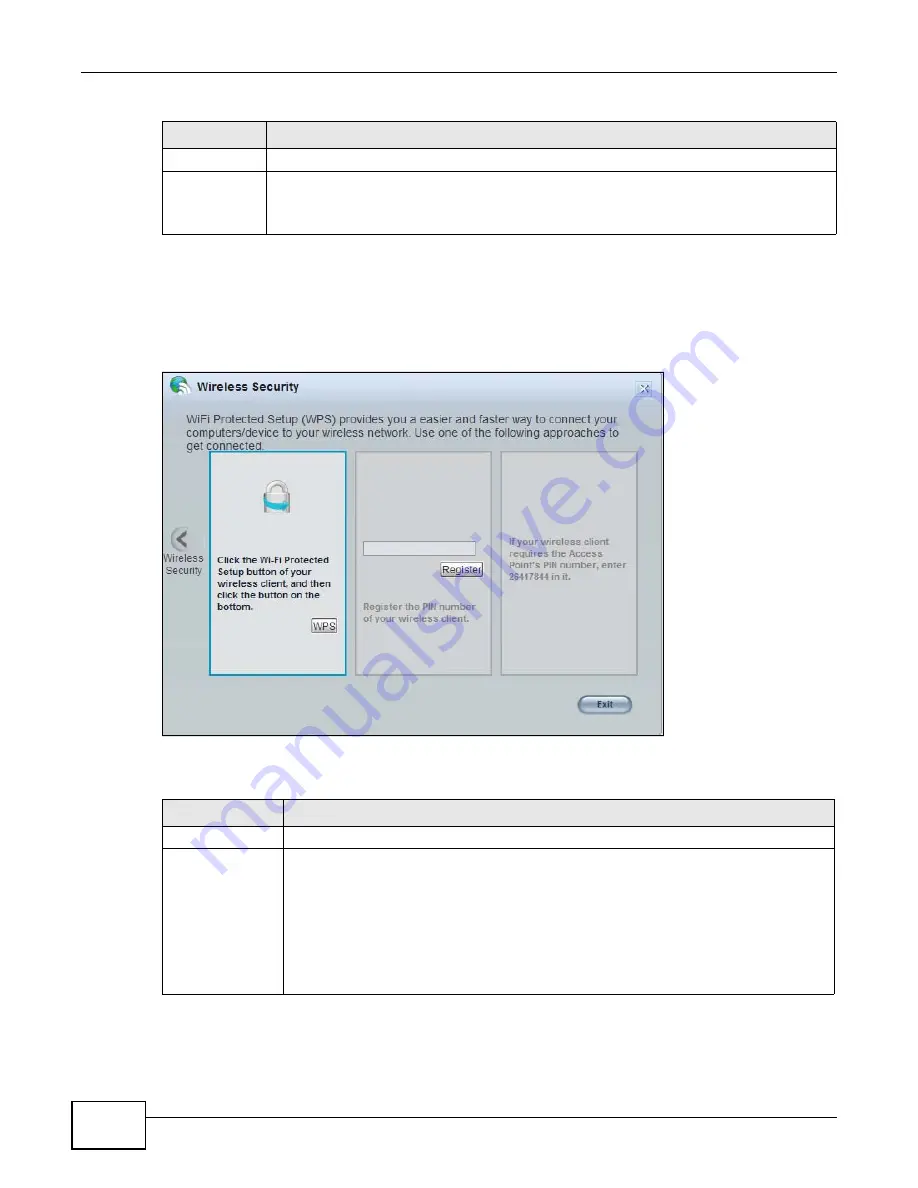
3.6.2 WPS
Use this screen to add a wireless station to the network with the WAP5705’s first SSID using WPS.
Click
WPS
in the
Wireless Security
to open the following screen.
Figure 15
Wireless Security: WPS
The following table describes the labels in this screen.
Cancel
Click
Cancel
to close this screen.
WPS
Click this to configure the WPS screen.
You can transfer the wireless settings configured here (
Wireless Security
screen) to
another wireless device that supports WPS.
Table 5
Wireless Security
LABEL
DESCRIPTION
Table 6
Wireless Security: WPS
LABEL
DESCRIPTION
Wireless Security
Click this to go back to the
Wireless Security
screen.
WPS
Create a secure wireless network simply by pressing the button.
The WAP5705 scans for a WPS-enabled device within the range and performs wireless
security information synchronization.
Note: After you click the
WPS
button on this screen, you have to press a similar button in
the wireless station utility within 2 minutes. To add the second wireless station, you
have to press these buttons on both device and the wireless station again after the
first 2 minutes.
Summary of Contents for WAP5705
Page 4: ...Contents Overview WAP5705 User s Guide 4...
Page 9: ...9 PART I User s Guide...
Page 10: ...10...
Page 14: ...Chapter 1 Getting to Know Your WAP5705 WAP5705 User s Guide 14 1 7 LEDs Figure 2 Front Panel...
Page 46: ...Chapter 5 Client Mode WAP5705 User s Guide 46...
Page 52: ...Chapter 6 The Web Configurator WAP5705 User s Guide 52...
Page 66: ...Chapter 7 Tutorials WAP5705 User s Guide 66...
Page 67: ...67 PART II Technical Reference...
Page 68: ...68...
Page 98: ...Chapter 11 Maintenance WAP5705 User s Guide 98...
Page 104: ...Chapter 12 Troubleshooting WAP5705 User s Guide 104...
Page 146: ...Appendix B Wireless LANs WAP5705 User s Guide 146...
Page 152: ...Appendix C Legal Information WAP5705 User s Guide 152...
Page 156: ...Index WAP5705 User s Guide 156...


