User Manual
6. Connect the One Camera to your Windows PC.
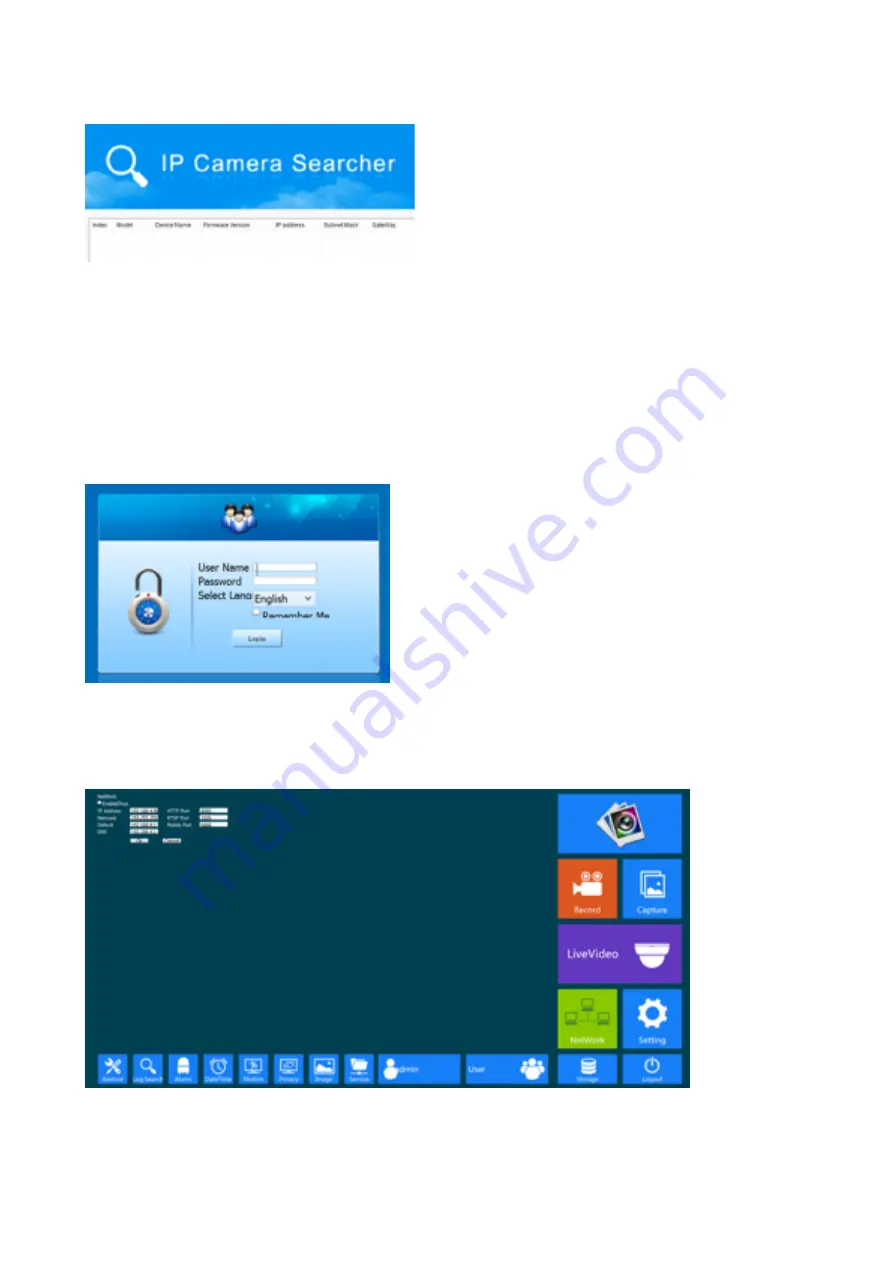
7. Get the IP search tool from: http://www.domarsolutions.co.uk/download/Searcher.rar
8. Install and Launch IP searcher tool
1. Click on Search
2. When the camera load on the screen, check the IP address, it should be 192.168.1.168 for camera,
and 192.168.1.88 for NVR
3. Select the camera on the search result. If the DHCP is tick, you don’t have to do any of following,
you can go straight to See Live Footage Chapter. If DHCP is not tick, you will need to keep ready
this chapter.
4. If the IP address match, then open up Internet Explorer
5. Type 192.168.1.168 (or 192.168.1.88) into address bar
6. You will now be ask to install the plugin, install it and re-launch Internet Explorer
7. You will be asked to login. The username is “admin”.
8. Put password in, default password for camera is “admin”, for NVR is “12345”
9. Once you log in, click on Network, and tick DHCP, and click OK
10. The camera will restart. Once restart is over, this means this camera is ready.
Copyright: Domarsolutions Ltd
14


