


User Manual
Chapter 7: Enable DHCP
You equipment should come with DHCP enabled, if for any reason it is not enabled, you can follow this
chapter to enable DHCP.
Enable DHCP for NVR
Enable DHCP for NVR is more straight forward. If you have already connect your NVR to a TV or monitor.
You can login and go to: Main Menu > Sys Config > Network, and tick DHCP, and save.
Enable DHCP for IP Camera
Step 1: Get your PC Ready:
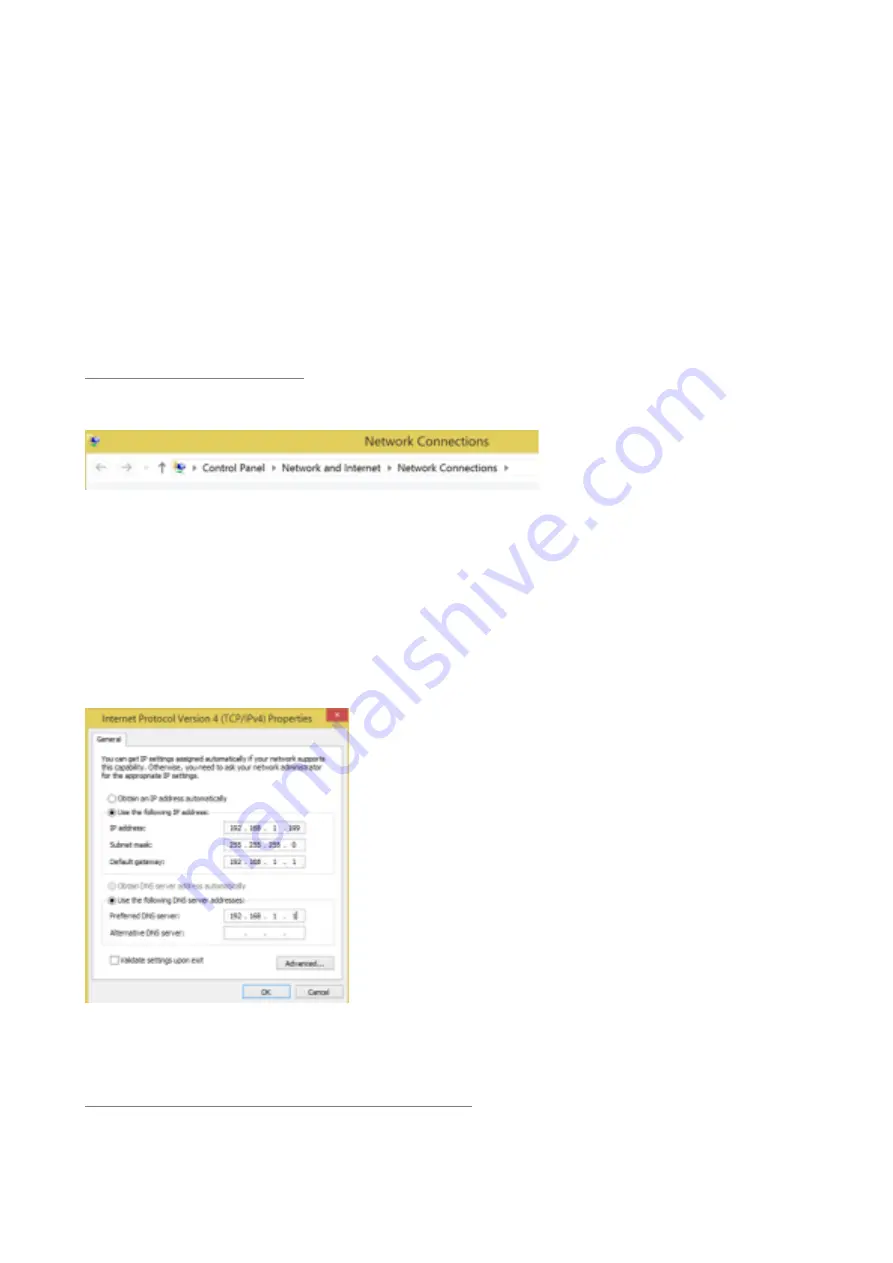
1. Go to Control Panel > Network and Internet > Network Connection
2. Right click on Local Area Connection, on the drop down, click on Properties
3. On the newly opened window, Click on the Internet Protocol Version 4 (TCP/IPv4)
4. Change the setting to following:
1. Click on Use the following IP address.
1. IP address change to 192.168.1.199 (It does not have to be 199, anything between 1 to 254, but
make sure it is not conflicting with any equipment already on the network)
2. Subnet mask change to 255.255.255.0
3. Default gateway change to192.168.1.1
2. Click on use the following DNS server address.
1. Preferred DNS server change to 192.168.1.1
2. Alternative DNS server leave as blank
5. Now Click on OK and OK
Step 2: Configure your Cameras once at a time
Copyright: Domarsolutions Ltd
13


