SOFTWARE /
VOXELIZER
39
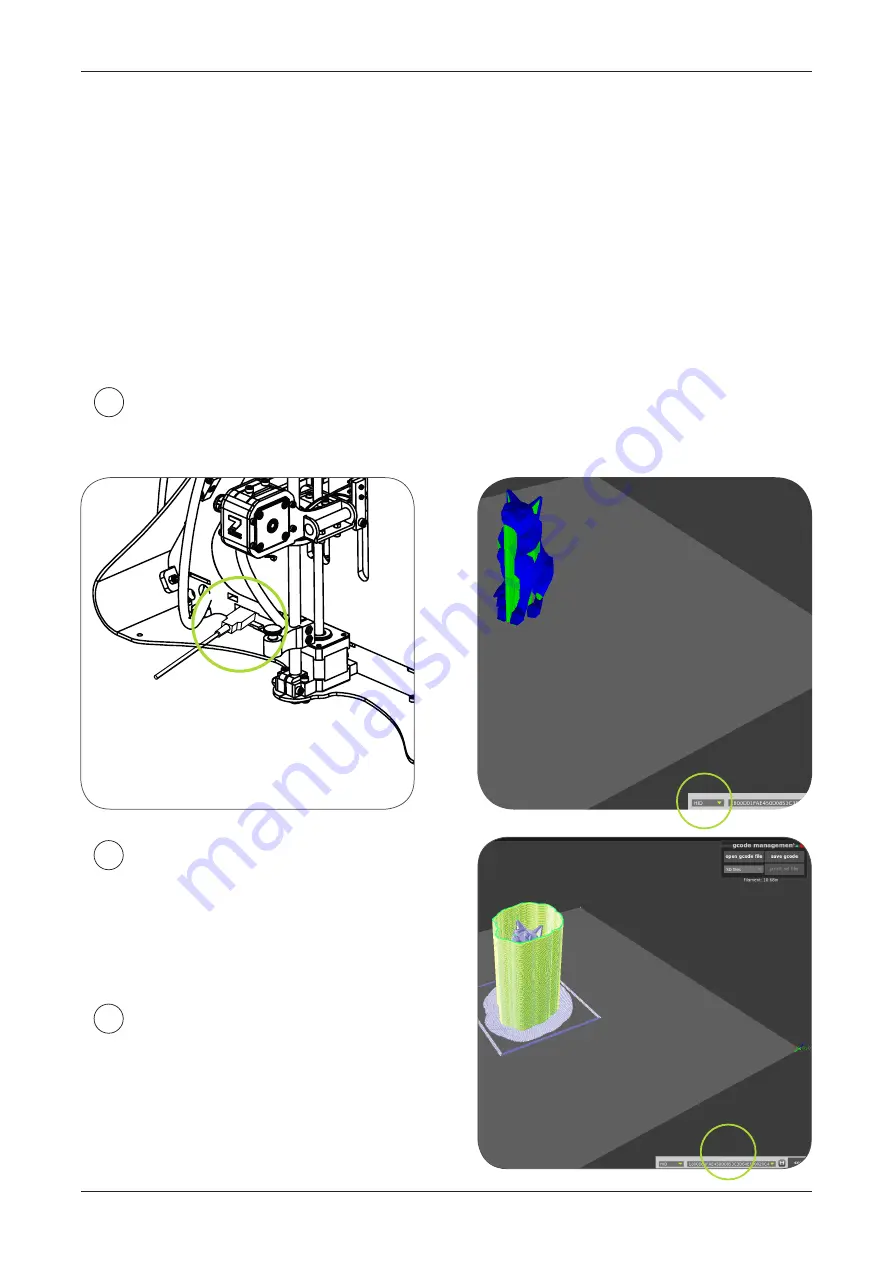
Plug in your printer and connect using HID mode
- simply choose this method,
and click „Connect”.
1
GCODE AND PRINTING
In last step you’ve created your first gcode file.
Now you only have to plug in your printer and start print.
There are many ways to connect printer to your personal computer.
Basic method: you will propably use is USB connection.
If you are user of ZMorph printer and you have newest firmware.
(If unsure - check:
http://zmorph3d.com/firmware/
)
you only need to plug the machine to your PC - no drivers are required.
If using LAN or WIFI connection
choose 'Telnet' and type IP address
that is displayed on LCD panel of the
machine
(example : 192.168.1.10 )
2
Save your file to internal SD card
(recommended). Select
code file mana-
gement
tool
and click 'save gcode'. After
that you can run it using PLAY command
in panel.
3
Summary of Contents for 2.0 S
Page 1: ...USER MANUAL PERSONAL FABRICATOR VERSION 2 0 S...
Page 6: ...FIRST STEPS ZMORPH 3D PRINTER...
Page 9: ...OVERVIEW THE ZMORPH 9 PANEL OVERVIEW RESET PLAY PAUSE UP OK DOWN 2 1 5 3 4...
Page 16: ...CALIBRATION ZMORPH 3D PRINTER...
Page 31: ...GCODES VOXELIZER SOFTWARE...
Page 42: ...EXTRUDERS AND TOOLHEADS ZMORPH EXTRUDERS...
Page 50: ...SERVICING ZMORPH 3D PRINTER...


