16
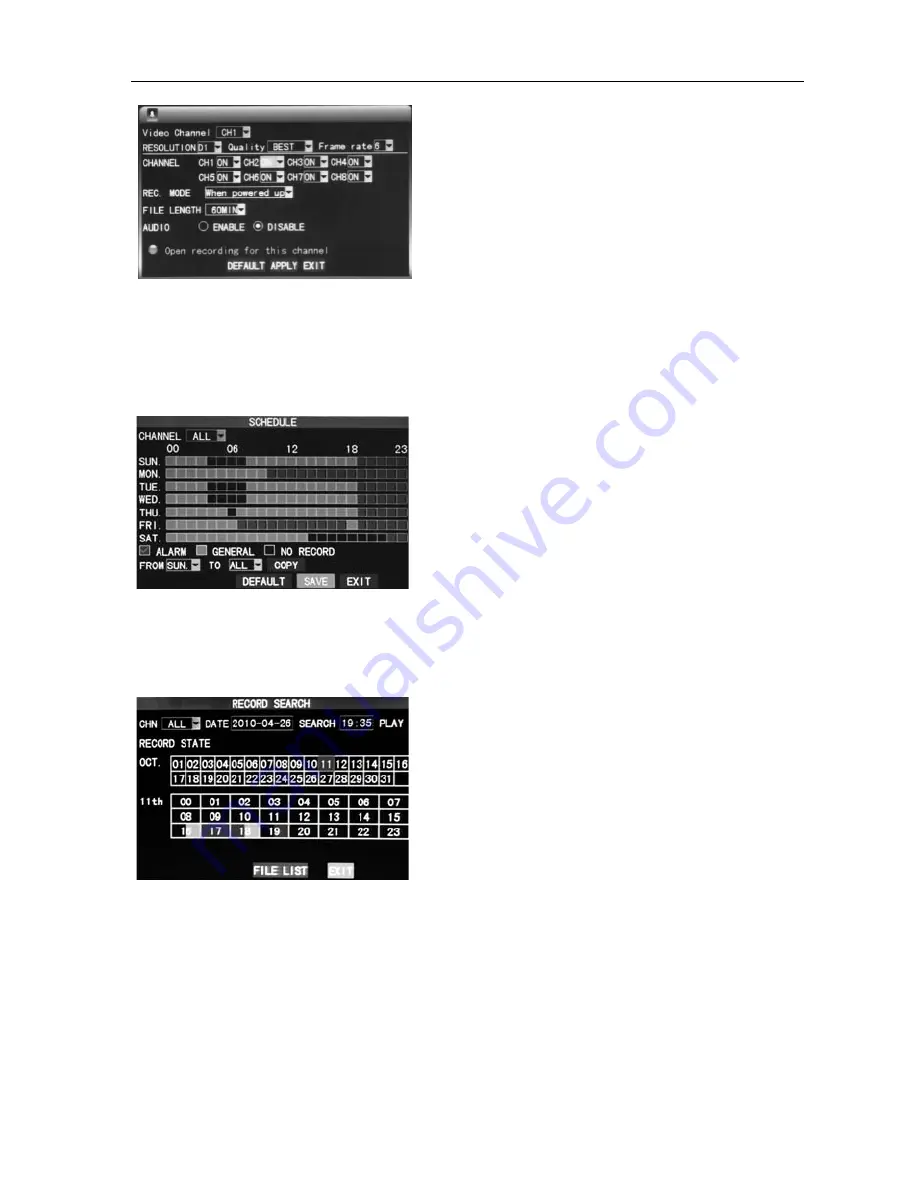
Channel
DVR
Quick
Manual
6
Frame
rate:
Adjust
video
frame
rate
N
ote:
The
total
frame
rate
for
4
channels
DVR
is
100
fps,
for
8
channels
is
275
fps,
and
for
16
channels
is
400
fps.
Audio:
Set
the
record
switch.
File
length:
There
are
four
options
‐
15
minutes,
30
minutes,
45
minutes
and
60
minutes.
REC
mode:
Startup
recording
and
Timing
recording
When
powered
on:
s
tarting
recording
when
the
DVR
is
energized
(It
works
only
if
the
corresponding
channel
is
enabled
in
the
“Channel”
option.)
By
time:
performing
recording
as
scheduled.
When
“timing
recording”
is
selected,
the
“Record
Time
Configuration”
button
will
appear
on
the
right.
Move
the
cursor
here
and
press
“Enter”
to
enter
the
Record
Time
Configuration
screen,
as
shown
below:
Channel:
Select
"All"
or
select
a
single
channel
Time
configuration:
Set
the
recording
type
in
each
time
interval
of
each
day.
Red,
green,
and
background
color
represent
the
alarm
recording,
regular
recording,
and
not
recording.
2.4
Recording
Search
and
Playback
2.4.1
Search
and
playback
Enter
the
Video
Search
screen
from
“Main
Menu”
→
“Video
Search”,
as
shown
below:
1)
Enter
the
specific
date
and
time
in
the
time
frame
and
click
【
PLAY
】
,
and
the
DVR
plays
back
the
video
from
the
input
time.
2)
Enter
the
specific
date
and
time,
click
【
SEARCH
】
to
display
all
recording
status
this
day
(the
time
schedule
in
the
above
picture),
the
red
color
representing
alarm
recording,
green
representing
normal
recording,
the
background
representing
no
recording.
Select
the
time
and
click
【
PLAY
】
,
playback
the
recording.
3)
Click
【
FILE
LIST
】
,
the
detailed
file
of
the
video
listed
(as
shown
in
the
picture
below),
select
and
playback
the
file
you
want
to.
2.4.2
Recording
backup
Enter
the
"file
list"
interface
(picture
below)
for
backup
operations.
The
backup
of
recording
files
can
be
achieved
through
USB
storage
device.
Before
backup,
the
user
must
insert
storage
peripheral
devices
to
USB2.0
slot
first.
Move
the
cursor
up
and


