4.15
IMPORTANT:
When changing the settings on a channel, press [Save] before
editing another channel or exiting the page otherwise all changes will be lost.
1. Choose a channel to edit.
Select a channel under the dropdown menu next
to [Channel].
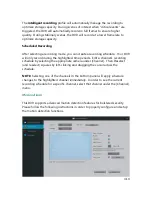
2. Customize schedules for motion detection.
Next to the [Their Time] option,
press the [Config] button and open the active schedule. The motion detection
will be turned on during the times that are highlighted blue. In order to
select/deselect regions, you must left-click and release or drag to edit more
regions.
NOTE:
You must press [Ok] after editing, otherwise all changes will be lost.
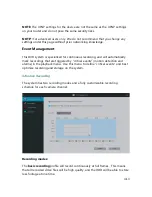
3. Select the motion detection area.
Using the motion detection grid, define a
motion detection area by left-clicking on a square. Click-and-drag to toggle
large areas. You may adjust the sensitivity of the motion detection with the
[Sensitivity] drop-down menu.
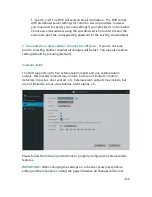
4. Define how the system responds when motion is detected.
There are four
different responses that the system can take when motion is detected. NOTE:
The system will automatically record video when motion is detected.
a. "Alarm Sounding Buzzer" The DVR's built-in buzzer will sound.
b. "Snapshot" The DVR will take a snapshot and send it to your mobile
device and email address (when configured).
c. "Alarm Output" The DVR will activate any external alarms that have been
connected to the back panel (see:
3.1 DVR Installation – Connecting an
External Alarm
).
d. "Alarm Duration" will adjust how long both the buzzer and the alarm
output will sound after motion is detected. NOTE: The alarm will sound
continuously while motion is being detected.
e. "Alarm Interval" This setting defines the interval between motion
detection notifications. For example, when set to 1 minute, the DVR will
send an email notification every minute when motion is detected.
Summary of Contents for Funlux
Page 1: ...1 ...
Page 2: ...2 ...
Page 13: ...Product Introduction 2 9 Rear Panel ...


