10
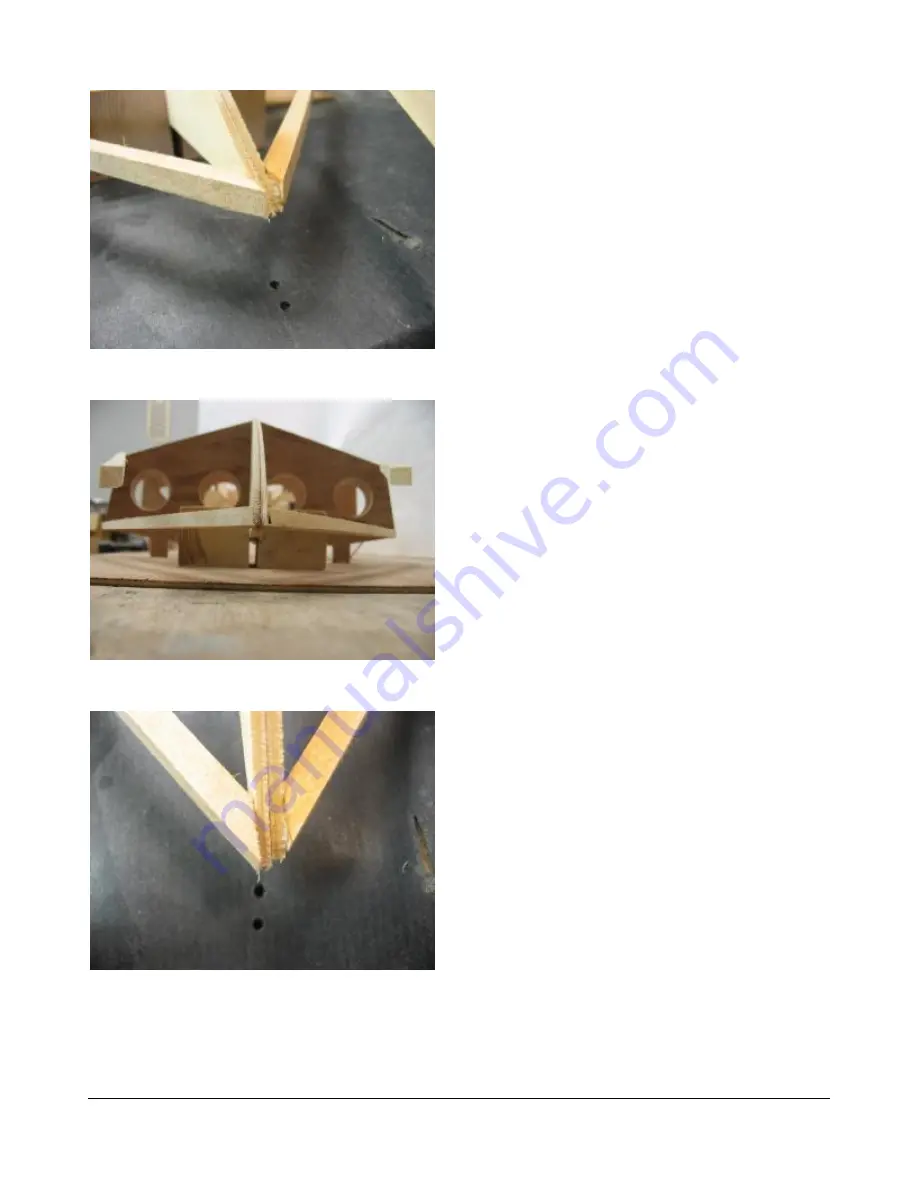
Top stringers installed.
Note that top stringers are flush with top of keel.
Another view of top stringers.
The reason for gluing, holding for a few seconds,
then moving forward is because the shape of the
stringer changes as you move forward. Doing it this
way, the glue has not completely cured, and can be
“adjusted” a little, as you bend the stringer to the
next bulkhead. If you waited until each glue joint
was completely cured before moving on to the next
one, the stringer would take on a straight, angular
look, instead of the smooth curve it should.
With a pencil, mark the angle of the cut in the front
of the stringer, to fit on the keel, as you bend it
around.
Hold the front of the stringer firmly, and carefully cut
on
the line with your razor saw.
Or, you can simply hold the stringer in place, and
cut it with the razor saw against the keel.
Don’t glue it to the keel yet.
Glue the other top stringer onto the bulkheads,
exactly the same way as before.
Trim the front with the razor saw.
Now you get to glue yourself to the boat! Try not
to…
Using CA, put glue on the ends of the stringers.
Squeeze both stringers together at the tip of the
keel.
Make sure that both are even, and flush with the top
of the keel.
Hit the joint with accelerator, and hold for a minute
or so.
Try not to glue your fingers to the stringers! If you
do, it could be rather embarrassing to have your
wife try to free you. She will use that story for life!
When you are sure the joint is secure, glue in the
bottom stringers.
They have a little more bend than the top, but you
are an expert now!
Glue them to the bulkheads exactly the same way.
When you are ready to glue them to the keel, make
sure they are touching and slightly behind the top
stringers (see photo).
Summary of Contents for I-BOX
Page 8: ...I B O X N B O X 6...


