25
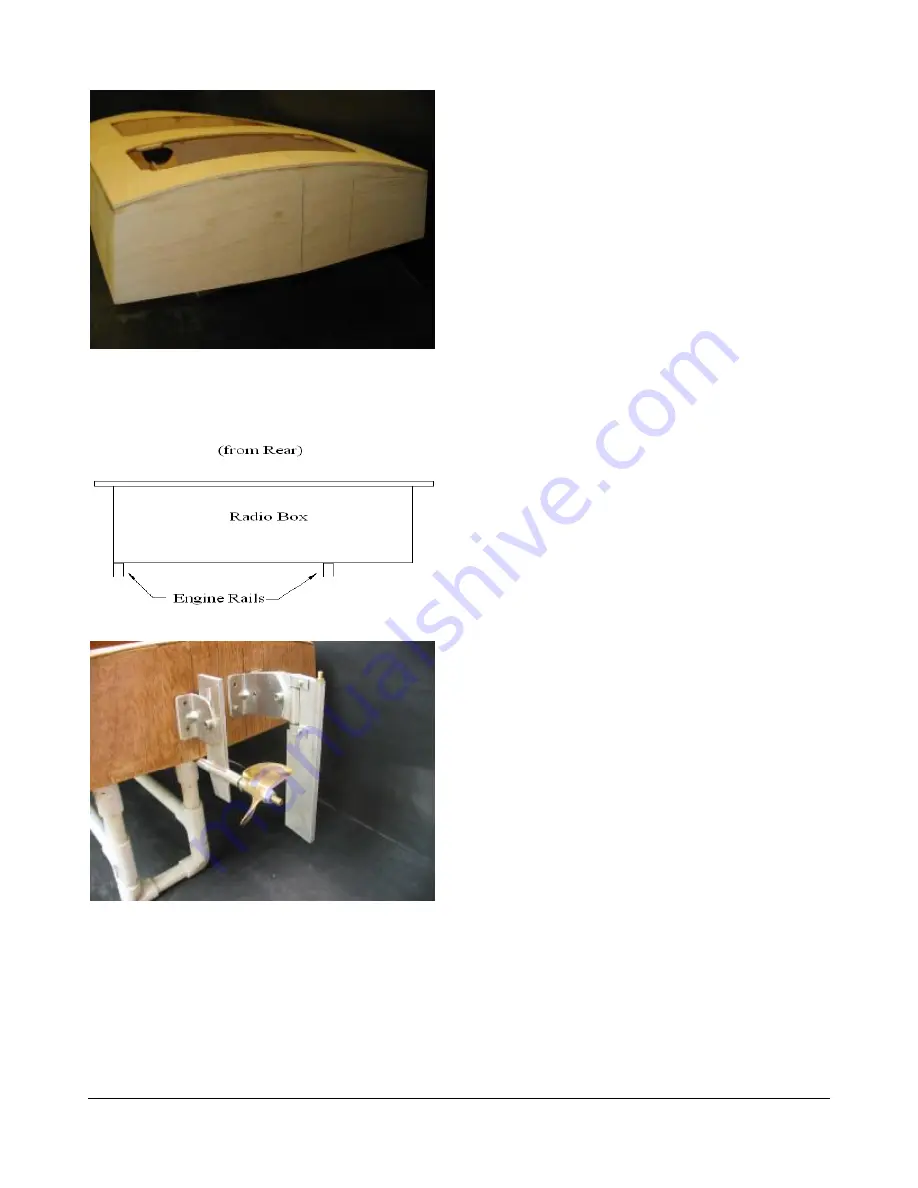
Alignment lines on transom.
Strut and rudder mounting.
Remove everything from the radio box, and coat the
inside and outside with finishing resin.
Be careful not to get any buildup in the lip, where
the lid seats. It will make it impossible for the lid to
seal properly. To get inside the upper part, bend an
acid brush about 120 degrees, and it works very
well.
You can seal the inside, top and all four sides of the
outside in one session.
You don’t have to seal the bottom yet, as we will do
that when we epoxy the radio box into the boat.
Allow to cure overnight.
Hardware:
Draw a line on the transom, from top corner to top
corner.
Mark the center of this line, and put a mark 2-1/2
inches to the right of the center line.
Use a square to extend the marks to the bottom of
the hull.
Assemble the strut to the brackets, and tighten the
bolt until you can just move the strut in the bracket,
but it won’t move on its own.
Push the strut all the way up into the bracket until it
stops.
Hold the strut assembly against the transom, so
that the front of the strut is touching the bottom of
the boat.
Center it on your guide line, and mark one hole
location.
Drill the hole in the transom, and bolt the strut
assembly on.
Check to see that the strut is aligned with your
reference line, and mark the other three holes.
Drill the transom and install the three bolts and
nuts.
Set the radio box on the rails, 1-3/4 inches behind
bulkhead 4. It should be even with the left rail.
Assemble the rudder to the brackets.
Mount it the same way you did the strut, aligning
the rudder blade to your reference line, 2-1/2 inches
to the right of center.
Be sure to consider where the rudder arm will be, in
relation to the servo arm when mounting the rudder.
Summary of Contents for I-BOX
Page 8: ...I B O X N B O X 6...


