Zingui
18
For more information on Styles see “Styles” on page 18.
10. The width setting
allows you to change the width of a cell. Each
step is 1 cell unit. The cell width increases from left to right.
11. The height setting
allows you to change the height of a cell. Each
step is 1 cell unit. The cell height increases from top to bottom.
12. Press
.
1.3 Styles
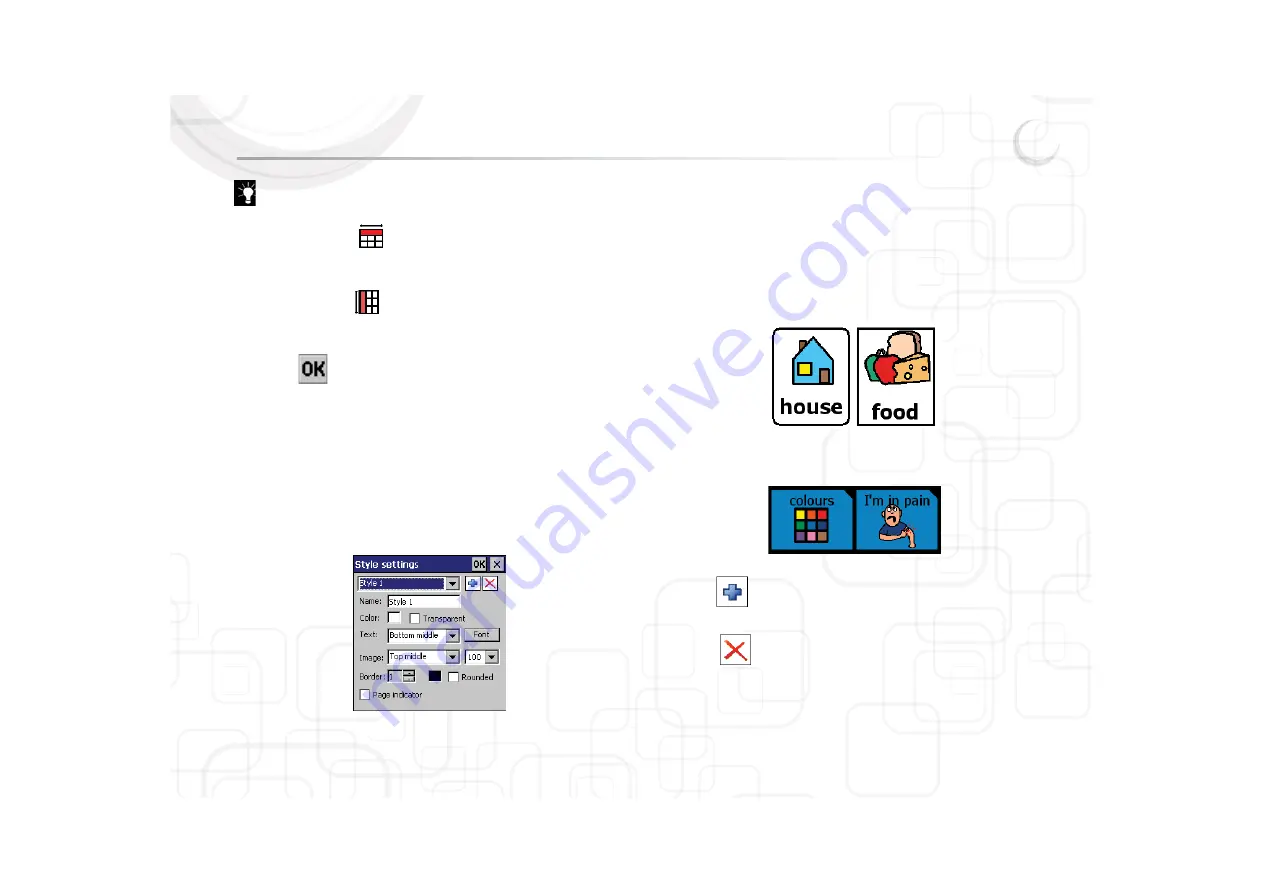
A cell can have a specific style that defines its background color, text font, shape
etc. This visual information brings more structure into the page and gives extra
information about the nature of a cell. It shows you that a specific cell is a page
link, a function, a specific type of message …
To define a style:
1. Go to D
Document > Style settings.
2. Give the style a name in the field N
Name.
3. Define the background color by tapping on the Color box. You can make a
cell transparent. A transparent cell shows the background color of the
page.
4. Define the position and font of the text (label) in the cell.
5. Define the position and size of the image in the cell
6. Define the border and border color of the cell. Enable the Rounded box if you
want a cell with rounded corners.
7. Enable the Page indicator box. This will only affect cells that link to a page.
These cells will have a flipped over right top corner.
Tap
to add a new style.
Tap
to delete the selected style in the list box.
Summary of Contents for Zingui Plus
Page 1: ...Zingui manual ...
Page 2: ......
Page 6: ......
Page 8: ......
Page 12: ......
Page 15: ...Zingui 9 4 3 At the back ...
Page 18: ......
Page 40: ......
Page 44: ......
Page 50: ......
Page 54: ......
Page 58: ......
Page 64: ......
Page 66: ......
Page 76: ......
Page 78: ......
Page 88: ......
Page 92: ......
Page 96: ......


