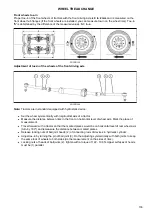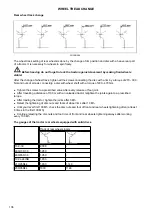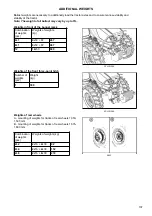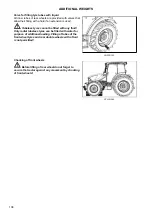
*Front three-point hitch
Controlling front three-point hitch
Adjusting the lowering rate of the front three-point hitch
It is designed for attachment of frontally carried
agricultural machines and implements in accordance with
ISO 8759-2.
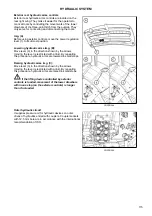
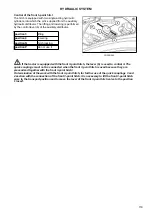
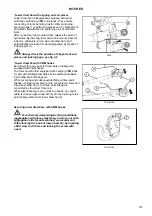
During transport of a carried implement the
hitch must always be hydraulically locked in the lifted
position with valves that are installed on the left side
of the tractor over the front axle.
This hydraulic lock is recommended even in case no
machine is attached to the three-point hitch.
PCLPN059
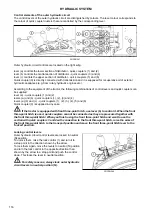
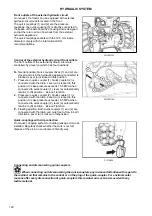
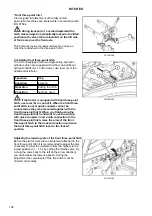
The hitch is equipped with two single acting hydraulic
cylinders which are supplied with oil from an additional
hydraulic distributor. To lift or lower, use lever (b) of the
additional distributor.
If the tractor is equipped with front three-point
hitch, use lever (b) to control it. When the front three-
point hitch is used, quick couplers cannot be
connected as they are pressured together with the
front three-point hitch! When you finish using the
front three-point hitch and want to use the section
with quick couplers 3 and 4 with connection to the
front three-point hitch, raise the arms of the front
three-point hitch to the transport position and move
the front three-point hitch lever to the 'locked'
position.
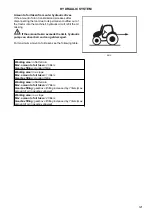
3 position
lifting
4 position
lowering
N position
locking the hitch
P position
not to be used
PGPPN062
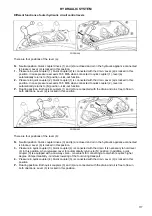
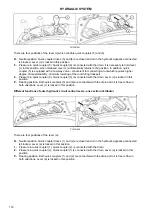
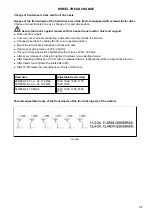
Before the start of work with an implement attached to the
front three-point hitch it is recommended to adjust the time
necessary to lower the implement from the highest to the
lowest position to 1 - 1.5 s by setting the throttle valve. By
turning the valve body to the left (in the arrow direction)
you will increase the lowering speed. During the
adjustment the valve levers of the front hitch must be
directed horizontally.
PCLPN060
HITCHES
128
Summary of Contents for Proxima CL 100
Page 1: ...OPERATOR S MANUAL PROXIMA CL 03 2018 Tractor is Zetor Since 1946 80 90 100 110...
Page 3: ...2...
Page 11: ...10...
Page 33: ...NOTES 32...
Page 91: ...NOTES 90...
Page 111: ...NOTES 110...
Page 131: ...NOTES 130...
Page 147: ...Fuse panel B P18N083 ELECTRICAL INSTALLATION 146...
Page 163: ...NOTES 162...
Page 181: ...NOTES 180...
Page 187: ...NOTES 186...
Page 203: ...NOTES 202...
Page 208: ...207...

