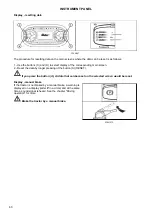
Display - setting the automatic mode of the display backlight
P18N099
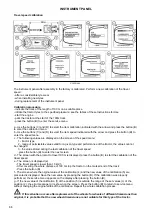
Enter the display settings menu.
a - Use the buttons (C) and (D) to select the item (1) for the automatic mode of the display backlight. Long
press the button (B) to enter the screen for setting the automatic mode of the display backlight (b).
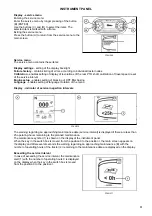
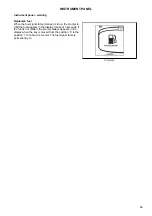
b - The screen for setting the automatic mode of the display backlight contains two items
2 - setting the intensity of the lighting around the tractor when the day and night display backlights are
automatically switched
3 - switching delay eliminating repeated switching between the day and night display backlights, e.g. in the
case of light flashes, etc.
Use the buttons (C) and (D) to select the item (2) and long press the button (B) to enter the screen (c).
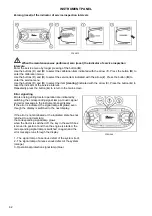
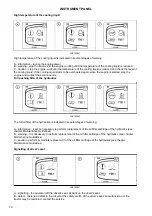
c - Use the buttons (C) and (D) to move the slider (5) changing the intensity of the lighting around the tractor
when the day and night display backlights are automatically switched. The change of the backlight in
percentage is indicated above the slider (4).
Press the button (B) to confirm the changed value and return to the menu of setting the automatic mode of
the display backlight.
Press the button (A) to return to the menu for setting the automatic mode of the display backlight without
changing the original value.
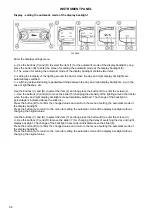
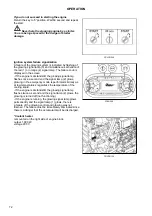
Use the buttons (C) and (D) to select the item (3) and long press the button (B) to enter the screen (d).
d - Use the buttons (C) and (D) to move the slider (7) for changing the delay of switching the day and night
display backlight. The change of the backlight in seconds is indicated above the slider (6).
Press the button (B) to confirm the changed value and return to the menu of setting the automatic mode of
the display backlight.
Press the button (A) to return to the menu for setting the automatic mode of the display backlight without
changing the original value.
INSTRUMENT PANEL
66
Summary of Contents for Proxima CL 100
Page 1: ...OPERATOR S MANUAL PROXIMA CL 03 2018 Tractor is Zetor Since 1946 80 90 100 110...
Page 3: ...2...
Page 11: ...10...
Page 33: ...NOTES 32...
Page 91: ...NOTES 90...
Page 111: ...NOTES 110...
Page 131: ...NOTES 130...
Page 147: ...Fuse panel B P18N083 ELECTRICAL INSTALLATION 146...
Page 163: ...NOTES 162...
Page 181: ...NOTES 180...
Page 187: ...NOTES 186...
Page 203: ...NOTES 202...
Page 208: ...207...


