39
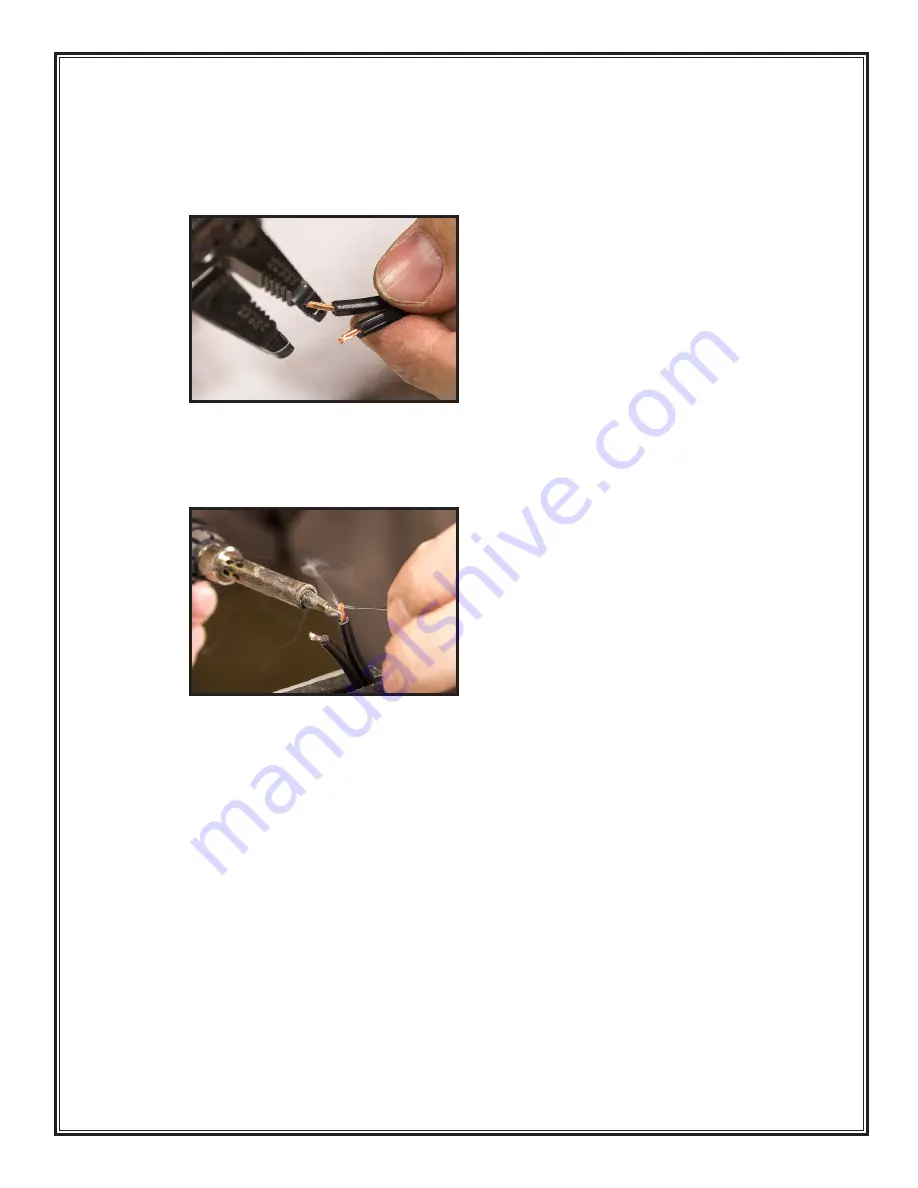
22. Take one of the zip wires (Part # CB11), split both ends about 1/2”, and strip about 3/16” (5
mm) insulation from all four ends.
130
Note one of the conductors has ribbed insulation; the other
has writing on the insulation. By convention, we consider the ribbed wire as negative.
23. Twist the exposed stranded wires and “tin” them with the soldering iron.
131
“Tinning” is the
process of coating or filling a wire or connector contact with solder to make it easier to attach. It
also helps to keep the tiny strands of wire from fraying out while you try to solder them.
CAUTION
Solder fumes are not healthy for you. The fumes consist of vaporized flux, which
can irritate your nose, lungs, and even your skin. You MUST work in a space where the air
drifts away from you as you work, so fumes do not rise straight onto your face.
CAUTION
Solder residue usually contains lead, which is poisonous if you ingest it. Do not
breathe the fumes, do not eat the supplies, wash your hands after you handle solder, and
sweep and wipe up your work space after EVERY USE.
24. Next you are going to solder this wire to the 1/4” input jack, but if you have not started the
cabinet yet, stop here and skip over to ASSEMBLING THE BOX step 3. When you have used the
jack and the jack plate to mark screw holes on the port, return to these instructions and continue.
130
131
Summary of Contents for 1x8 Cabinet
Page 52: ......


