18
Additional Notes:
There are many different ways to edit your file. Dividing your file into separate tracks by adding labels
is one way to accomplish this. You can always undo any mistakes in editing. Make sure to save your
file regularly.
EXPORTING TRACKS TO SEPARATE FILES
This section explains how to export your separated files to WAV format to burn to a CD. You
may also choose to convert to MP3 requiring 3
rd
party software downloaded from the Internet.
Refer to the software help section for more information.
1
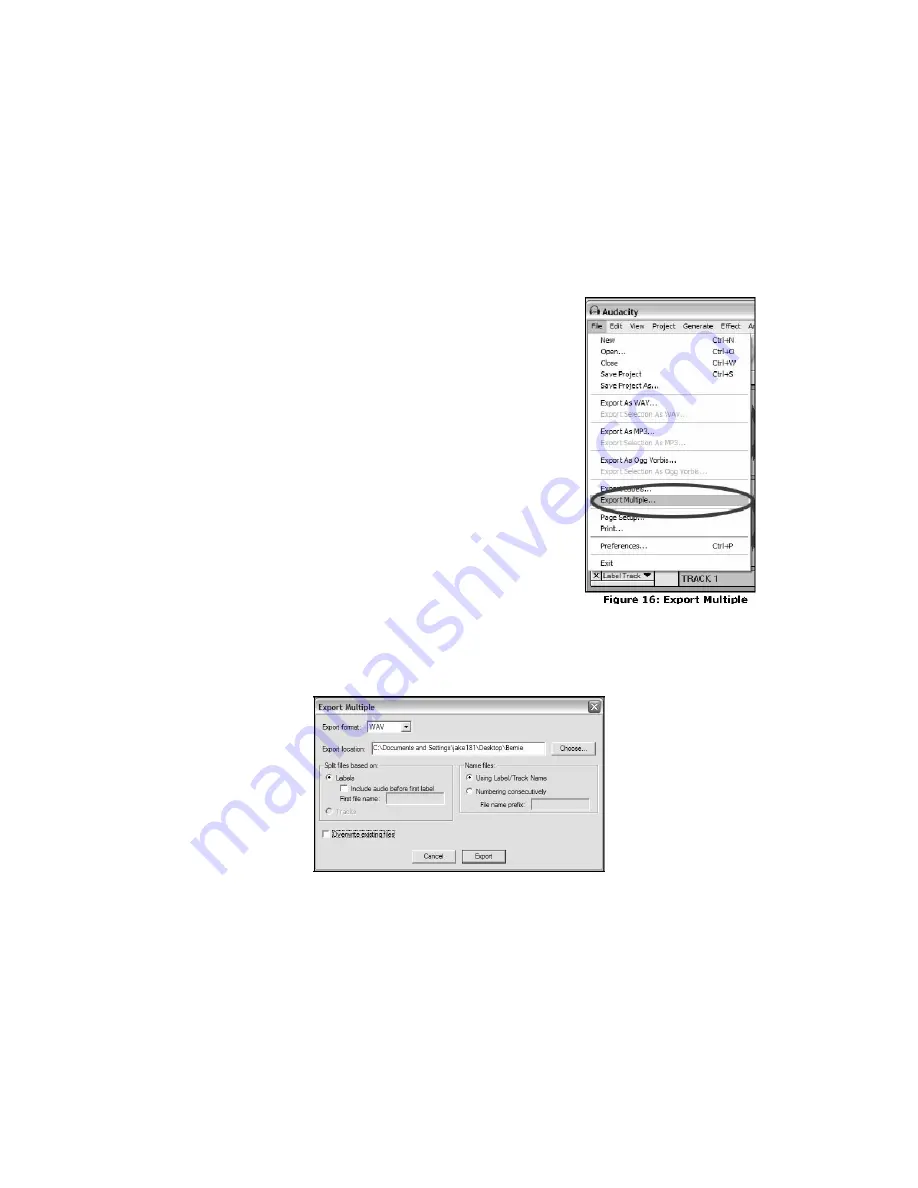
Now that you have divided up your tracks into labels from
the master recording file, you are going to export the files
into separate files.
2
Select the
File
menu and then select
Export Multiple…
as
shown in Figure 16.
3
The Export multiple window will come up (see Figure 17).
a.
Select
WAV
as the export format and choose the
Export location.
b.
Select the Export Location. This is where you will
save your files. You may want to create a special folder
on your Desktop with the Album Name to store the files.
c. Select
Using Label/Track Nam
e as shown.
Note:
You may want t
o
export using consecutiv
e numbering and
change the name
s
later. In this case you can selec
t
the other option, Numberin
g
consecutively
.
d. Click
Export
.
Figure 17: Export Options Menu
LISTENING AND EXPORTING TO WAV/MP3
To listen to your digitized audio, you will need a third party application that can play WAV files.
You can also use any standard audio CD burning software to burn your WAV files to an audio
CD.
If you would like to save your vinyl as an MP3 file after you have recorded it using Audacity,
you will need to obtain and install the optional "LAME MP3 Encoder" plug-in. Once a file is in
MP3 format it can be placed on any MP3 compatible mobile digital device.


