16
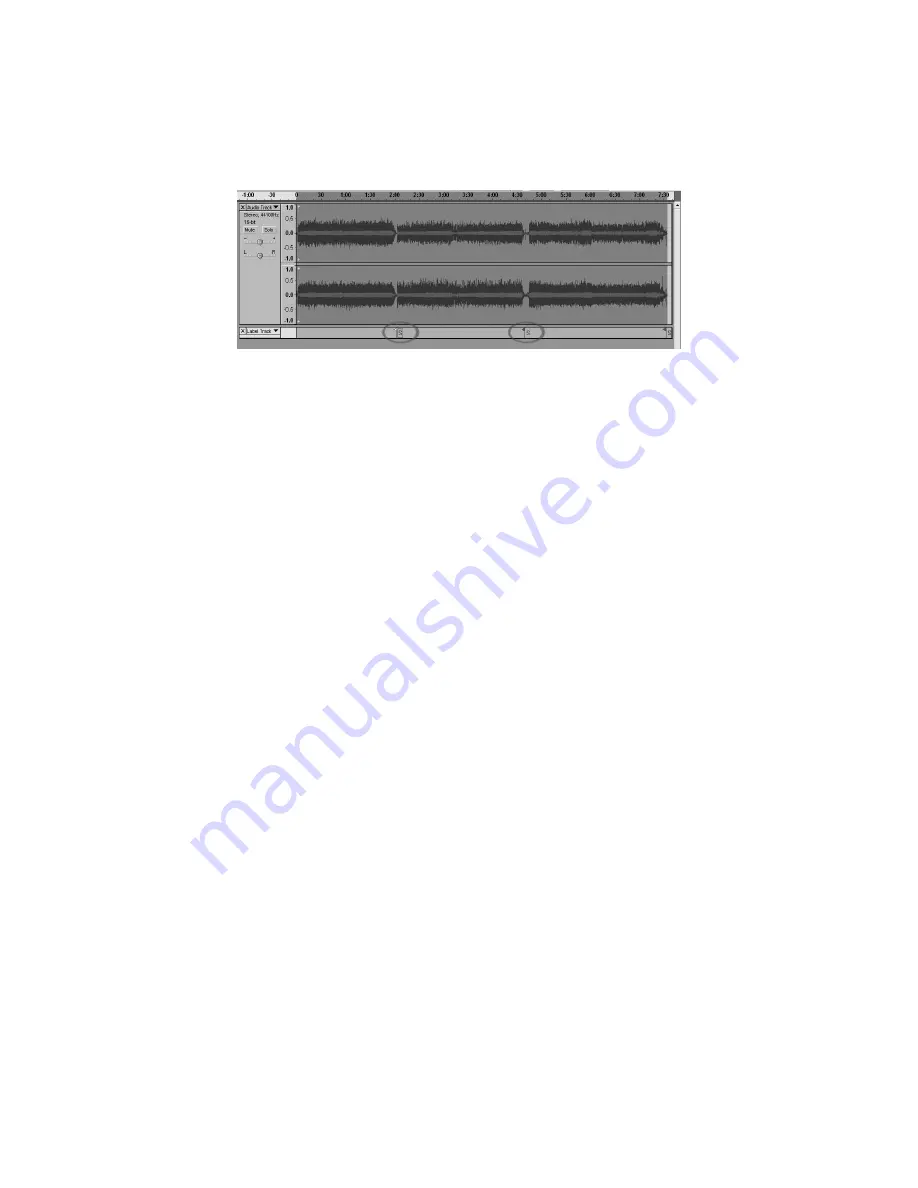
4. Your recording will then be analyzed, and a Label Track will appear underneath your
recording. It will contain markers representing the beginning of each new song. (Figure
13). When you export your recording (see: Exporting Your Tracks To Separate Files),
these markers will be used to create separate audio files for each song on your album.
5. If you notice that the markers placed by the
Silence Finder
do not match up with the
songs correctly, or that there were too few or too many markers added, you may undo
the operation and try again with different settings. If your markers appear to be correct,
proceed to the
Exporting Your Tracks To Separate Files Section
below.
6. To undo, select the
Edit
menu from the top of the screen and choose
Undo.
7. Repeat steps 1-3 above, and try a different setting in the
Silence Level
field. If there
were too few markers added in your previous attempt, use a lower number in the
Silence Level Field
, such as
10
. If there were too many markers added in your
previous attempt, try a higher number in the
Silence Level Field
, such as
20
. Certain
records and types of music may not work well automatic track separation. If you
cannot get good results with the
Silence Finder
you may need to manually divide your
album into tracks.
Figure 13: Track Labels


