14
Switch User Guide, Version 0.16, 5/13/16
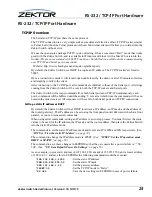
Using the Front Panel
Use the
SELECT
knob to scroll to the zone you wish to change. The zones are numbered on the top
line. In the above example we’re updating the source of zone 1.
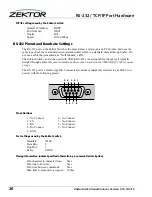
Press the
SELECT
knob to switch from the selection-mode to the update-mode. The cursor will
change from the left and right arrow characters to the bracket characters to indicate that we are
now in the update-mode.
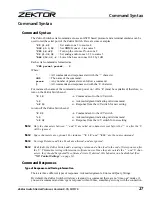
Use the
SELECT
knob to change to the desired source. Press the
SELECT
knob to use the new
source. The switch will switch the given zone to the new source, and the mode will change back to
the selection-mode.
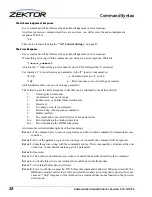
Zone ‘
A
’ represents the “ALL” zone. Setting zone ‘
A
’ to a source will set all the zones to the given
source.
Setting a source to ‘0’, disconnects it from all sources (no audio, blanked video).
Shortcuts:
The
ZONE
buttons will move between the zones and set the update-mode, to allow easy use of the
SELECT
knob to update the sources.
The
SETTING
buttons will increment/decrement through the sources and set the select-mode, to
allow easy use of the
SELECT
knob to scroll through the zones.
Anytime the main menu is being displayed, you can quickly jump to the
HdmiSw
screen by press-
ing either of the
ZONE
buttons.


