


50 / 64
Identificazione: MD-AL-GI-00
Rev. 4.0 del 31.01.18 - Applicazione: GID
Manual of 07/06/2019 Rev. 2.1 “User Manual for 3K-6KTLM LITE
Q(v) Setting
Select “23. Set Q(v)” and press “OK” to enter the relative menu, from which you can change the reactive
power according to the grid voltage required by the local regulations. This function may be required by
various regulations for grid-connected inverters. Use the “Up”, “Down” and “OK” keys to set the time delay
expressed in seconds (*.***s) before the changed Q reactive power will intervene.
81.S1 Check
Select “23. 81.S1Check” and press “OK” to enter the relative menu, from which it will be possible to enable
the frequency restriction thresholds required in special cases by local regulations. With the “Up” and “Down”
keys you can set the “1. Enable 81.S1” and “2. Disable 81.S1” option, and select it with the “OK” key. The
display will show “OK” if the setting is successful.
Disabled settings
The following functions:
Remote Control, relating to item “5. Remote Control”
Relay Command, relating to item “6. Relay Command”
Relay test, relating to item “15. Relay Test”
cannot be used on this model of inverter; access to these submenus is not permitted either by the installer
or by the end user. ZCS S.p.A. accepts no responsibility deriving from the activation of one of the settings
described above.
(B)
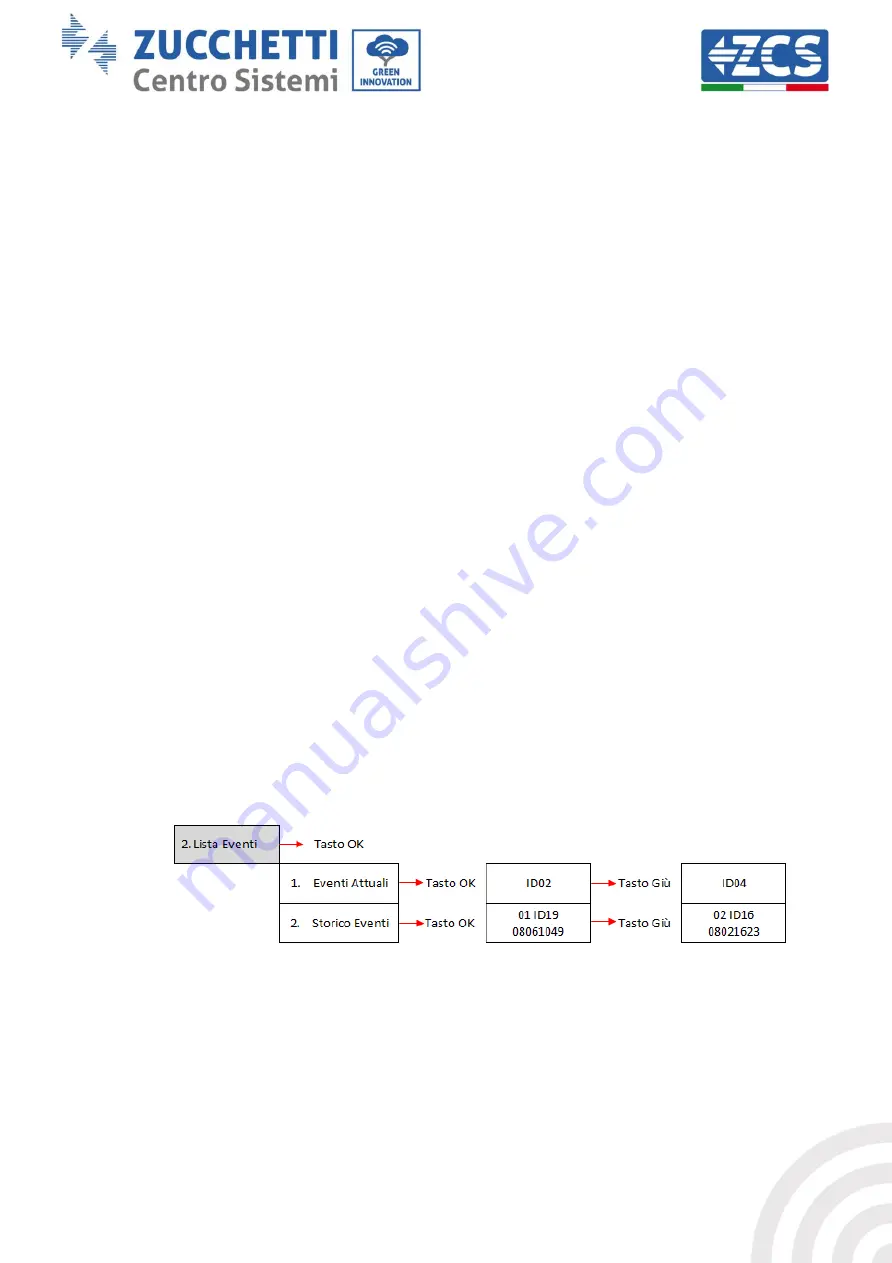
Press the “OK” key to enter the “Event List” menu.
The “Event List” menu is used to display the events recorded by the inverter, both historical and in
real time, showing the progressive number of the event, the identification code, the date and time of
its occurrence. The user can access this interface from the LCD display to check the details of the
alarms and alerts. Errors will be listed according to the date and time they occurred, so the most
recent events will be listed first. For more information, refer to the figure below.
Press the “Back” button in the main interface and then the “Up” button, then enter the “2. Event List”
menu. From here you can select the “1. Current Events” menu for the list of current events or “2.
Historical Events” for the list of historical events.
(C)
Press the “OK” key to enter the “System Info” menu.
The “System Info” menu contains the following submenus:


