19
CONFIDENTIAL
DOC-USR-0093-03
____________________________________________________________________________________
Z3 Technology, LLC
♦
100 N. 8th St. STE 250
♦
Lincoln, NE 68508-1369 USA
♦
+1.402.323.0702
7.6
Configure Channel 1 for HDMI Encode
In your PC, run a web browser (for best results, we recommend FireFox or Chrome). In this browser,
(8)
type the IP address of the board noted in step (6) (by default, this value would be
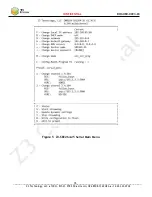
http://192.168.81.68 when the unit is first received). After about three seconds, the HTTP-based
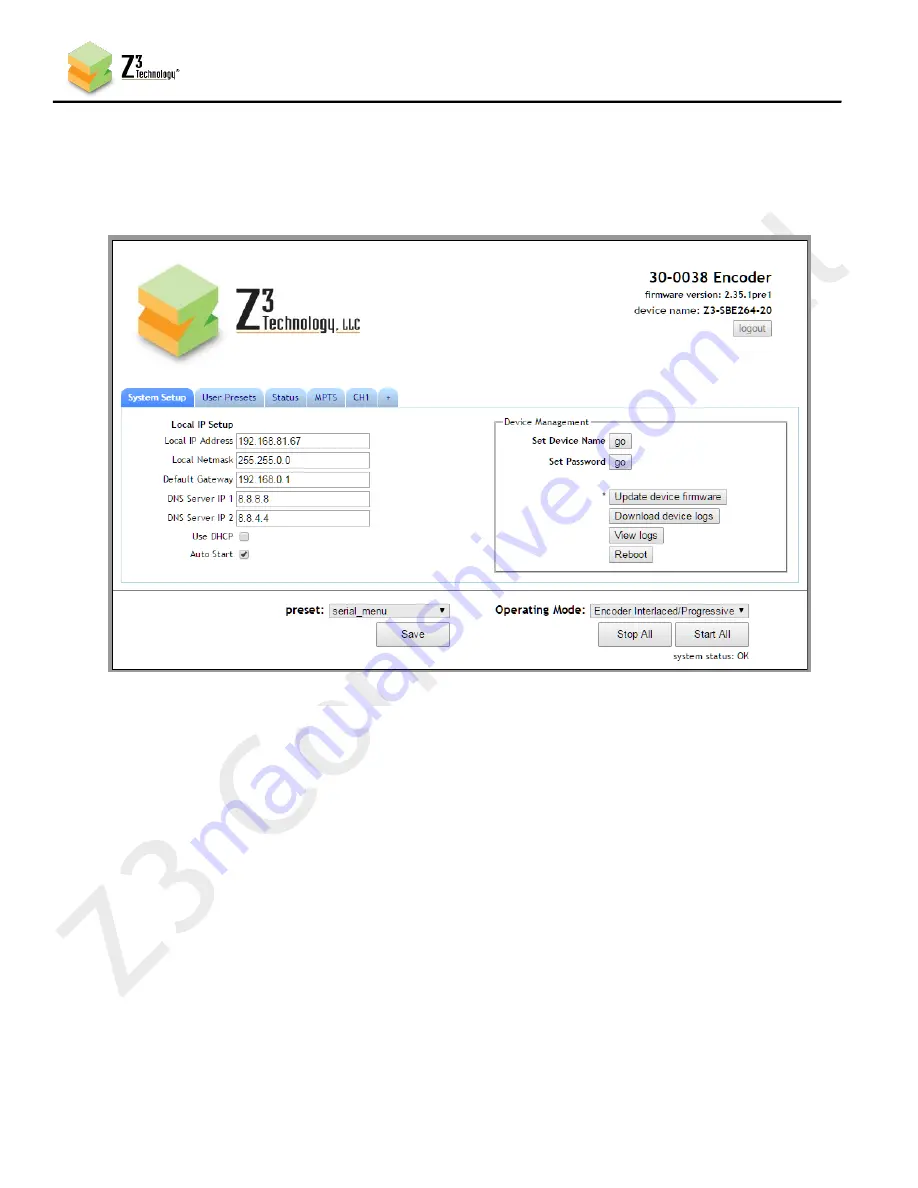
graphical user interface (GUI) will appear at the System Setup tab:
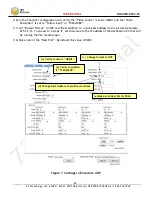
Click on the “CH1” tab.
(9)
The “CH1” tab only supports an
HDMI video source
.
The “CH2” tab only supports an
SDI video source
.
In order to utilize an SDI video source, click on the “+” tab to create a tab for an additional channel. SDI
input is only supported by using the “CH2” tab. If SDI is your only input, the “CH1” tab can be stopped
or deleted using the “Channel Controls” section on that page. Use the “Channel Controls” options
rather than the “Start All” or “Stop All” buttons found on the bottom of all screens.
*Note:
HD-SDI selection in the “CH2” tab supports HD-SDI resolutions and 3G-SDI resolutions.
Figure 6 HTTP-based User Interface System Setup Tab


