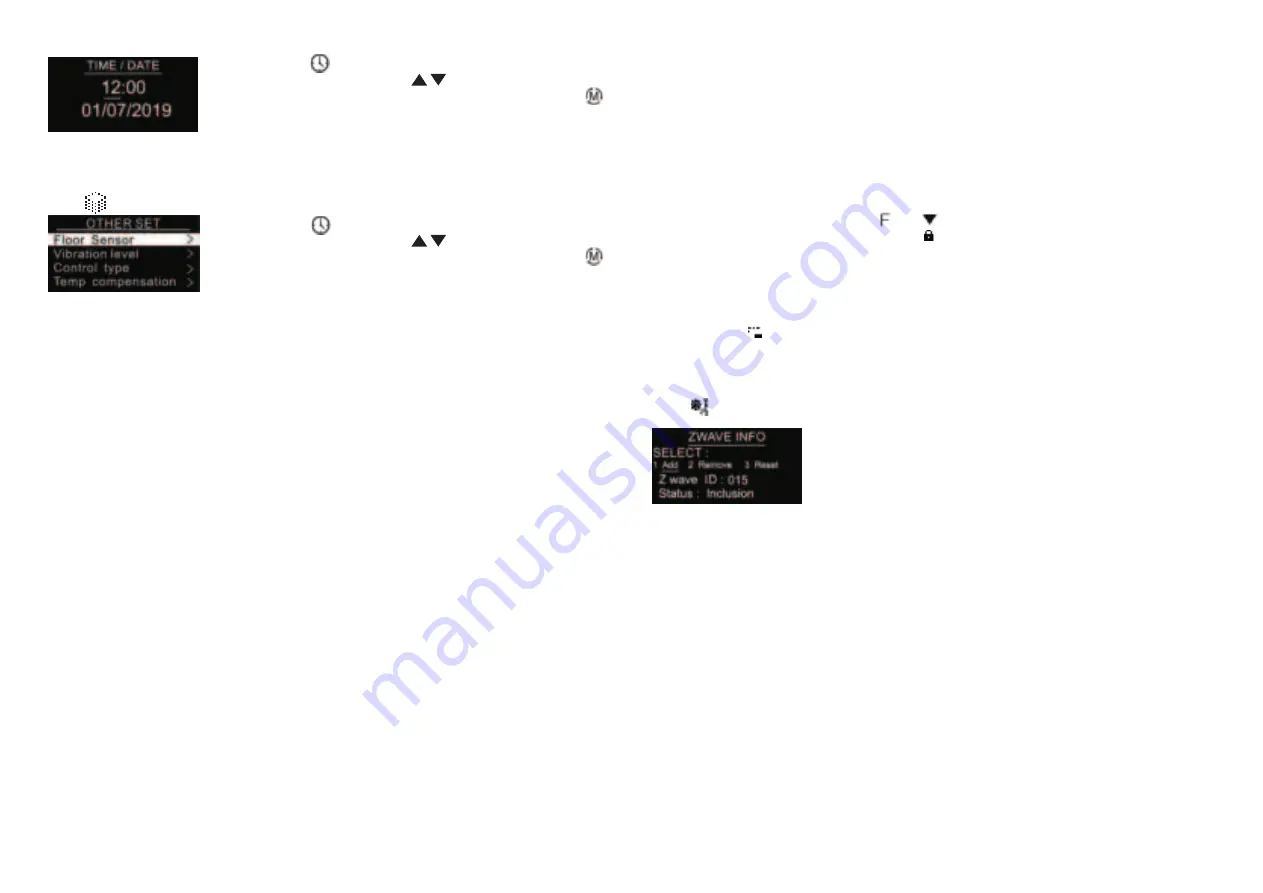
Floor Sensor (NTC 10K by default)
If external sensor is broken, the user can buy NTC sensor by themselves, the available sensor types are as
follows:
NTC 100K/25 (3m,NTC,R25=100KΩ±1%@25
℃
, B25/50=3950K±1%)
NTC 50K/25 (3m,NTC,R25=50KΩ±1%@25
℃
, B25/50=3950K±1%)
NTC 15K/25 (3m,NTC,R25=15KΩ±1%@25
℃
, B25/50=3950K±1%)
NTC 10K/25 (3m,NTC,R25=10KΩ±1%@25
℃,
B25/50=3950K±1%)
(Low by default)
(Room sensor by default)
(0 by default)
(last status by default)
Key vibration level
Set the level of vibration sensor under the buttons or buzzer level.
OFF: vibration or buzzer off
Low Level, High Level: low vibration or buzzer level, high vibration or buzzer level
The level can also be configured through Advance Config parameter 03.
Control type
Control type means which temperature sensor the device refers to when it adjust temperature.
Room sensor:
adjust temperature refers to room temperature (factory default type)
Floor sensor:
adjust temperature refers to floor temperature
Room+Floor sensor:
adjust temperature refers to both room temperature and floor temperature. Turn on heat
valve under other circumstances. This mode is to prevent the device from continuous heating that caused by
malfunction of either sensor. When the floor sensor temperature is >= the set temperature minus 1 or when the
room sensor is >= the set temperature, either of the conditions is achieved, the controller will stop heat,
otherwise the controller will heat.
This parameter can also be configured through Advance Config parameter [10].
Temp compensation
The displayed temperature may has big tolerance caused by the sensor or other factors, so it is necessary to do
temp compensation to room sensor and floor sensor.
Compensation range is -5 ~ +5
℃
, stepping is 0.5
℃
.
This parameter can also be configured through Advance Config parameter [11] and [12] .
RePower status
Device state after reset power of the device.
If set as “last status”, device will go to the status before power failure after power on again.
If set as “default”, device will go to default mode after power on again.
This parameter can also be configured through Advance Config parameter [4].
Adding to a Z-Wave Network (Inclusion)
Method
1
:
Select “Add”, then short press button
, the device will send out inclusion request, “Status” will
show “Inclusion...”. If there is no response from a gateway within 30 seconds, or inclusion failed, “Status” will
show “Fail”. If included successfully, “Status” will show “Inclusion OK” and device ID.
Method 2
: Operate the gateway into inclusion mode, make sure the device is already removed from previous
network, reset power of the device, the device will be included to the gateway automatically.
SMART START
lf the user's gateway also supports smartstart, add the device by scanning the QR code,Smartstart allows
users to quickly add devices to the gateway by scanning the device's QR code.
After scanning to add the device, reset power of the device or waiting for a while, the device will be added to the
gateway automatically. Please find the QR code on the casing of the device.
Removing from a Z-Wave Network (Exclusion)
Select “Remove”, then short press button
, the device will send out exclusion request, “Status” will show
“Exclusion...”. If there is no response from a gateway within 30 seconds, or exclusion failed, “Status” will show
“Fail”. If excluded successfully, “Status” will show “Exclusion OK” and device ID will be showed as 0.
F
F
Short press button
to select the item would like to modify, then short
press move up and move down buttons
to modify value of selected
item, then short press button
to save and quit, short pressing button
only quits without saving.
9.OTHER SET
Select
OTHER SET on Home Interface to enter into OTHER SET interface as follow:
F
Short press button
to select the item would like to modify, then short
press move up and move down buttons
to modify value of selected
item, then short press button
to save and quit, short pressing button
only quits without saving.
F
8.TIME/DATE SET
Select TIME/DATE on Home Interface to enter into TIME/DATE SET interface as follow:
The time zone that the time parameter command adopts is UTC standard time, the corresponding value range
for the time zone range from UTC+12 ~ UTC-12 shall be current UTC standard time+12 ~ UTC standard time-
12. This parameter can also be configured through Advance Config parameter [24].
1.Z-Wave Network Management
Select
ZWAVE INFO on Home Interface to enter into Z-Wave network management interface as follow:
Z-Wave Set Introduction
Internal
Over
Heat
Protection
To
ensure
the
safety
of
the
device
,
if
the
internal
temperature
of
the
device
(
not
displayed
on
the
interface
)
is
over
a
certain
value
during
heating
process
,
the
device
will
execute
a
short
temporary
action
to
turn
off
the
relay
,
and
the
icon
will
appear
on
the
interface
,
after
the
temperature
decreases
to
a
certain
value
,
the
device
will
recover
to
work.
Display Temp type
This parameter defines which sensor temperature will be displayed on Home page.
Floor Temp: floor temperature (external sensor).
Home Temp: indoor air temperature.
This parameter can also be configured through Advance Config parameter [23].
Operate Brightness
The OLED display brightness when operate the device.
High Level, Mid Level, Low Level.
This parameter can also be configured through Advance Config parameter [22].
(Home Temp by default)
(Mid Level by default)
Child Lock
On the Home Interface, press and hold both and buttons for over 10S, the Child Lock can be enabled
or disabled, when the Child Lock is enabled, the icon will appear at the upper right corner, otherwise the
icon will not appear.
Factory Reset (Reset)
Factory resetting will reset all Advance Config parameters to default value, and the device will be removed from
the Z-Wave network.
Select “Reset”, then short press button
, the device will start reset, “Status” will show “Reset...”. If there is
F


