


YealinkCP860 Phones Configuring Guide
12
more information, refer to
Yealink_SIP-T2 Series_T19(P) E2_T4
Series_CP860_IP_Phones_Auto_Provisioning_Guide
Power On
The phone can obtain the provisioning server address by detecting DHCP options 66/
contacting RPS when it is powered on, and then the phone will perform the auto provisioning
process to download configuration files. You can also manually enter the provisioning server
address, and then perform the auto provisioning via power on.
To trigger auto provisioning via powered on:
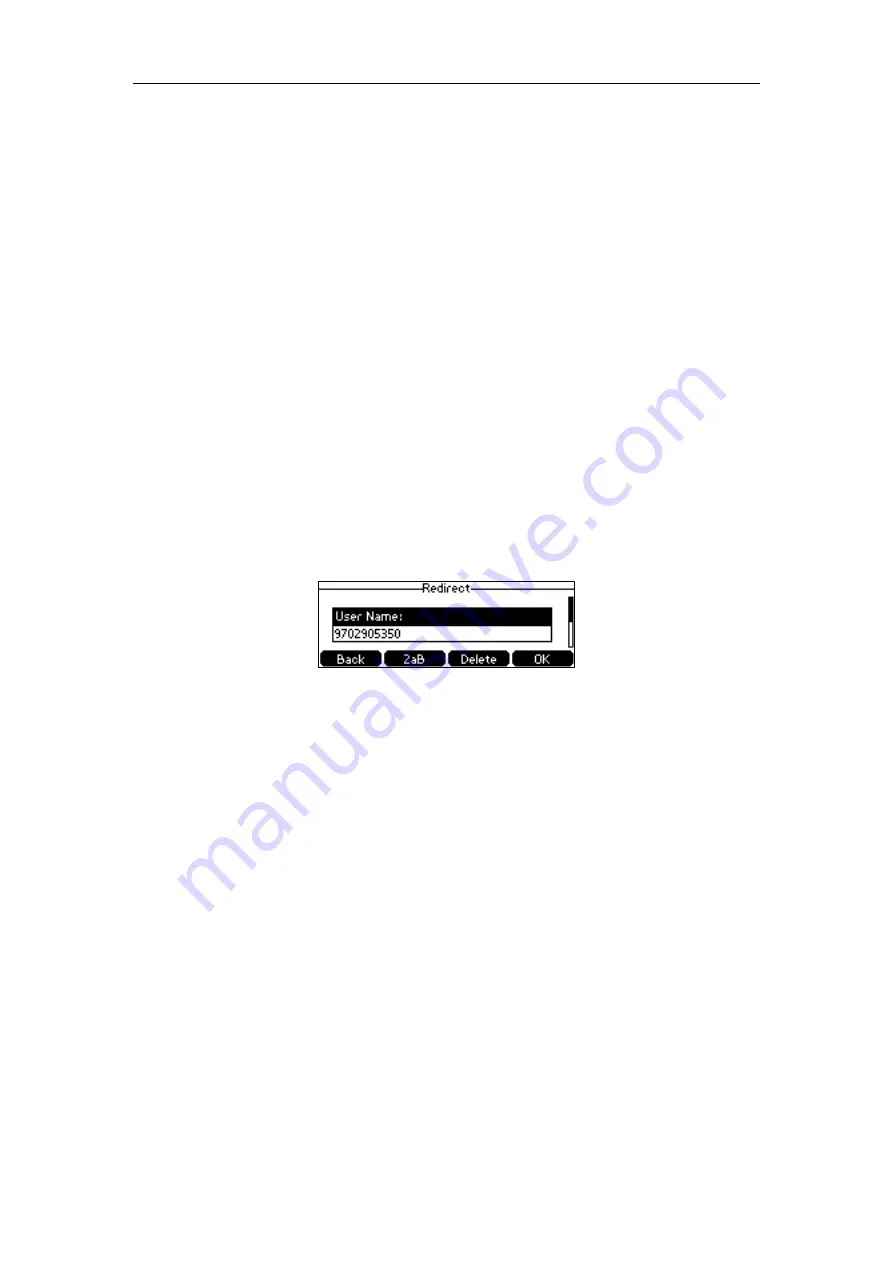
For example, the phone obtain the provisioning server address via RPS when it is powered on,
the LCD screen prompts the following:
1.
Enter the user name (e.g., 9702905350) and account password in the
User name
and
Password
field respectively.
2.
Press the
OK
soft key.
The phone will send the username and the password to the server for authentication. If
successful, the phone will complete deployment after a while. Then you can access the
features you configured on the CommPortal phone configurator via your phone.
Auto Provision Now
You can use
Auto Provision Now
method to trigger the IP phone to perform the auto
provisioning immediately. Before performing the auto provisioning, you need to enter the
provisioning server address manually.
To trigger auto provisioning via auto provision now:
1.
Press
Menu
->
Settings
->
Advanced Settings
->
Auto Provision
.
2.
Enter the provisioning server address (e.g., http://example.com/sip-ps/) in the
URL
field.
Summary of Contents for CP860 SERIES
Page 1: ......
Page 6: ...YealinkCP860 Phones Configuring Guide vi...
Page 18: ...YealinkCP860 Phones Configuring Guide 10...


