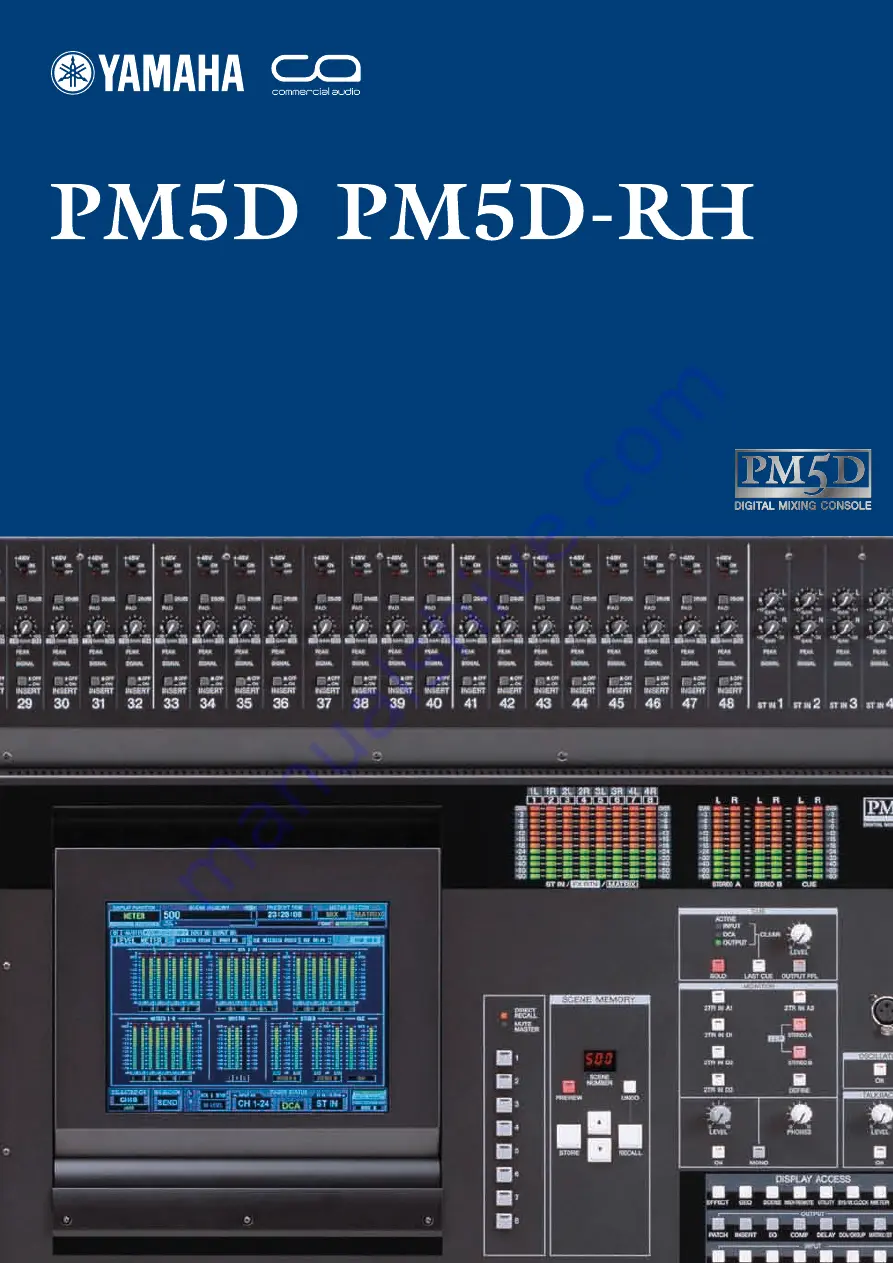
background image

Quick Start Guide

A guide for people using PM5D in the real world.

/

Part 1

Introduction to PM5D layout.
Set up walk through guide.

This is a “quick start guide” designed for people about to use 
Yamaha PM5D for the first time. It is not a guide to audio 
mixing and it assumes the reader has experience of analog 
mixers. It does not cover all features or all approaches to 
PM5D use, nor does it replace the manual; we recommend 
referring to the manual if further information is required.

Summary of Contents for PM5D-RH

Page 1: ... quick start guide designed for people about to use Yamaha PM5D for the first time It is not a guide to audio mixing and it assumes the reader has experience of analog mixers It does not cover all features or all approaches to PM5D use nor does it replace the manual we recommend referring to the manual if further information is required ...

Page 2: ...atching 6 GEQ patching 7 User defined keys programming 8 Assignable faders assignment 9 Monitor on fader if required 10 Storing all that as a starting scene 362 pages of manual and then the editor and driver guides Mmmm there has got to be a quicker way Part 2 Store edit and save 1 Storing and editing stored scenes using PREVIEW mode Global Paste and Tracking Recall 2 Recalling scenes and limiting ...

Page 3: ...g the screen menus 7 The layout 3 Where are the input channel controls 8 The layout 4 Where are the output channel controls 9 The layout 5 The multi function encoders 10 Storing recalling and saving loading on PM5D 11 PM5D set up a walk through guide 12 Preparing the console before you start 13 Entering names and doing the patch the planning stage 14 Entering names and doing the patch DISPLAY ACCE...

Page 4: ...atched to the 4 stereo channels With PM5D there are 48 mic preamps patched to the mono channels and 8 line inputs patched by default to the 4 stereo channels In addition PM5D has 48 analog insert points on the mono channels Both models share the same outputs and the various 2 track inputs and outputs PM5D RH could use the 2 track connections for insert points but for large numbers of insert points...

Page 5: ...tting for a full initialization of the console see page 13 or see section on Recall Safe in Part 2 To recall scene 000 press the up down keys until 000 flashes in the SCENE MEMORY panel Then press the RECALL key Getting the first sounds through PM5D in Ten Easy Steps 3 Adjust the gain with this knob on the regular PM5D 3 On PM5D RH check this GAIN ATT key is pressed and the light is on 4 If you have...

Page 6: ...ontrollers to the selected channel There are SEL keys for all the input stereo input MIX MATRIX and master output channels The MIX SEND and MIX MASTER keys toggle the mix encoders between being like the vertical column of mix send knobs above a channel and the horizontal row of mix master faders in the center section of an analog console The fader layer or fader bank keys toggle the input mono fad...

Page 7: ...the box and either use the DATA encoder to scroll through or you can mouse click on the arrows at each side of the box DISPLAY ACCESS keys Display access Press the DISPLAY ACCESS keys to bring the various displays to the screen Each key has several screens accessed from it these are shown by tabs What the screen shows Upper part always visible shows useful information such as scene name and next s...

Page 8: ...to choose the correct faders and the MIX SEND and MIX MASTER keys to choose AUX send control not MIX master Mono input fader banks 2 banks of 24 faders Stereo inputs Input fader banks Input delay Gain polarity attenuation High pass filter 4 way parametric EQ Full feature gate and comp with selectable send point 24 MIX sends Pan routing DCA and mute selection Input master fader on off meter group ind...

Page 9: ... channel and use the MIX SEND and MIX MASTER keys to select MIX master control not AUX send control Assignable faders can be set to work as MIX masters The selected output channel Output delay 8 way parametric EQ Full feature comp 8 MATRIX sends Pan routing DCA selection Output master fader on off group indication cue Assignable fader banks Inputs Outputs and DCAs Masters A B MATRIX masters MIX mas...

Page 10: ...DER MODE panel 1 PAN pink 2 GAIN ATT white 3 ALT LAYER grey 4 AUX send blue 1 24 ON PAN TO STEREO GAIN 48V set in pref 2 ATT No function ALT Channel ON on ALT LAYER AUX ON for chosen aux PRE PAN No function GAIN No function ATT No function ALT No function AUX Pre fade aux Press the white key again to toggle from HA to ATT the LED panel shows the current state The ALT LAYER is the hidden layer of 2...

Page 11: ...e console SCENE MEMORY panel to store scenes use arrow keys to choose a location and press the STORE key to store The SCENE STORE pop up appears Type a scene name using a computer keyboard connection point under the arm rest then press the ENTER key to store Or click on the screen keyboard and the STORE button with the track pad Confirm with the OK button Scene storing short cuts and tips 1 To spee...

Page 12: ...MALL TWIST OFF PERRIER OR SAN PELLIGRINO 4 SMALL TWIST OFF PERRIER OR SAN PELLIGRINO 4 SMALL TWIST OFF PERRIER OR SAN PELLIGRINO 4 SMALL TWIST OFF PERRIER OR SAN PELLIGRINO 1 BOTTLE POM POMEGRANITE JUICE PLAIN NOT FLAVORED 1 BOTTLE POM POMEGRANITE JUICE PLAIN NOT FLAVORED 1 BOTTLE POM POMEGRANITE JUICE PLAIN NOT FLAVORED 1 BOTTLE POM POMEGRANITE JUICE PLAIN NOT FLAVORED 1 BOTTLE POM POMEGRANITE JU...

Page 13: ...D DCU5D PM5D and PM5D RH can both have expanded input counts by using the DSP5D rack mount option The DSP5D can be easily remote located using the DCU5D cascade cable converter Preparing the console before you start First make sure the last users of the console have backed up any data in the console they wish to keep Next check the console software version DISPLAY ACCESS UTILITY PREFERENCE 2 The s...

Page 14: ...CC GTR Acou BSS DI Y 21 19 19 GTR TOP GtrT BT 4051 Y 22 20 20 GTR BOTT GtrB MD422 23 21 21 LINE 6 Lin6 BSS DI Y 24 22 22 HARMONICA Harm XLR 25 23 23 SIMON VOX Simo UHF Theta 58d 26 24 24 SIMON VOX SPARE Sspr UHF Theta 58d 27 25 25 BASS VOX John Theta 57d 28 26 26 KEY VOX Nick Theta 57d 29 27 27 GTR VOX Andy Theta 57d 30 28 28 BV Anna UHF Theta 58d 31 29 29 YAMAHA AN1x AN1x Active DI Y 32 30 30 YAM...

Page 15: ...rnal keyboard ENTER Arrow down one ENTER Mouse to letter click x4 or external keyboard ENTER Arrow down one ENTER Mouse to letter click x4 or external keyboard ENTER repeat up to 64 times At first this routine seems to have too many ENTER key presses but its worth getting used to Refer to your revised channel order to make sure each name is applied to the correct channel To change the patch DISPLAY...

Page 16: ... Tips for navigating the patch 1 Use the DATA encoder to move the cursor frame left to right 2 Press the SHIFT key and the DATA encoder to move the cursor up and down 3 If the cursor is in a scroll bar pressing the SHIFT key gives extra fast scrolling 4 Use the SEL keys to Auto Scroll The cursor will jump to the selected channel To pair mono input channels as stereo Simply press and hold the two S...

Page 17: ...select 48V for the first 24 channels and so on 2 Encoder mode method This needs a preference setting in UTILITY PREFERENCE 1 In the right hand column is a preference for USE ENCODER ON AS 48V Now whenever the encoder mode is set to GAIN ATT the ENCODER ON button will activate 48V Phantom is clearly indicated with a red LED near the preamp inputs and meters This button turns on 48V when encoder is s...

Page 18: ...1 GTR TOP AT 4050 Y Mix 21 Sax Ears R Wireless IEM 22 GTR BOTT MD421 Mix 22 DDL 1 FX 1 23 LINE 6 BSS DI Y Mix 23 Rev 2 FX 2 24 HARMONICA XLR Mix 24 Rev 3 FX 4 25 SIMON VOX UHF BETA 58A DIR Martix 1 Spare IEM Plus Spare Belt Pack 2 packs 26 SIMON VOX SPARE UHF BETA 58A DIR Matrix 2 Spare IEM 27 BASS VOX BETA 57A Martix 2 28 KEY VOX BETA 57A Matrix 3 29 GTR VOX BETA 57A Martix 3 30 BV UHF BETA 58A M...

Page 19: ...ion as mix cue buttons and are used a lot when doing monitors MIX SEND MIX MASTER naming for THE EXAMPLES ENCODER MODE keys named for THE EXAMPLES Now is a good time to store See page 11 for how to store now Choose a scene title like start up or generic this is not a scene you will recall just a store to reduce the chance of losing the work so far When you save to the card or Studio Manager use th...

Page 20: ...TER key to confirm and then move to the next box When patching a mono send to a stereo effect It is only necessary to send to the left side of the effect The effect recognizes this and sends equally to both sides If you connect the same mix to both sides the input level will be doubled To change the parameters of an effect from the default Click with the mouse or move the cursor over the picture im...

Page 21: ... for their spare in ear monitor system If there is a failure of a band member s IEM system then their mix can be sent to the spare 1 Turn on MATRIX 1 and 2 and pair them by press and holding both SEL keys 2 Turn up encoder 2 to 3 o clock to give unity output The set up is now ready When the spare is required 1 Double click the MATRIX 2 SEL key 2 Turn on and up the mix that needs to go to the spare...

Page 22: ... and turn the DATA encoder until the chosen MIX channel appears and press the ENTER key The MIX insert point is automatically switched on but the GEQ is still switched off Turn on the GEQ from this page if required Link GEQs together if mixes are stereo To operate the GEQ Access the GEQ PARAM page You can use the cursor box and the DATA encoder but to assign the GEQ to the DCA assignable faders mo...

Page 23: ...n the USER DEFINED KEY ASSIGN pop up Scroll to find a desired key and press the ENTER key Scroll in the second column and third if necessary to precisely direct the action of the user defined key Label your chosen user defined keys with tape and pen and make a note of them on paper to make transferring the labels to another board easier You can even stick the labeling to the back of your set list aft...

Page 24: ...re is no need to confirm assignment is instant The FADER ASSIGN page Default settings A Input channels 25 32 B Input channels 33 40 C Input channels 41 48 D MIX masters 1 8 E MIX masters 9 16 F MIX masters 17 24 Note some features of assigned faders You can place the same fader control in many or all of the layers and positions They are not affected by FADER FLIP so are never AUX sends Assignments ...

Page 25: ... monitor signal to the PA Cue level on a fader The monitor volume is controlled by a rotary pot but commonly stage monitor engineers want fader control A direct method by software routing will be implemented with the new firmware available summer 2007 There is currently no direct method for this However it can be achieved indirectly 1 In the OUTPUT INSERT PATCH page patch MONITOR L and MONITOR R to...

Page 26: ...our patching in the EFFECT ASSIGN page when switching the bypass on Alternative way if all FX are in use then an alternative is to use a digital 2TR OUT and IN connection and use a cable to loop them together on the rear panel Note Do not cue the STEREO A channel and ensure the pink STEREO A MONITOR switch is off or a feedback loop will be created This button s status is not stored with scene data ...

Page 27: ...he equivalent of having patched up effect insert and stage box racks and labeling up the desk Now is a another good time to store And now is a good time to SAVE to a card See part 2 of the guide Ready for soundcheck Load your card data into the console used for the show and now do your first soundcheck and show Store scenes as you go along If you are unsure about when to store just do it often you ...

Reviews: