SETTING THE DATE AND TIME
22
1
Press
repeatedly until the initial display
appears.
2
Press .
The menu is displayed.
3
Press or to select “Settings” and
press .
The Setup menu is displayed.
4
Press or to select “General Settings” and
press .
The “Environment Setup” menu appears.
5
Press or to select “Time” and
press .
The display for entering the current date and time
appears.
6
Enter the current date and time using the
numeric keys, and press
.
The entered date and time are entered, and
“Environment Setup” menu reappears.
y
The time zone and daylight saving time can also be set. See
page 20 for details.
The SNTP server (time distribution server) allows the
adjustment the date and time information in this unit
automatically at constant intervals.
The synchronization with the SNTP server may not be available
depending on the security settings of the LAN accommodating
this unit. Using an external SNTP server requires the router
settings to be changed, etc. Refer to the instruction manuals for
your router for details.
1
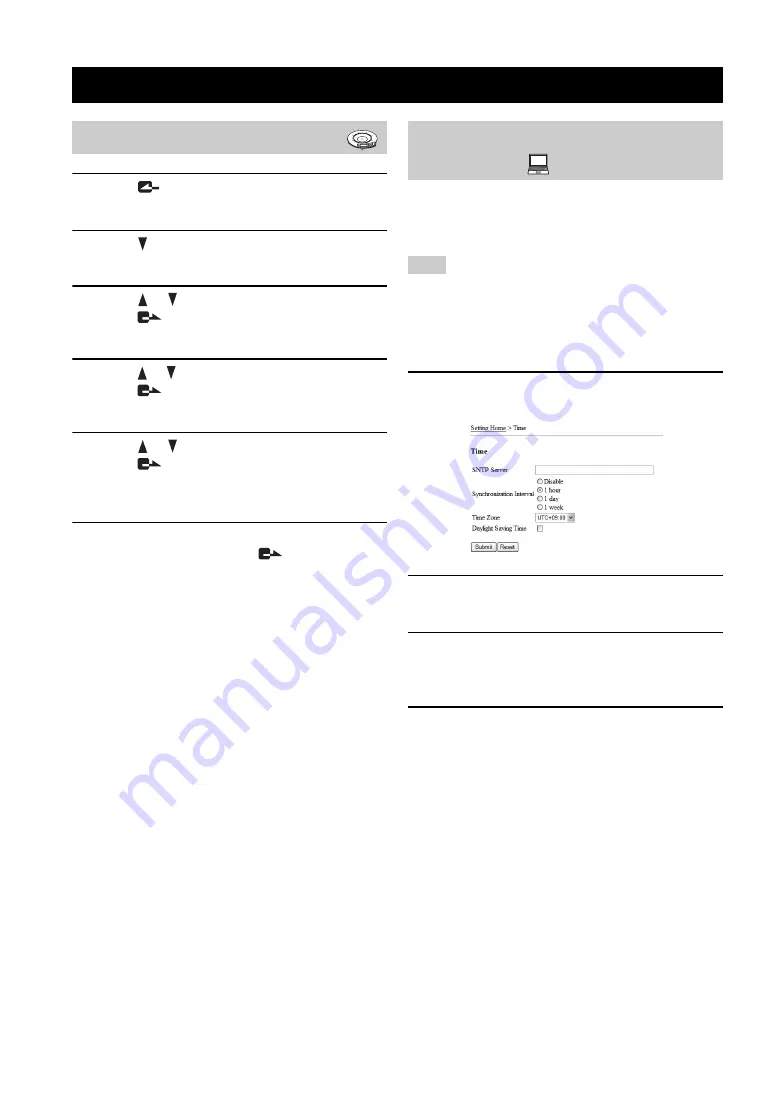
In the Web menu, click “Time”.
The “Time” window appears.
2
In the “SNTP Server”, enter the name or IP
address of the SNTP server to be used.
3
In the “SNTP Synchronization Interval”,
select the desired interval for
synchronization with the SNTP server.
4
Click “Submit”.
The setting is registered and the top of the Web menu
reappears.
Setting the Date and Time
Setting the date and time manually
1
2
3
4
5
6
7
8
9
0
MIC MUTE
VOL
Setting the date and time using the
SNTP server
Note


