


11
6
The installation starts. If the driver has already been installed, the following
message appears. To return to step 3, press [Continue]. To complete the
installation, click [Quit].
7
When the installation is complete, the system displays the following
message: “Installation was successful. You have installed software which
requires you to restart your computer.” Click [Restart]. The computer
automatically restarts. You can locate the installed files in the following
locations:
• System Folder | Control Panels | YAMAHA USB MIDI Patch
• System Folder | Extensions | USB YAMAHA MIDI Driver
• System Folder | OMS Folder | YAMAHA USB MIDI OMS Driver
Voice Editor for MOTIF-RACK, Editors for
• • • • • • • • • • • • • • • • • • • • • • • • • • • • • • • • • • • • • • • • • • • • • • • • • • • • • • • • • • •
Plug-in Boards
You can edit the voices of the MOTIF-RACK and Plug-in Boards on your
computer.
1
Double-click on the desired folder (page 9).
“Install ***” (“***” indicates the application name) will be displayed.
2
Double-click on “Install ***.”
The Software Setup Dialog will be displayed.
3
Execute the installation by following the on-screen directions.
After installing, you will find the “YAMAHA Tools” folder on your
computer (Hard Disk as the default).
For details, refer to the on-line Help or the PDF owner’s manual.
Setting up OMS
The OMS studio setup file for the MOTIF-RACK is contained in the included
CD-ROM. This studio setup file is used for setting up OMS.
n
Before performing the following procedure, the OMS and USB MIDI
Driver should be installed.
1
Use a USB cable to connect the USB terminal of the computer (or the USB
hub) to the USB terminal of the MOTIF-RACK and turn the MOTIF-
RACK’s power on.
2
Start the computer.
3
Insert the included CD-ROM into the CD-ROM drive of your Macintosh
computer. The CD-ROM icon appears on the desktop.
4
Double-click on the CD-ROM icon, “International”, “OMS”, and “OMS
Setup for YAMAHA.”
The “USB-MOTIF-RACK” file appears. Copy this to the hard disk on your
computer.
5
Double-click on the “USB-MOTIF-RACK” file to start the OMS Setup.
n
If you are connecting several MOTIF-RACKs to the computer, a USB
hub is necessary.
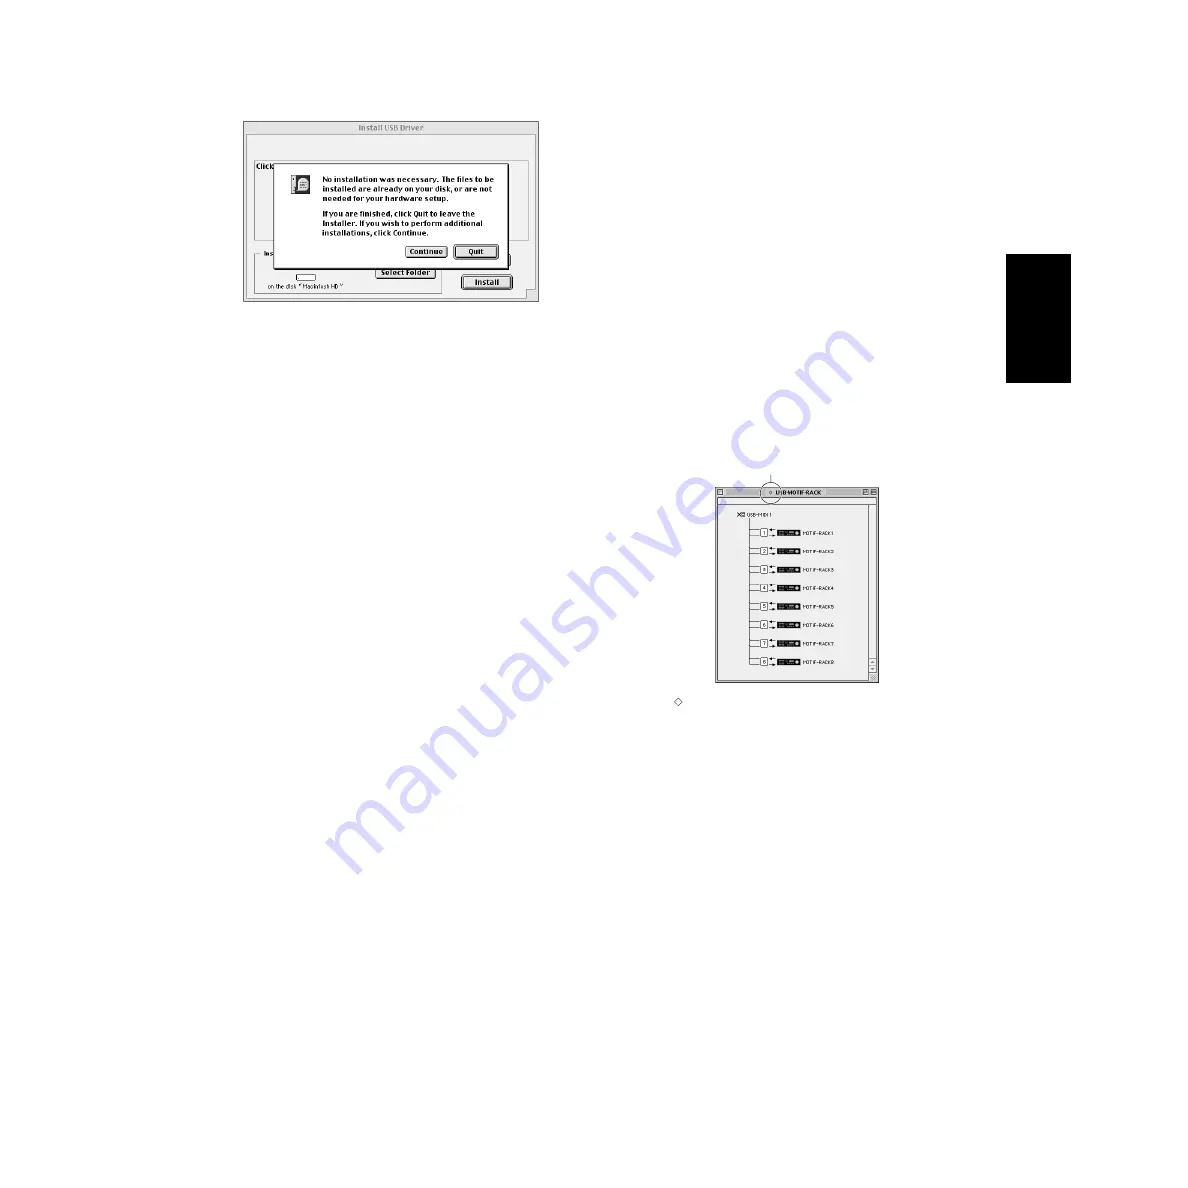
6
After starting the OMS Setup, the Studio setup file double-clicked in step #5
opens.
n
If “
” is not indicated at the right of the setup file name, select
“Make Current” from the “File” menu and execute the save operation.
The OMS studio setup has been completed.
n
After the OMS studio setup above has been completed, your
computer will recognize only the MOTIF-RACK as a MIDI
instrument. If you use another MIDI instrument in addition to the
MOTIF-RACK or you add a second MOTIF-RACK to the existing
system, you should create an original Studio Setup file. For details,
refer to the on-line manual supplied with the OMS.
n
The included OMS studio setup file may not function even if you
follow the above procedure, depending on your Macintosh/Mac OS
version. (MIDI data cannot be transmitted/received even if the setup
becomes available.)
In this situation, connect your Macintosh to the MOTIF-RACK via
the USB cable and follow the procedure below to re-create the setup
file.
1
Start OMS Setup and select “New Setup” from the “File” menu.
2
The “OMS Driver Search” dialog appears. Remove the check from
the “Modem” and “Printer” check boxes, and click [Search] to
execute the device search.
If the Search operation has been completed successfully, the [USB-
MIDI] device is displayed in the OMS driver setting dialog.
3
Click the [OK] button to search for ports. Port 1, Port 2 ... appears
in the dialog. Mark the appropriate checkbox of the port and click
the [OK] button to store the setting.
Indicates this setup is available
English


