


7
●
Installing the driver on a Windows XP
system
1
Start the computer.
2
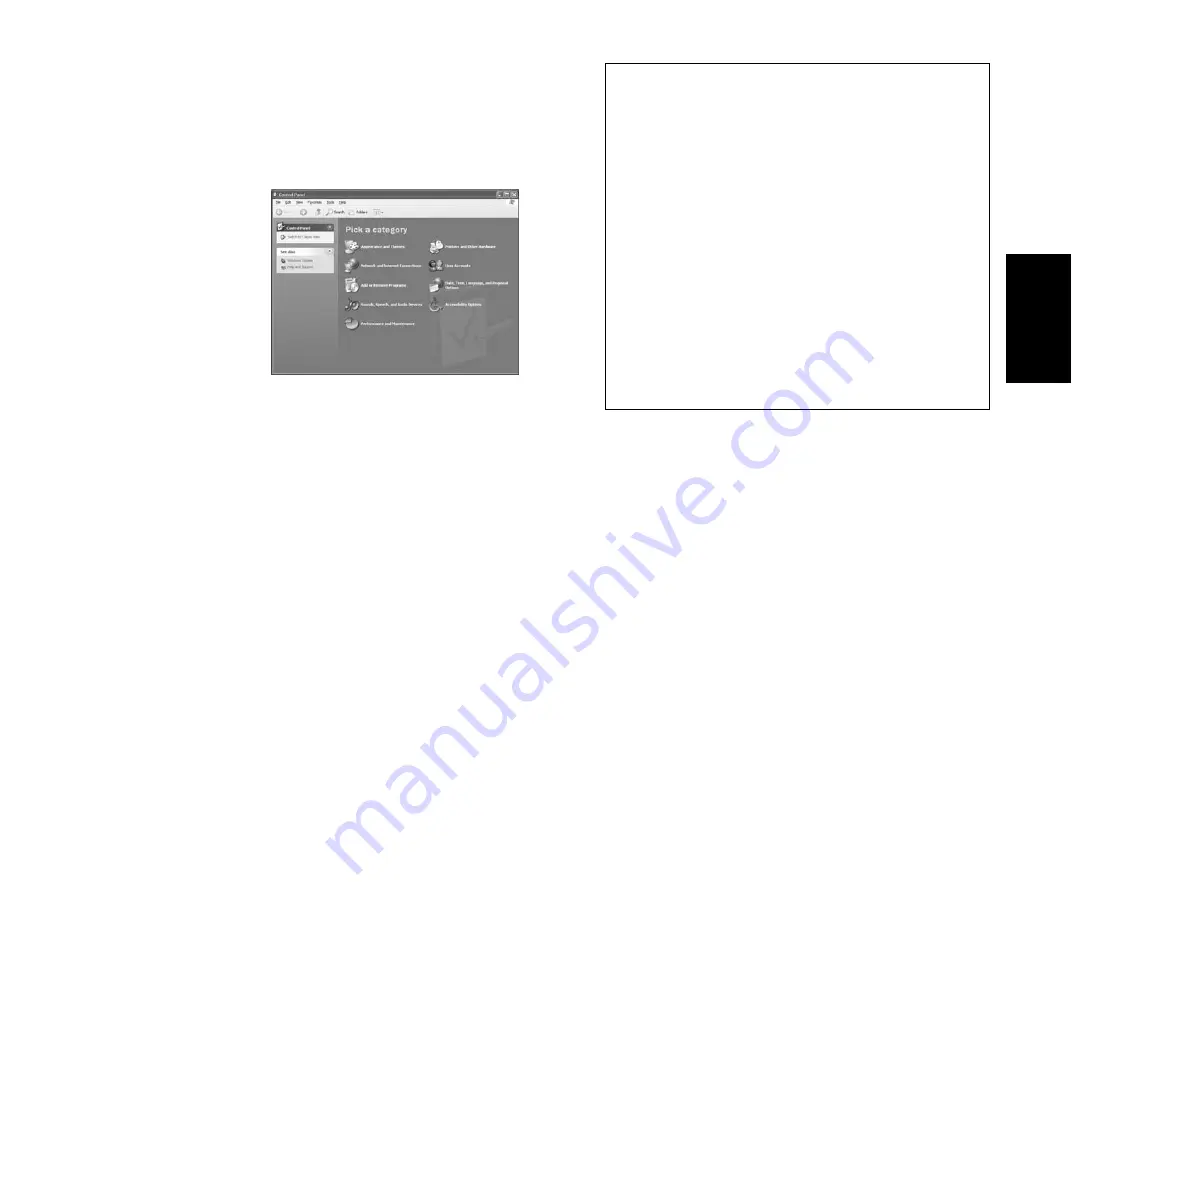
Select [Start]
→
[Control Panel]. If the control panel appears as shown
below, click “Switch to Classic View” in the upper left of the window.
All control panels and icons will be displayed.
3
Go to [System]
→
[Hardware]
→
[Driver Signing]
→
[File Signature
Verification], and check the radio button to the left of “Ignore -Install all
files, regardless of file signature” and click [OK].
4
Click the [OK] button to close System Properties, and then click “X” in the
upper right of the window to close the Control Panel.
5
Insert the included CD-ROM into the CD-ROM drive.
6
Make sure the POWER switch on the MOTIF-RACK is set to OFF and use
the USB cable to connect the USB terminal of the computer (or the USB
hub) to the USB terminal of the MOTIF-RACK. When the MOTIF-RACK
is turned on, the computer automatically displays the “Found New
Hardware Wizard.”
7
Check the radio button to the left of “Search for a suitable driver for my
device. (Recommended).” Click [Next]. The system starts the installation.
8
When the installation is complete, the system displays “Completing the
Found New Hardware Wizard.” Click [Finish].
n
Some computers may take about ten seconds or more to show this
screen after the installation is complete.
9
Restart the computer. The driver has been installed.
●
SQ01
In addition to its sequencer function, the SQ01 can also be used for voice editing
once the Plug-in application “Voice Editor for MOTIF-RACK” is installed.
1
Double-click on the “SQ01_” folder. Various files including “setup.exe”
will be displayed.
2
Double-click on “Setup.exe.”
SQ01 Setup Dialog box will be displayed.
3
Execute the installation by following the directions appearing on the screen.
After the installation, select “Restart”.
After restarting Windows, you will find the YAMAHA folder on your PC
(Program Files as the default) and SQ01 folder in the YAMAHA folder.
Refer to the online manuals for instructions on how to use the application.
SQ01 MIDI Setup
1
Start SQ01.
Choose [Programs] from the [Start] menu, then select
[YAMAHA SQ01]
→
[SQ01].
2
From the [Setup] menu (Track View window), select [MIDI]
→
[Device], to call up the “Device” page of the “MIDI” dialog.
3
Select the appropriate output port (for example, “YAMAHA USB
OUT 0-1”) in the [OUT] box, to use the USB connection with the
MOTIF-RACK.
4
Select the appropriate input port (for example, “YAMAHA USB
IN 0-1”) in the [IN] box, then click [OK] to close the dialog box.
n
You can select the audio driver and the audio in/out device if
necessary. From the [Setup] menu, select [Audio]
→
[Device] to
call up the “Device” page of the “Audio” dialog.
n
The USB connection to the MOTIF-RACK can only be used for
transfer of MIDI data. No audio data can be transferred via USB.
●
Voice Editor, Editors for Plug-in Boards
You can use edit the voices of the MOIF-RACK, and Plug-in Boards.
1
Double-click on the “OPTPlug_” or “Plug_” folder.
Some folders will be displayed (page 3).
2
Double-click the desired folder.
Various files including “Setup.exe” will be displayed.
3
Double-click on “Setup.exe.”
The Software Setup Dialog box will be displayed.
4
Execute the installation by following the directions appearing on the screen.
After completing the installation procedure, you can find the each software in
the designated folder and find that each application is added to the [Plug-in]/
[View] menu on the SQ01. Refer to the online help/PDF manuals for
instructions on how to use the application.
English


