


E-13
English
5
Press
#
/
*
(
PLAY
#
on the remote) to start
recording.
The TOC indicator lights up.
When the TOC indicator is lit, this means that the TOC
information has not yet been written to the disc. After
recording is complete, the TOC data is automatically
written to the disc.
6
Start playing the program source to be
recorded.
To pause
Press
#
/
*
(
PAUSE
*
on the remote).
Press again to resume recording.
To stop
Press
&
(
STOP
&
on the remote).
To eject the MD
Press
)
EJECT
.
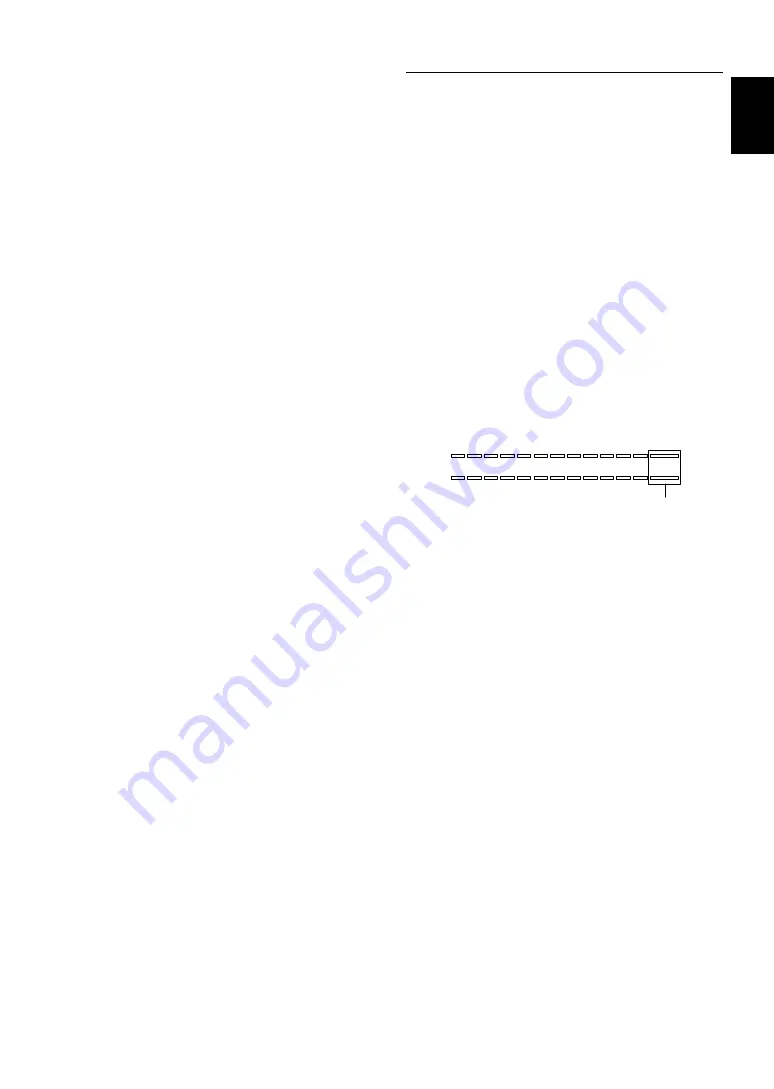
Should not light
Adjusting Recording Levels
Setting the digital volume level
The volume level of digital audio sources is often
similar, however, level differences may be quite obvious
between different digital audio formats and even
between one recording and another. To maintain a
consistent volume level in MD recordings, it is possible
to change the volume of the input digital signal.
To select the digital signal to be recorded or monitored,
press
INPUT
repeatedly until the appropriate digital
input indicator (DIGITAL OPT. 1 or DIGITAL OPT. 2)
appears in the display. During record or record pause
mode, turning
DIGITAL REC LEVEL
adjusts the
volume of the digital signal. The digital volume can be
adjusted up to +12 dB and down to a minimum (MIN)
level from the default volume of 0 dB, the level of the
input digital signal. To set the volume level, play the
digital source to be recorded and adjust
DIGITAL REC
LEVEL
so that the highest peak causes the 0 dB level
indicators to flicker. The OVER indicators should not
light.
Even when recording is stopped, the digital recording
level is maintained in memory.
Notes
• When
DIGITAL REC LEVEL
is turned, the digital
volume level is adjusted in 0.5 dB steps b12 dB
and –20 dB, 1 dB steps from –20 dB to –30 dB, 2 dB steps
from –30 dB to –40 dB, followed by –44 dB, –48 dB,
–54 dB, –62 dB and MIN.
• Although some sources can be recorded with lower peak
levels, setting the peak levels too low may degrade the
quality of the recording.
• The digital volume cannot be adjusted while a track title is
being entered.
• The digital recording levels are maintained independently
for DIGITAL OPT. 1 and DIGITAL OPT. 2.
Setting the analog recording level
Press
INPUT
repeatedly until the ANALOG indicator
appears in the display, and press
REC
(
REC
‡
on the
remote) to put this unit in the record pause or monitor
out mode. For best results, play the loudest passage of
the source to be recorded and watch the recording level
meter in the display. Adjust
ANALOG REC LEVEL
so
that the highest peak causes the 0 dB level indicators to
flicker. The OVER segment should not light.
L
R
dB –
60
30
10
6
4
2
1 0 OVER
00 –
–
–
–
–
–


