57
English Chapter 14: Timer Play
3
Use [
<
] and [
>
] to move the
cursor sideways to each
parameter and the [–/NO] and
[+/YES] buttons to set a value.
4
Press [
] to enter the next
program.
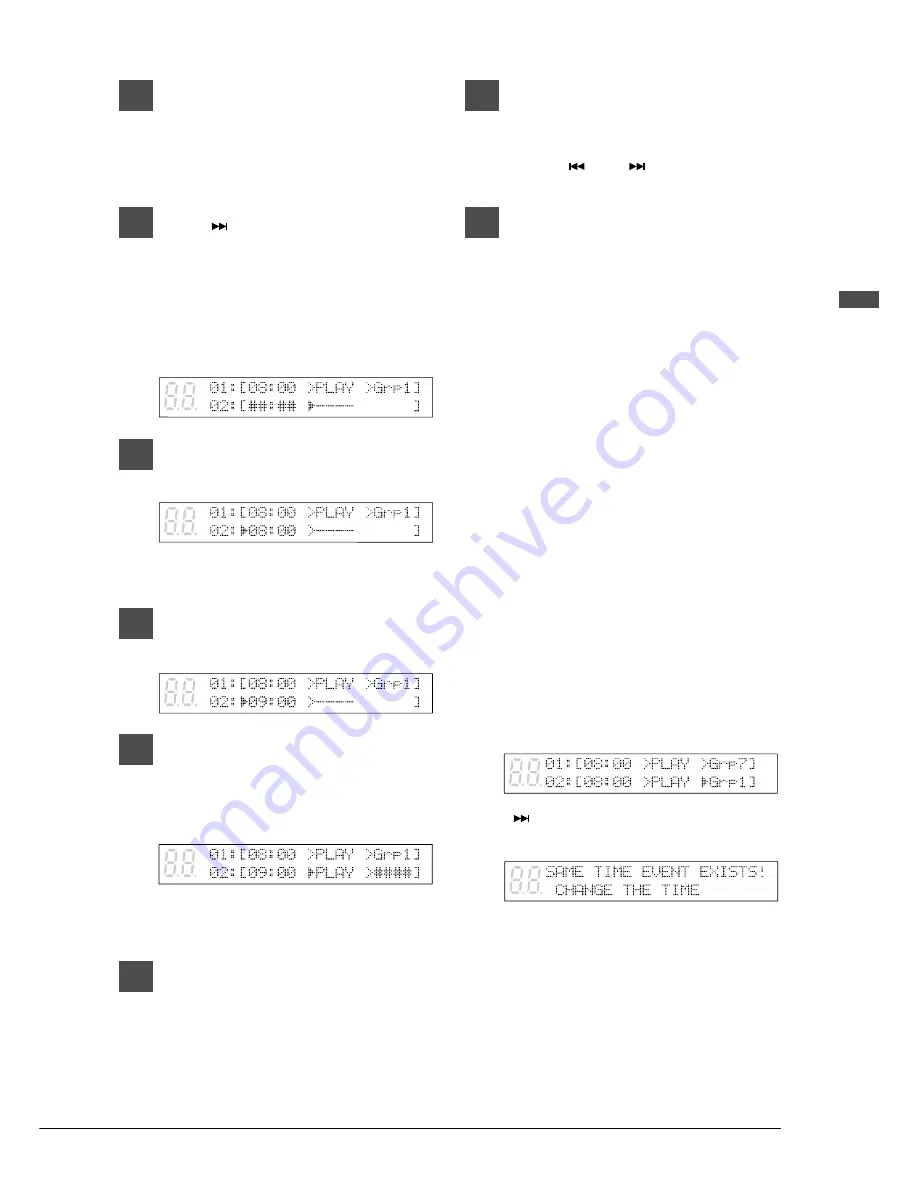
The next program appears with ##:## for
the time parameter and - - - - for the
function parameter. The cursor appears at
the function parameter.
5
Press [
<
] to go to the time
parameter.
##:## automatically changes to the time
setting of the preceding program.
6
Use the [–/NO] and [+/YES]
buttons to set a time.
7
Press [
>
] to go to the function
parameter, and use the [–/NO]
and [+/YES] buttons to select
either PLAY or STOP.
When PLAY is selected, ####
automatically appears as the Grp parameter.
8
Press [
>
] to go to the Grp
parameter, and use the [–/NO]
and [+/YES] buttons to set a
group.
9
Repeat steps 4 to 8 to set as many
programs as necessary.
Pressing [
] and [
] scrolls the display
vertically through the programs.
10
Press [ENTER] after you set all
parameters for the programs you
need.
The programs are sorted in chronological
order, and the display returns to the setup
menu.
Each program is activated at the specified
time.
Important:
The Control Unit must be turned
on in advance in order for Timer
Play to function. Timer Play
cannot turn on/off the Control
Unit.
Error Check
When you set a program and go to the next
program, the Disklavier automatically checks for
other programs that are set to occur at the same
time.
For example, in the following display, Grp7 and
Grp1 are both set to start playback at 8:00.
When [
] is pressed to proceed to program 3,
the following message appears.
In this case, press any key and set program 2 to a
different time.


