Erasing Projects
79
D24—Owner’s Manual
Erasing Projects
The Project Erase function is used to erase the contents of a project. The project num-
ber is kept.
1
Press the [EDIT] button.
The EDIT indicator lights up.
2
Use the JOG/DATA dial to select “PROJECT EDIT,” and then press the [ENTER]
button.
3
Use the JOG/DATA dial to select “ERASE,” and then press the [ENTER] button.
“PROJECT nn—project title” appears on the display (“nn” and “project title” being the
number and title of the project whose contents are to be erased).
4
Use the JOG/DATA dial to select the project whose contents you want to erase,
and then press the [ENTER] button.
“ERASE PROJ nn—ARE YOU SURE” appears on the display.
5
Press the [ENTER] button to erase the contents of the selected project, or the
[CANCEL] button to cancel.
The contents of the selected project are erased.
When the erase operation is complete, “FINISHED” appears on the display.
To erase another project, press the [ENTER] button to return to step 4.
6
Press the [EDIT] button to leave edit.
The EDIT indicator goes out.
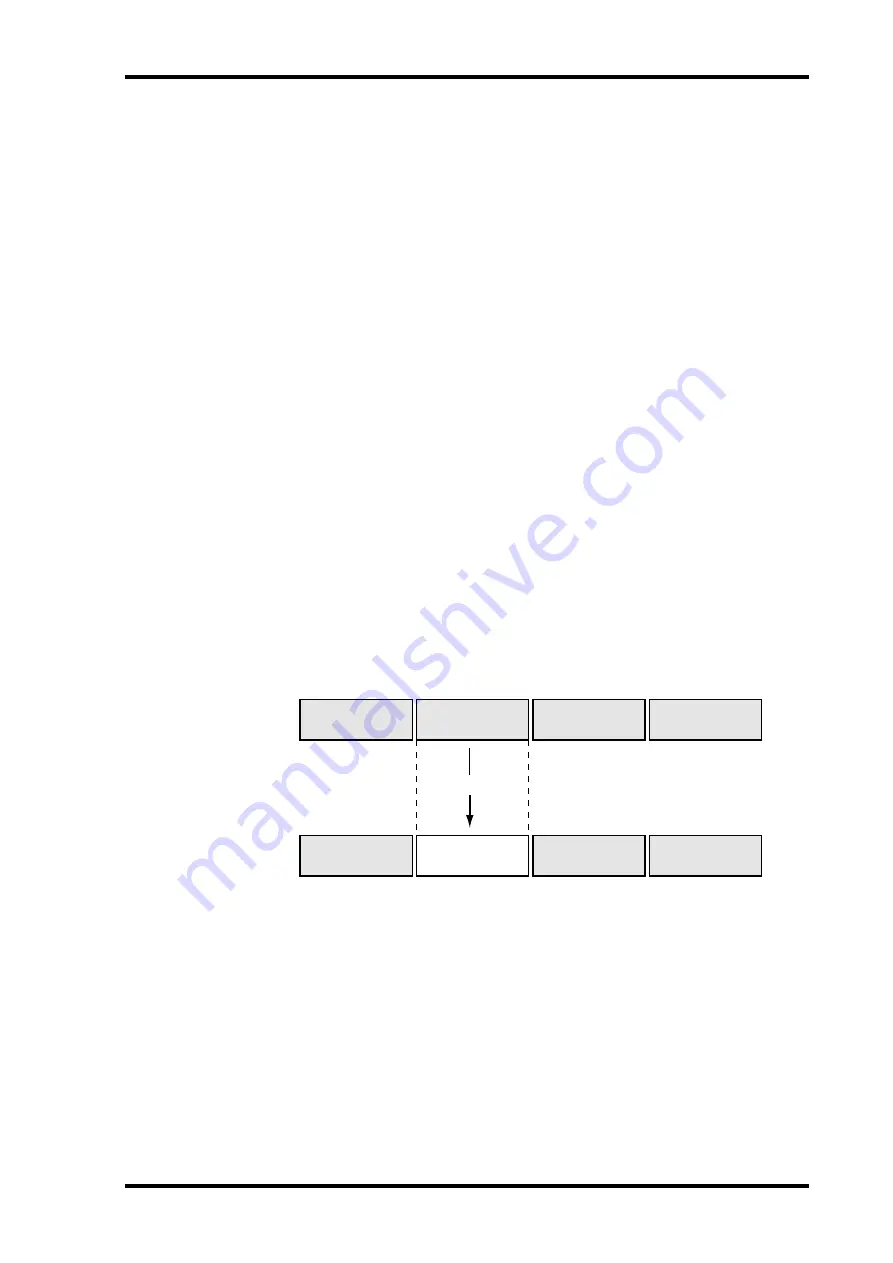
In the following example, the contents of project 2 are erased.
When a project’s contents are erased, the time available for additional recording is
increased.
Contents erased
01 PROJECT
02 PROJECT
03 PROJECT
04 PROJECT
01 PROJECT
02 PROJECT
03 PROJECT
04 PROJECT


