57
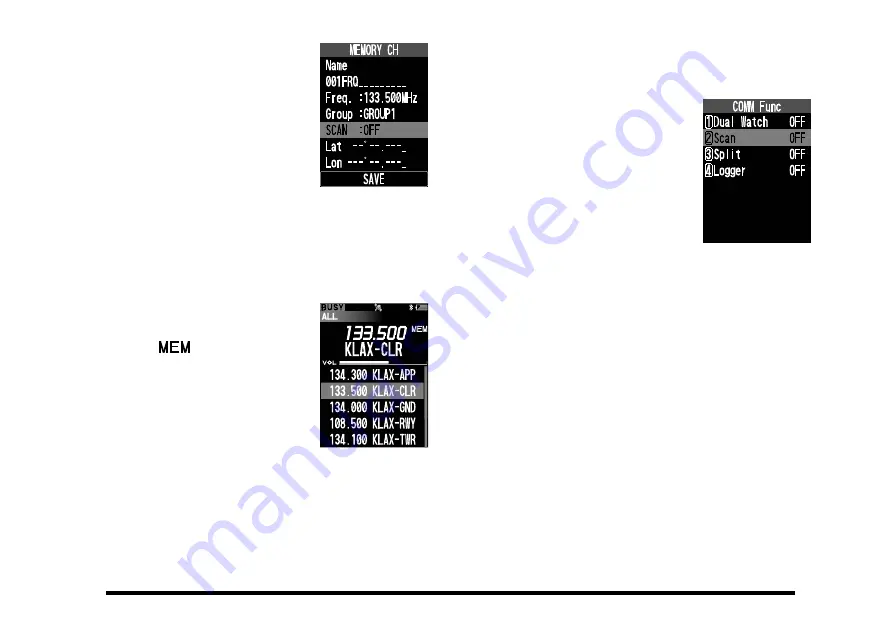
6. Press the [
▲
] or [
▼
] key to
select “
SCAN
” then press
the [
ENT
] key.
7. Press the [
▲
] or [
▼
] key to select the “
ON
” then
press the [
ENT
] key.
8. After all the inputs or changes have been done,
press the [
SAVE
] key, or select “
SAVE
” at the
bottom of the display with the [
▲
] or [
▼
] key, then
press the [
ENT
] key to store them into the memory.
The current channel is
marked to be scanned and
the “
” icon, which indi-
cates that the channel is the
target of scanning, will ap-
pear at the right side of the
channel frequency when
the display returns to the
MEMORY mode screen.
9. Repeat steps 5 to 8 above to mark other channels as well.
z
Scanning the memory channels
Set the radio to the MEMORY mode, then perform
steps 2 to 4 of the section
1. Set the radio to the MEMORY mode.
2. Press the [
FUNC
] key to display the COMM Func
menu screen.
3. Select “
Scan
” on the screen
by pressing the [
▲
] or [
▼
]
key, and then press the
[
ENT
] key.
The same operation as
above is possible by press-
ing the [
2
] key.
The scanning starts and the display returns to the
MEMORY mode screen.
Note:
When you enable the alarm function at reception of the
weather alert signal via the COMM Setup menu in the
SETUP menu mode, the last weather channel will be
watched as the every second channel during a scan.
Example:
when the last weather channel is WX03,
the radio scans in the following order.
MEM001
WX03
MEM002
WX03
MEM003
WX03
...
The frequency of the last weather channel, however,
will not be displayed until the scanner encounters the
weather alert signal.


