Version 1.0
PartPro150 xP Operation Manual
41
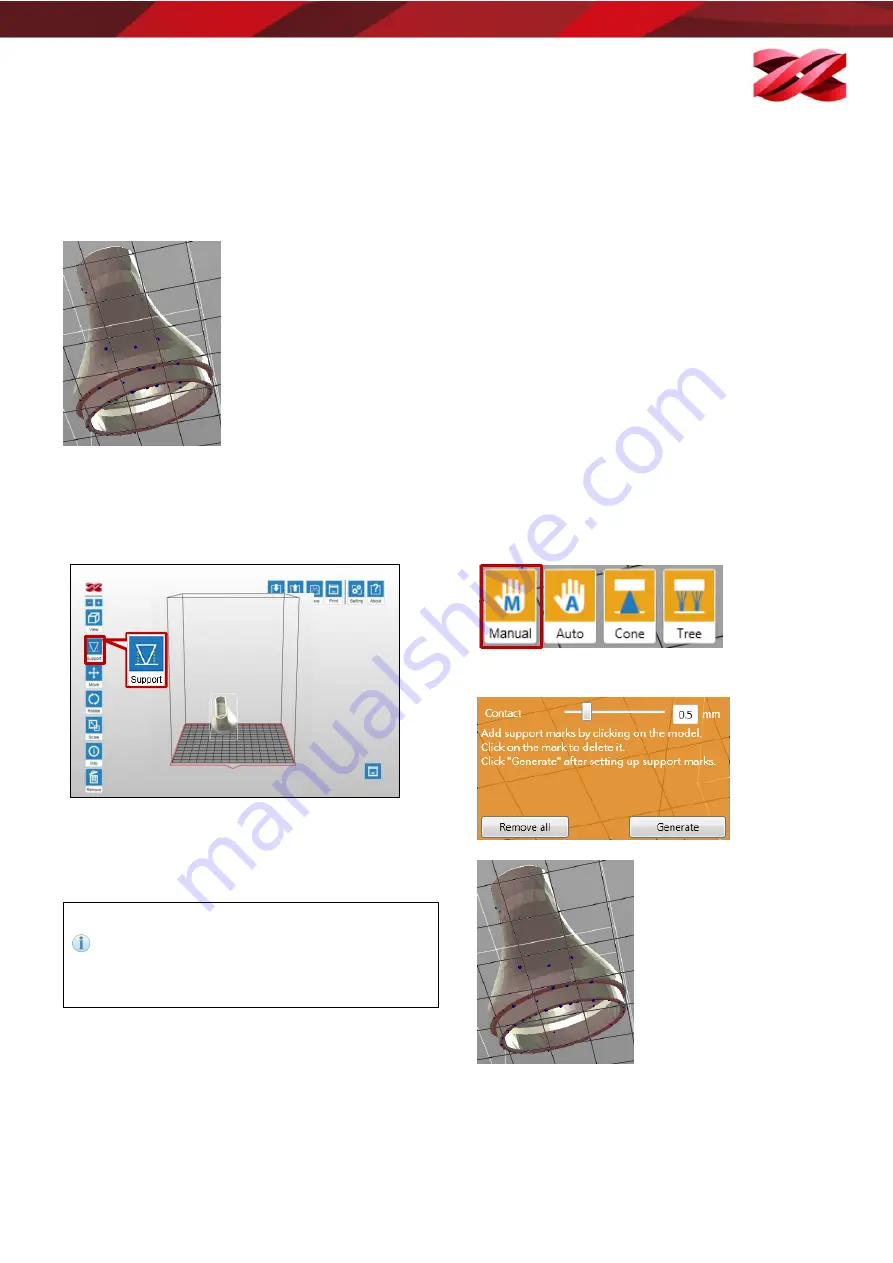
Editing supports manually
You can build the supports from scratch with the manual mode, or use it to adjust the supports generated in the
Auto mode.
In Auto Mode, all supports are in the same size at the contact points. However, the size of the contact can be set
to different based on the features of the object.
Larger contact may be required for heavy part. Smaller contact is good enough for holding lighter structure. Also
it is easier for post-processing.
To edit the supports:
1.
Select one or more object on the workspace and click
[Support] icon.
2.
Select [Manual].
3.
If supports were added in the Auto Mode, they will be
shown as blue dots in the manual editing mode.
To add support, simply select a proper size of the
contact point and then click on the model at the
overhangs.
To delete support, just click on the support mark (the
blue dot).
When finished editing the supports, click [Generate] to
add supports.
Cone supports
Cone support is thicker than the original support. It is ideal for adding sprues at the base of castable prints. When
using cone support as the sprues, simply leave them on the prints for casting.
Raft type in the manual mode is based on the
selection under Auto mode. To change the raft
style, adjust the raft style in Auto mode and go
back to manual mode to complete the setting.


