4-2
Connect Printer
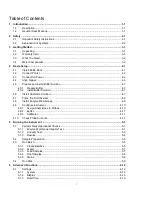
4.2
Connect the optional YSI 2901 Printer to the 2500 Biochemistry Analyzer using the data cable provided. The small RJ12
connector plugs into the bottom of the printer and the large DB9 connector plugs into the RS232 port on the back of the
analyzer. Refer to the instruction sheet included with the printer for details of printer operation.
Connect AC Power
4.3
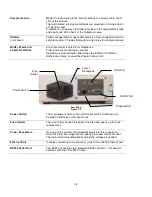
1. Plug the power cord (included with the 2500 Analyzer) into the power receptacle on the back of the instrument,
then into a properly grounded electrical outlet provided with a 15 or 20 Amp circuit breaker. The instrument will
automatically adjust the voltage as needed.
If you are located outside the United States, see
Appendix D – Line Power Cord and Plug Wiring
for Line Power
Cord and Plug Wiring.
WARNING: Keep your hands clear of the sipper while the instrument is in operation.
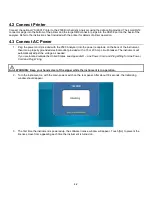
2. Turn the instrument on with the main power switch on the rear panel. After about 30 seconds, the Initializing
window should appear.
3. The first time the instrument is powered up, the software license window will appear. Touch [No] to prevent the
license screen from appearing each time the instrument is turned on.
Summary of Contents for YSI 2500
Page 1: ...USER MANUAL 525021 YSI 2500 Biochemistry Analyzer OPERATIONS AND MAINTENANCE MANUAL...
Page 34: ...5 11 8 The Stat sample results are displayed on the Run Stat tab Stat sample results...
Page 88: ...13 1 13 Notices Declaration of Conformity 13 1...
Page 96: ...17 1 17 Appendix D Line Power Cord and Plug Wiring United Kingdom United States Europe...


