SonTek, a Xylem brand
RiverSurveyor S5/M9 System Manual (February 2013)
19
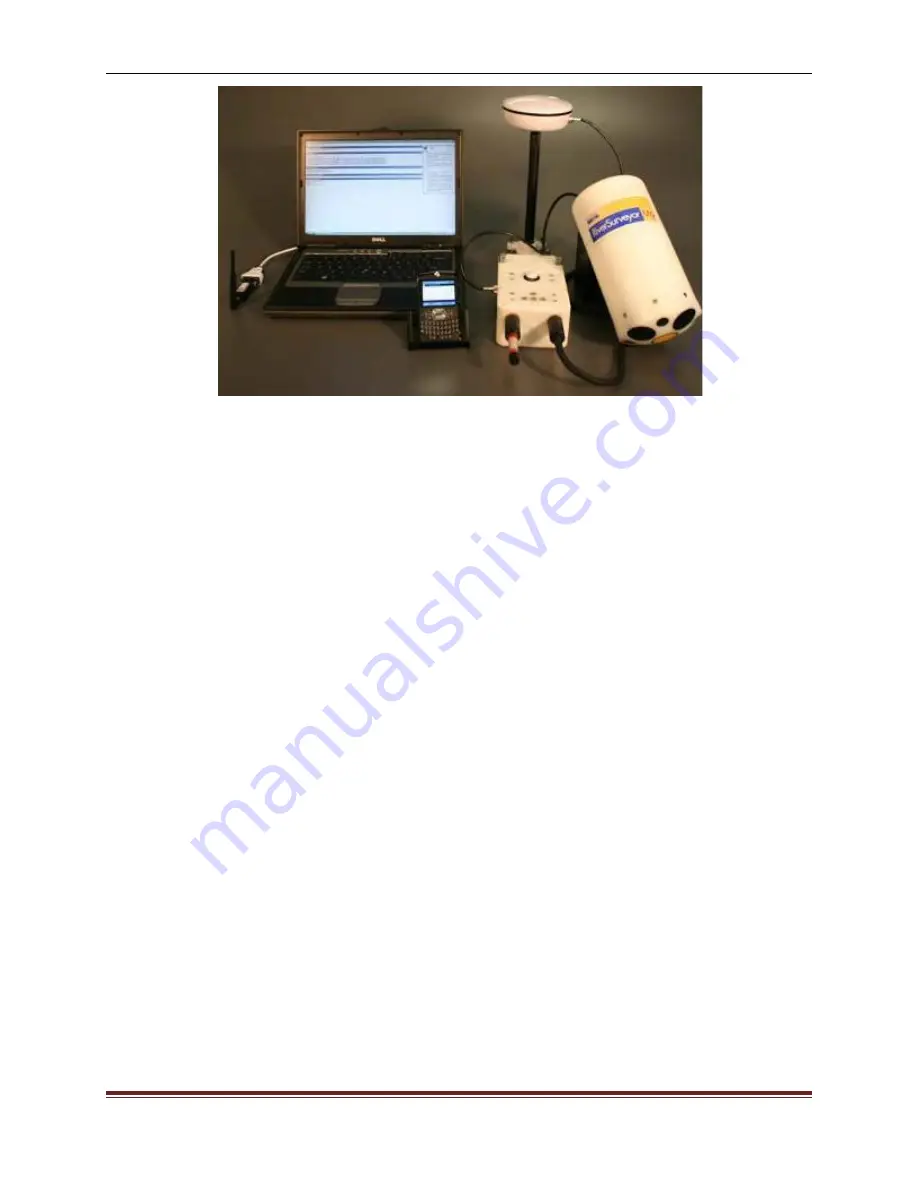
Figure 19. Hardware for the DGPS Option with Bluetooth Communications
3.7.
Configuration F - SonTek Hydroboard
3.7.1.
Description
The SonTek Hydroboard was designed to be lightweight enough for one person, completely as-
sembled. The Hydroboard has easy to use drop-in installation mounts for the ADP and the
PCM. Simply insert the components into their corresponding mount and tighten the thumb
screws. In addition the Hydroboard has two hydrofins that provide increased track stability in
water as well as embedded mounts that can be used for towing as well as the incorporation of a
drag chute to increase boat track stability.
3.7.2.
Hardware Setup
This section describes how to assemble the SonTek Hydroboard components (Figure 20).
1. Open the PCM’s battery pack cover by loosening its thumb screws. Insert the rechargeable
battery pack by aligning the cells with the contacts. Make sure the O-ring seal is clear of
debris. Close the battery cover and securely tighten the thumb screws to maintain a water-
proof seal. Set the PCM into position on the Hydroboard (in the rectangular cut-out in the
mounting bracket) and tighten its thumb screws.
2. Insert the ADP face (transducers looking down) into the circular hole in the Hydroboard.
Start from the topside of the Hydroboard and move the ADP downward (be sure the top of
the ADP coincides with the top of the Hydroboard). If needed, slightly rotate the ADP left
and right to raise and lower the ADP to the proper level. To properly align the transducers,
make sure the female plug-in of the ADP lines up with the female plug-in of the PCM.
3. The Hydroboard is shipped with a fairing unit preinstalled on its bottom. The fairing is at-
tached to the Hydroboard with four screws that pass through the top of the Hydroboard into
the fairing unit on the underside of the Hydroboard.
4. The ADP should be installed so that the transducer head is flush with the fairing. The
transducer can be installed deeper if required. Tighten the clamp around the transducer by
rotating the thumb screw until the ADP is held firmly in place.
5. The white line on the side of the Hydroboard can be used to calculate the transducer depth.
The transducer depth is defined as the distance from the vertical beam to the water sur-
face. The distance for both the S5 and M9 with the fairing to the white line is 4.5 in


