

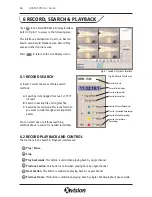


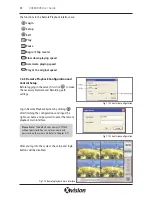


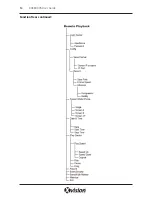

Click on first icon on the bottom left of the screen,
next to where the date and time information is
shown. Select the time period you wish to
playback, then click ‘OK’ to save the setting and
return to the main interface. The selected time /
date will appear in the left bottom of the screen.
Click ‘Cancel’ to cancel the setting.
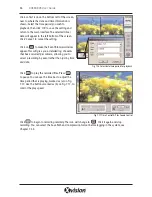
Click on to make the Event Browser window
appear. This will give you a detailed log of events
that have occurred per camera, allowing you to
select a recording by event rather than just by time
and date.
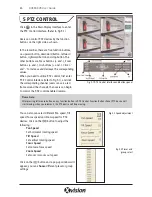
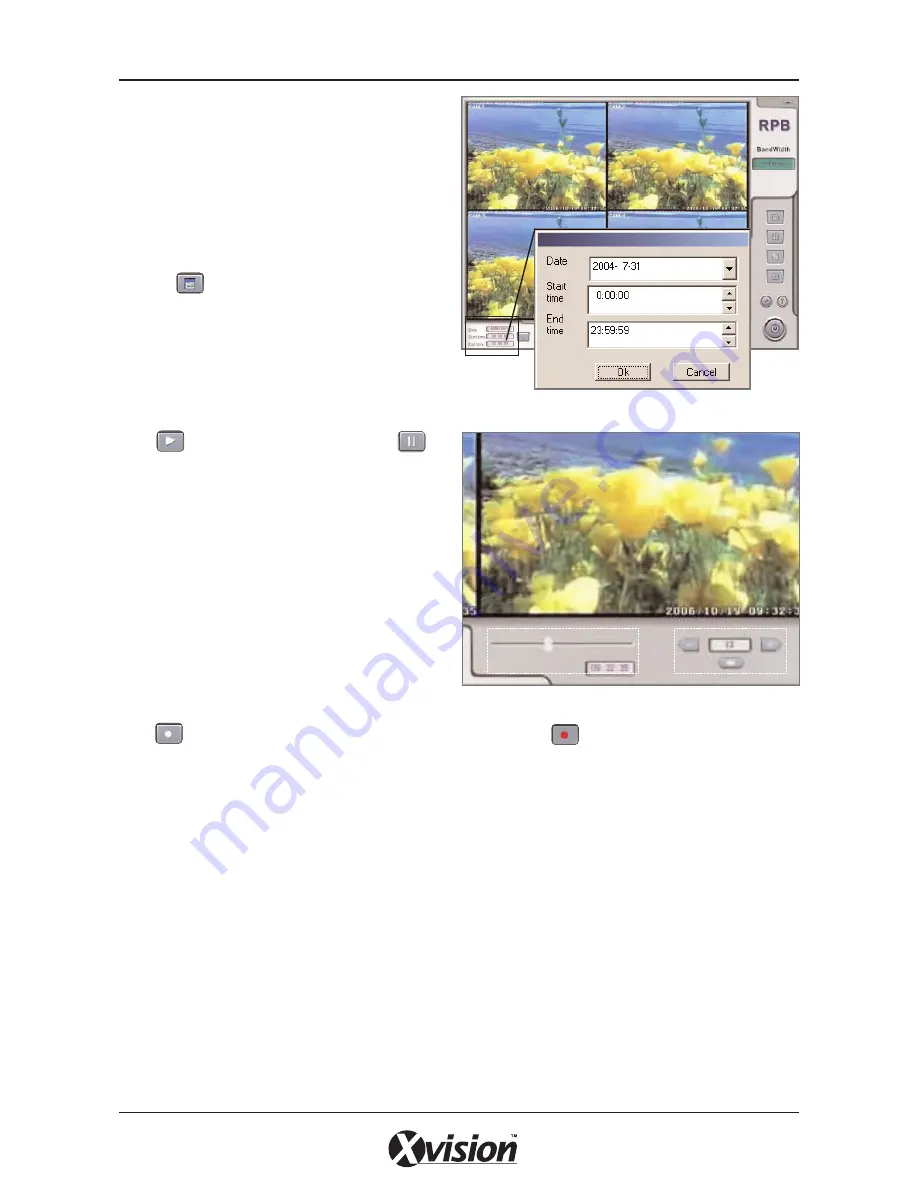
Click to play the recorded files. Press
to pause. You can use the time bar to adjust the
time period that is playing, marked as (a) on Fig
7.17. Use the buttons marked as (b) on Fig 7.17, to
control the play speed.
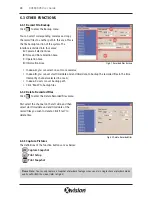
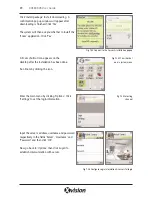
Click to begin to recording remotely. The icon will change to . Click it again and stop
recording. You can select the Save Path and Compression format before logging in the system, see
Chapter 7.2.3.
36
XUSB4DVR User Guide
Fig 7.16 Select date/time period for playback
(a)
(b)
Fig 7.17 Time Control & Play Speed Control


