


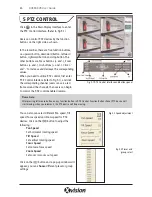


7.1 REMOTE LIVE SURVEILLANCE
The XUSB4DVR surveillance system supports Remote Surveillance through LAN, Internet and Intranet.
Simply enable the web cam function of the system on a computer which is connected to Internet, and
the computer system will become an Internet web cam server. To view remotely on any other computer
that connects to Internet or the same LAN network, simply input the SmartDVR server address in IE
browser to view high quality real time image from the server and also control any connected P.T.Z
devices.
7.1.1 Remote Surveillance Server
Configuration
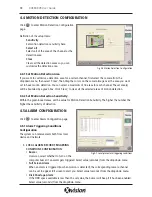
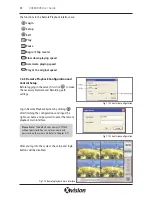
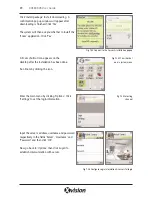
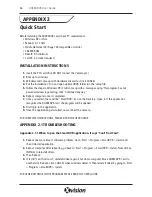
You should firstly enable the Web Camera Services
in Basic Configuration (refer to Fig 4.1) and set
other settings as below:
HTTP Port
Web service & download service port,
default value is 80
Data Port
Data transmission port, default value is 1159
Command Port
Control command port, default value is 1259
Picture Quality
Default value is higher
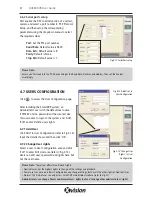
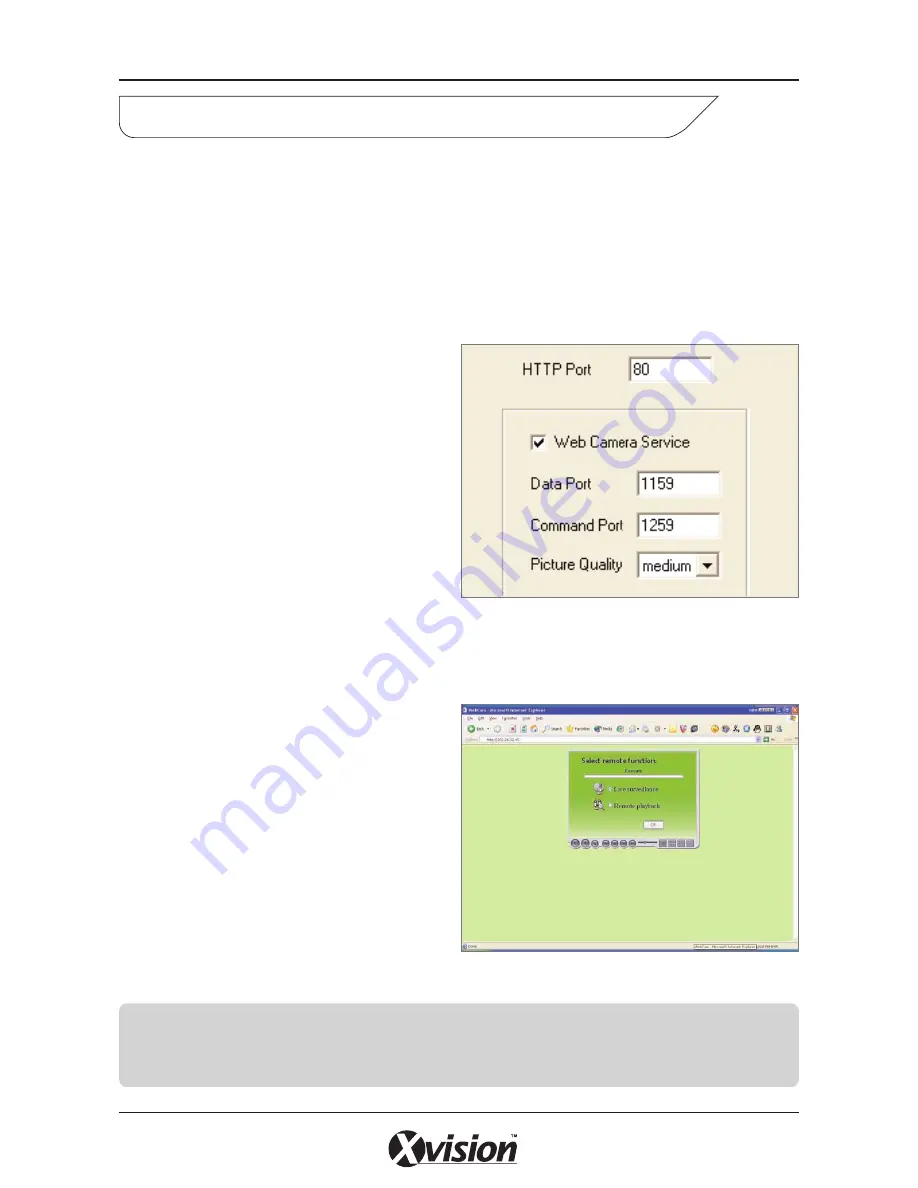
7.1.2 Remote Surveillance Client-side Setup
On the client-side, you should first install the
WebCam program. This can be accessed by
entering the IP address of your PC or laptop into
Internet Explorer (see note below).
This page will appear:
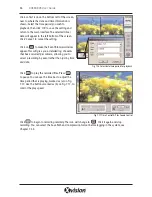
Live Surveillance
This option is for users to see live camera
images remotely.
Remote Playback
This option is for users to play back recorded
files.
31
XUSB4DVR User Guide
7 REMOTE SURVEILLANCE & PLAYBACK
Fig 7.1 Web Cam Server configuration
Fig 7.2 Remote surveillance and playback services selection
Please Note:
In case the HTTP port setting is not 80, (80 is the default setting) when you input the server IP
address, you should add the port number after the IP address. For example, the server’s IP address is
211.148.96.234, and the port number is 81, then you should input http://211.148.96.234:81.


